
Viz World User Guide
Version 17.0 | Published January 24, 2018 ©
Label and Go Assistant

The plugin can be found in the folder: Viz Artist 3: Built Ins -> Container Plugins -> Maps-Adv.
The Label & Go Assistant plugin works in conjunction with the Label & Go plugin, he allows to add or delete new labels. When working with Streets it allows to edit Labels, replace Names and Styles of Roads. After doing the changes they can be save in a CSV file that can be read afterwards by the Label & Go plugin.
How to add User Labels
-
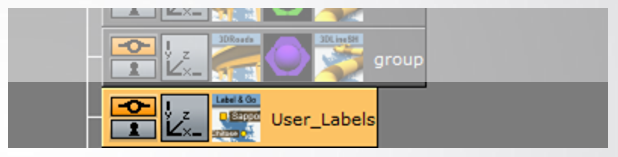
Add the Label and Go plugin to the new container under the hierarchy.
-
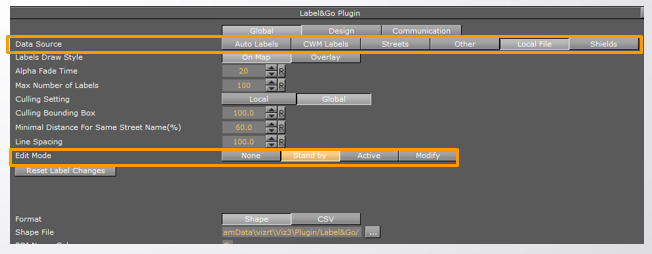
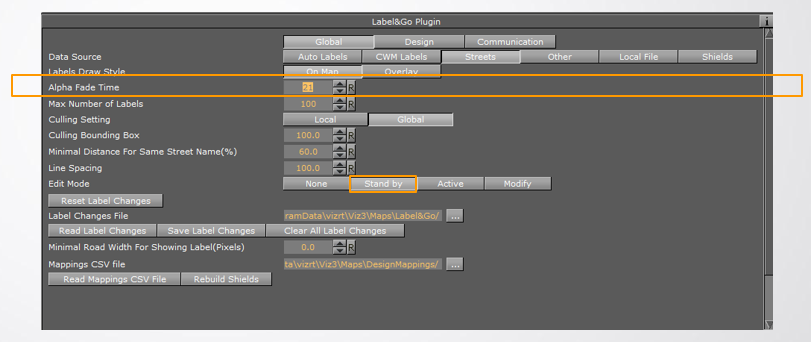
In the Label & Go plugin set: Data source to Local File, Edit Mode to be Stand by.
-
There are 3 modes:
-
Stand by : allows you to select the place where you want to add or remove your labels.
-
Active : allows to add or remove labels depending in your selection.
-
Modify : allows you select a label and then you can move it or rename it.
Tip: you can toggle between the Stand by Mode and the Active Mode by pressing e in the keyboard.
-
-
Add the Label and Go Assistant Plugin in the same container that reside the Label & Go Plugin.
-
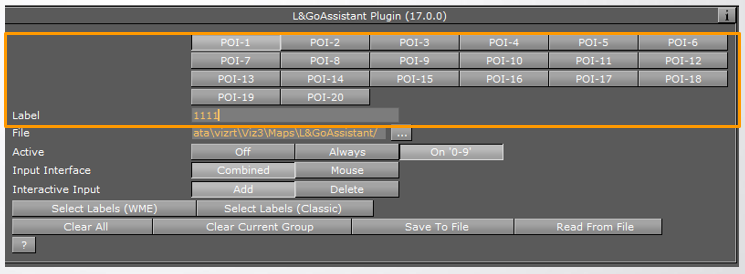
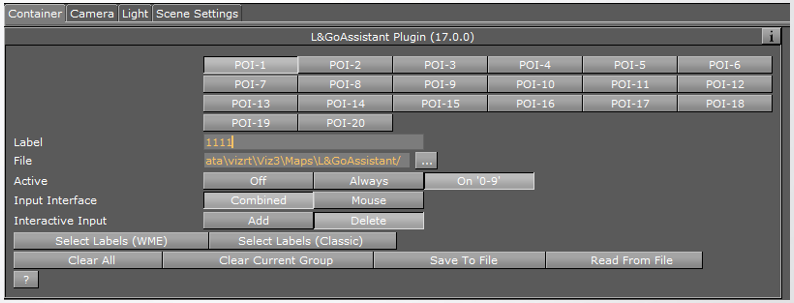
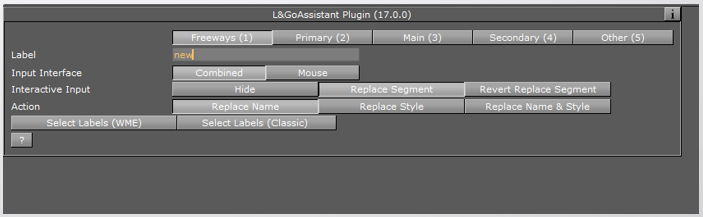
Select PQI-1 for Label number 1 Write the name of the Label. Select PQI-2 for Label number 2 and change his name. You can create till 20 Labels.
-
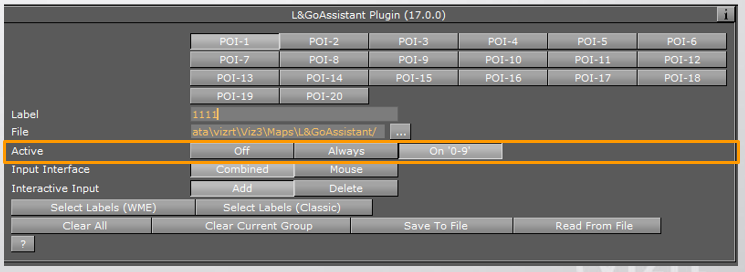
Active set to On “0-9” that means That actualing heating the actual number in the keyboard you will be able to add labels. You can toggle from 0-9 or from 10-20 by pressing control.
-
Set the Input Interface: Combined - Touch screen and Mouse - Only Mouse.

-
Set the Interactive input: To Add labels set to Add To Delete Labels set to Delete.
-
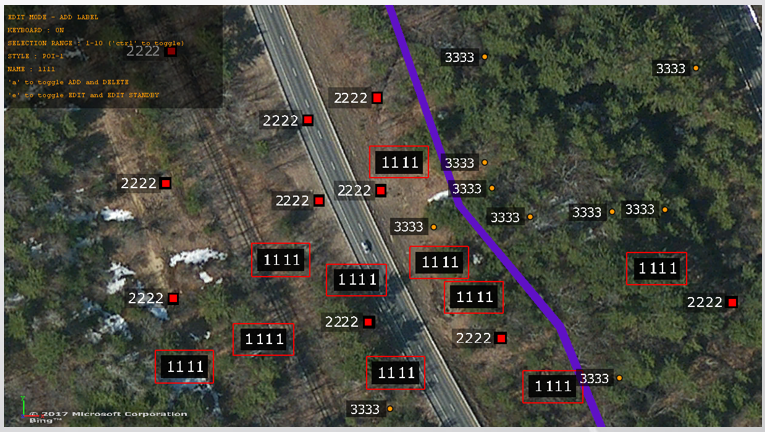
To Add Labels from group number 1: Navigate to the specific area, press 1 in the keyboard and click the left bottom in the mouse. Every time you click will appear a label. To change to group 2: Press 2 and click in the mouse.
How to delete User Labels
-
Set the Interactive input to Delete.
-
Select the group label and then select the Label that you want to remove.
-
In order to delete a group of Labels: Press the Label group number in the keyboard to select the all group, Press Shift to draw a rectangle around the labels that you want to remove.
Tip: By pressing “e“ in the keyboard you can switch from edit mode to none to see the actual results.
How to save the new Labels into a file
-
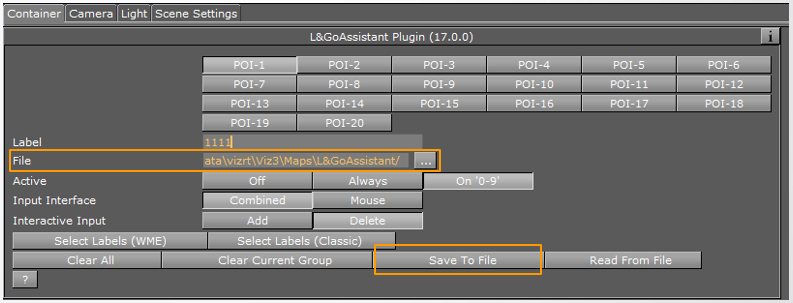
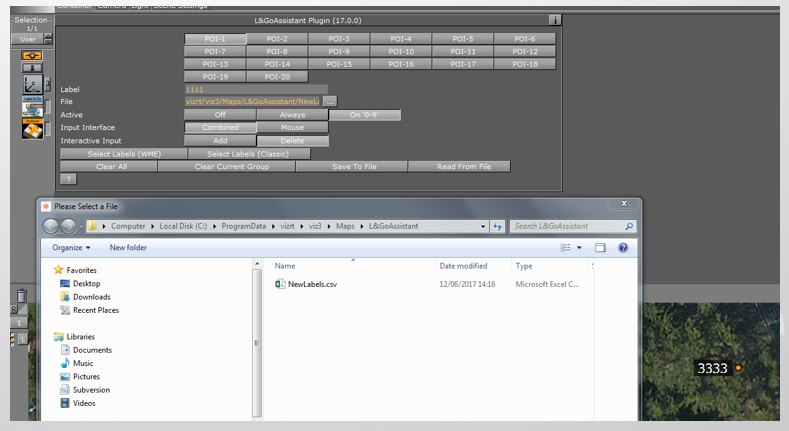
Enter to Folder: C:\ProgramData\vizrt\Viz3\Maps\L&GoAssistant/
-
Create a TXT document and change it to .CSV
-
In File select the file in the folder and click Save To File. This file can be read by Label &Go plugin.
How to Edit a Label using the L&Go Assistant Plugin
-
We can change a name of a Road or a street. In the Label&Go plugin set the Data Source to Streets. Set the Edit Mode to Stand By. Zoom to the area that you want to edit the Labels.
-
Change the Edit Mode to Active.
-
Select the Interactive Input: Replace Segment, Select the Action: Replace Name: Name of the segment, Replace Style : Prymary, Main,Secondary, Replace Name & Style.
Tip: You can toggle between the options pressing “a” in the keyboard.
-
When you are in Active mode you will have in the left side of the screen an information panel.

-
To revert the changes press Revert Segment Changes.

How to save the Labels changes into a file
-
Enter to Folder: C:\ProgramData\vizrt\Viz3\Maps\L&GoAssistant/
-
Create a TXT document and change it to .CSV
-
In the Label Changes File select the file in the folder and click SaveSve Label Changes.
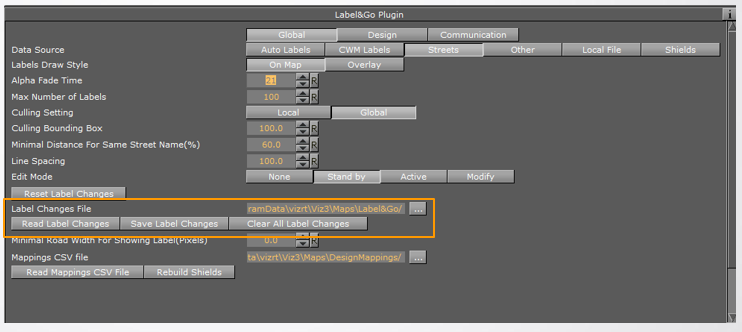
By Pressing the Clear all Label Changes will clear all changes, you can Load the file by pressing Read Label Changes.