
Viz World User Guide
Version 17.0 | Published January 24, 2018 ©
3D Line Tracer

The plugin can be found in the folder: Viz Artist 3: Built Ins -> Container Plugins -> Maps-Adv.
The 3D Line Tracer plugin works in conjunction with the 3D Line Manager, it allows to trace lines, build Routes of one point or two points, when the Data Source is in Flow & Routing and you have the correct shape file (TomTom TMC Data).
How to create a scene showing Flow & Routing
-
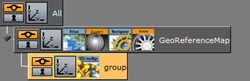
Create a base map using Atlas plugin, add a Navigator.
-
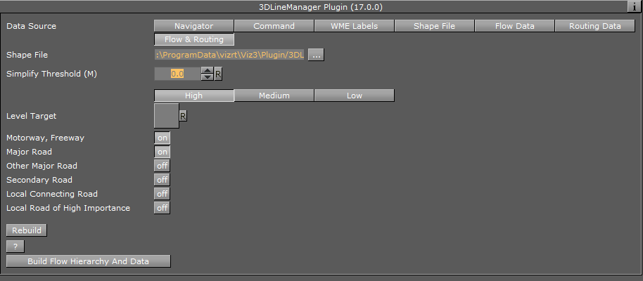
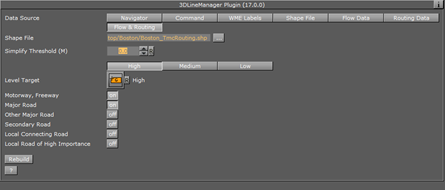
Add a 3D Line Manager to the Hierarchy, Set the Data Source to be Flow & Routing, Load the correct Shape File (TomTom TMC Data) and Click Build Flow Hierarchy, Viz will build the data for Routing.
-
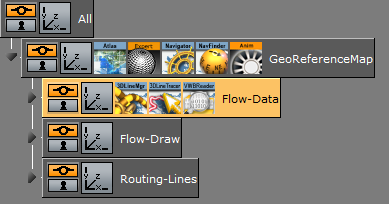
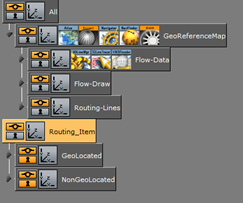
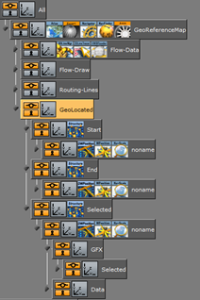
After Building he will add 3 containers: Flow-Data, Flow-Draw and Routing-Lines.
-
Flow - Data: The 3DLine Tracer plugin and the VWB Reader is added to the container.Underneath it will add 3 containers with 3 types of Roads: Low,Medium and High

-
In the 3D Line Manager plugin you can set the types of Roads that will enter in each group, you can change the Roads according to your selection.
-
In the Flow-Draw container: This are the painters that will draw the data.
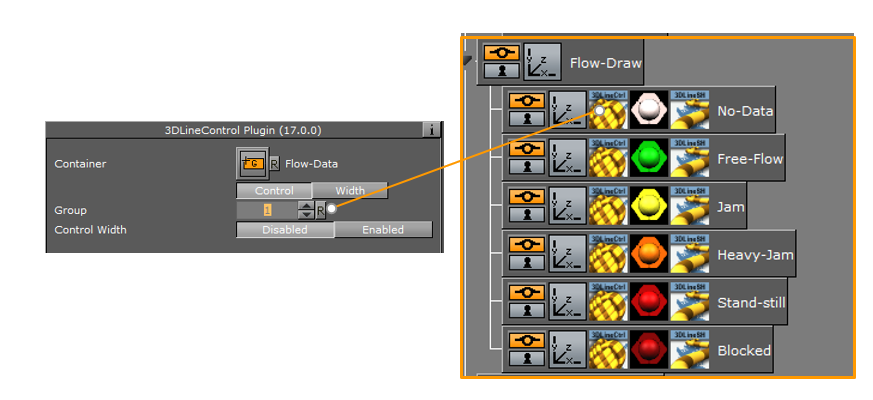
-
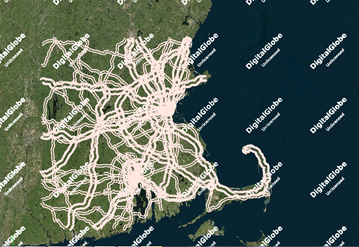
When there is no data all the lines are in Group number 1 and will have the light pink color.
How to Load the Traffic Data
-
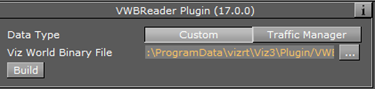
In the VWBReader plugin: Change the data type to: Custom, Load the VWB File (file that is created with the Feedstreemer -this file is updated constantly with the traffic) and Click Build.

-
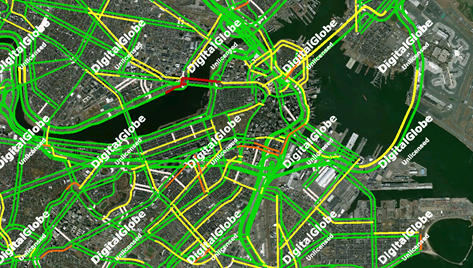
It will draw all the data: Free flow to green, Jam to Yellow, Heavy Jam to Orange ...
How to Trace the lines using the 3D Line Tracer plugin
-
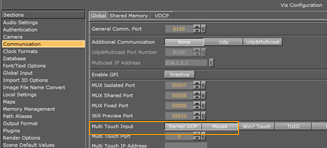
To make a selection with the mouse the Viz configuration should be: Communication - Multi Touch input - Mouse.
-
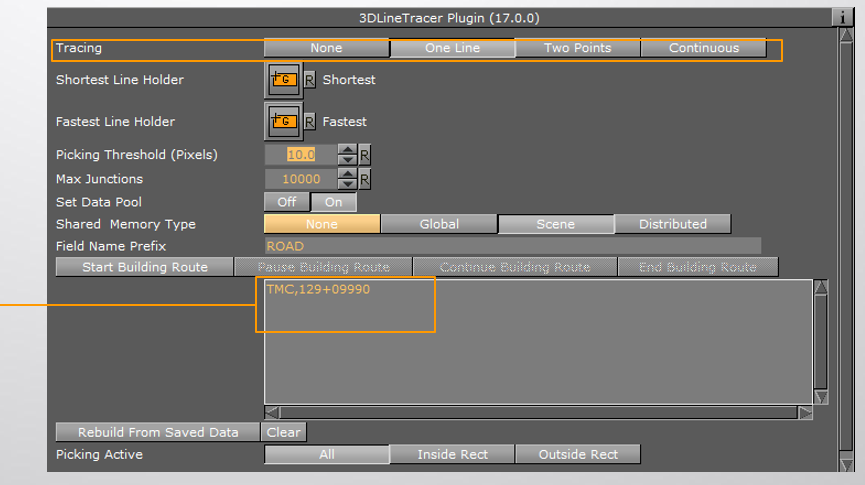
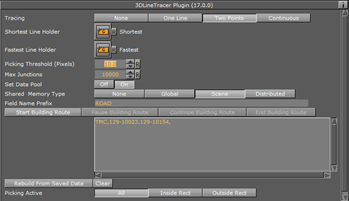
Enter to the 3D Line Tracer plugin, Select the Tracing mode: One Line : One Segment.

-
When one of the segments is selected you can see his name and id number.
How to show the information of the Routes
-
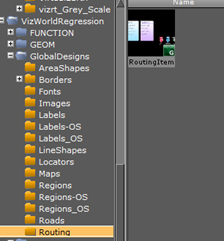
Add the Routing Item object to the your Scene, y ou can find it in the server under: Global Designs.
-
Routing folder. You will find 2 Routing items:
- GeoLocated.
- Non GeoLocated.
-
Drop the Geolocated under the Map so it will get all the geo information.
Works with Datapool plugins.
-
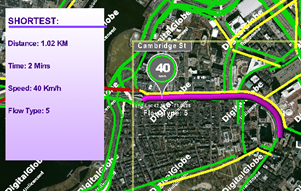
By selecting a Segment it will updated the Shortest panel showing the distance, the time, the speed and the flow type.
Tracing 2 Points
-
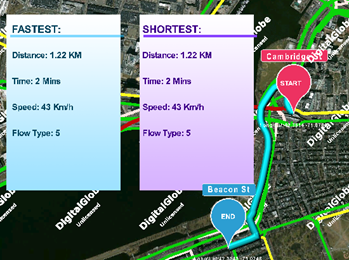
Change the Tracing to: Two Points, s elect one Point in the Map- that will be the Start and select another Point - that will be the End.
-
It will give you 2 option: One Fastest and another Shortest.
Tracing Continuous
You can use this option to select a Route by dragging and hold the mouse

How to build a specific Route
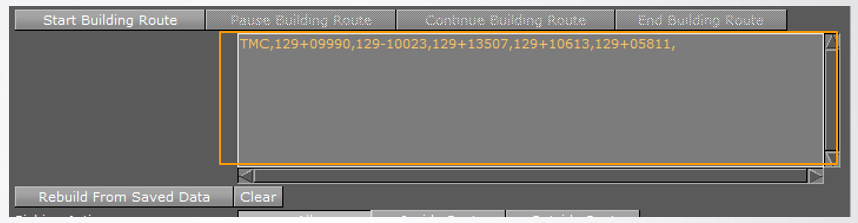
Click Start Building Route, s elect the Route in the Map.
Note : Every click will select a segment of the Road.
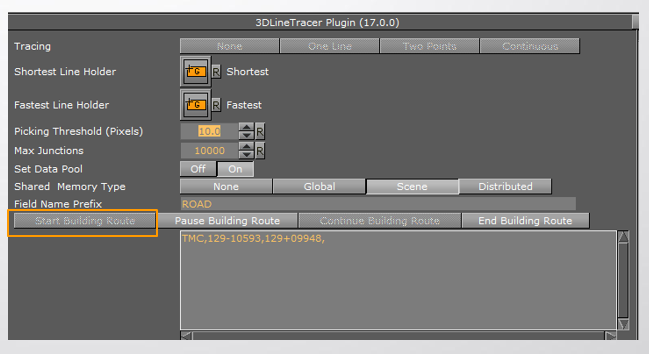
Here you can see the Route information. It can be saved into a Txt document and then you can send the information. The Clear option is to Clear from the Scene and the Rebuild option will Rebuild the Route from a saved Data.
The Picking Active option: To specify the place in the screen where can Routes can be selected. There are 3 options:
-
All - All Screen.
-
Inside Rect - Inside the Rectangle.
-
Outside - Outside the Rectangle.
