Viz Artist User Guide
Version 3.14 | Published October 30, 2020 ©
Fade Rectangle

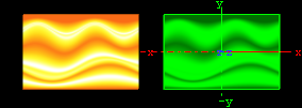
The Fade Rectangle’s four sides can be set to fade in a way specified by the user. Both the degree of fading an the area influenced by the fading can be customized.
Note: This plug-in is located in: Built Ins -> Geom plug-ins -> Default
Fade Rectangle Properties

-
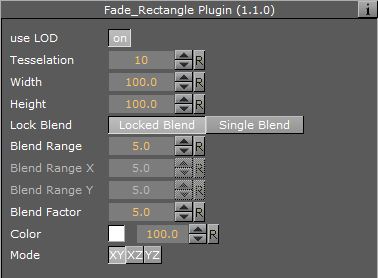
Use LOD: Enables/disables dynamic level of detail.
-
Tesselation: Sets the degree of detail.
-
Width: Sets the width of the fade rectangle.
-
Height: Sets the height of the fade rectangle.
-
Lock Blend: Allows you to decide whether to adjust the blending looked for both the X- and Y-axis or single (each axis separately).
-
Blend Range: Allows you to set the blend range if looked mode is selected.
-
Blend Range X and Y: Sets the blend range of the X and/or Y axis if single blend is selected.
-
Blend Factor: Sets the alpha ramp of the fade rectangle. To see the effect set the alpha value to 0 and adjust the blend factor.
-
Color: Shows the color of the rectangle. Set the color either in the editor below or drag a material from the Server Panel onto the color icon.
-
Mode: Changes the space perspective.
-
XY (front view)
-
XZ (bottom view)
-
YZ (left view)
-
To Create a Faded Rectangle

-
Create a new group and add the fade rectangle plug-in onto it.
-
Add an image to this group.
-
Open the fade rectangle editor and change the required color through the color parameter and adjust the width and the height.