Viz Vectar Plus User Guide
Version 1.3 | Published November 18, 2022 ©
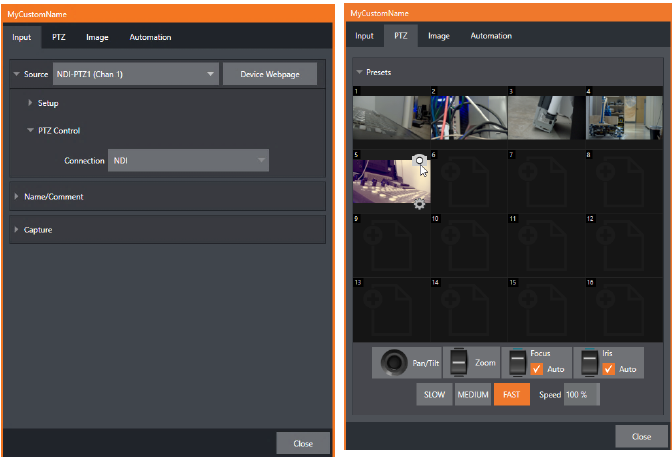
PTZ Input Configuration
Most PTZ camera controls and features are in the Input Configuration panel, PTZ tab.
Connecting a PTZ Camera
-
Connect the camera’s output to a Switcher input (see Input Configuration).
Configuring a PTZ camera
-
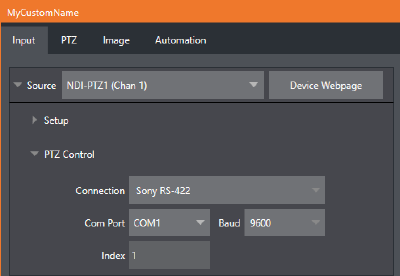
Configure the control connection to the camera by selecting its type.
Since the default Connection type in this group is NDI, you can skip this step for an NDI camera.
-
For non-NDI sources, use the Connection menu to choose the correct PTZ protocol for your device, and continue to enter other data as required for that protocol.
PTZ Operations
-
Expand the PTZ Presets control group.
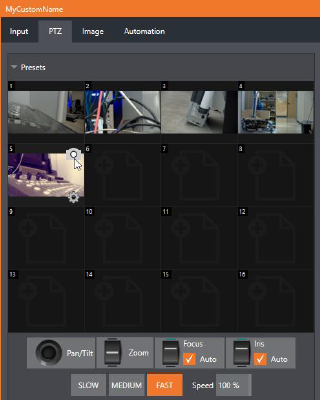
A set of manual Pan/Tilt, Zoom, Focus and Iris controls sits just beneath a large PTZ Preset bin.
-
Drag the mouse on these controls to make manual adjustments.
Speed controls, including SLOW, MEDIUM and FAST presets along with a numeric Speed control.
Options

-
Expand the Options control below the PTZ speed group to access White Balance options (which may vary based on the camera model connected) and an Invert menu that lets you reverse the effect of joystick operations.
Note: Invert settings affect the related controls both in the Live Desktop and on hardware control surfaces.
Presets
The Preset bin shows sixteen thumbnail icons for the currently PTZ camera.
-
Click a preset to select it, and the camera automatically begins moving to the new position.
To configure and store a preset
-
Use the Position, Zoom and Focus controls (described above) to navigate to the desired camera angle, etc.
-
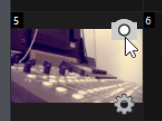
Move the mouse over the preset icon you wish to store (or update), and click the Snapshot (camera) icon that pops up at upper-right corner of the icon.
Tip: Hold SHIFT when clicking the Snapshot icon to update the representative thumbnail image without modifying the preset already stored in that slot.
-
(Optional) Click the Configuration icon (gear) to open a Properties dialog that lets you assign a different Alias and Comment to each preset (these entries also provide values for DataLink keys that can be used in the usual ways.)
Tip: See section Scopes to learn how to display and use presets in your multiviews.
PTZ and the Control Surface
Pan, tilt, zoom control, and preset selection for connected robotic cameras are also directly supported on some Vizrt hardware control surfaces. See Control Surfaces for details.