Viz Vectar Plus User Guide
Version 1.3 | Published November 18, 2022 ©
Configuring Streaming
Setting Up Streaming
-
On the Dashboard’s menu bar, select STREAM/ENCODE > Streaming/Record Configuration > Configure (gear) button.
Source Setup
-
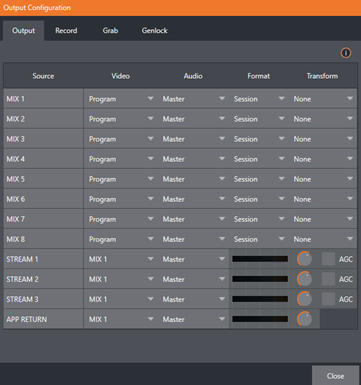
To assign video and audio sources to any of the three streaming encoders, click Source Setup button at the top of the Streaming/Record Configuration panel.
This opens the Output Configuration dialog, where you can continue to choose audio and video sources, and adjust audio volume.
The Web Browser
The Web Browser button opens a web browser.
This feature is provided for your convenience when working with web streams or your content delivery network account.
It is not recommend to web surf during live operations.
Tip: If the web browser is hidden from view because a Live Desktop operation took precedence, you can reuse this button to bring the browser window to the front again.
Configuring Encoders
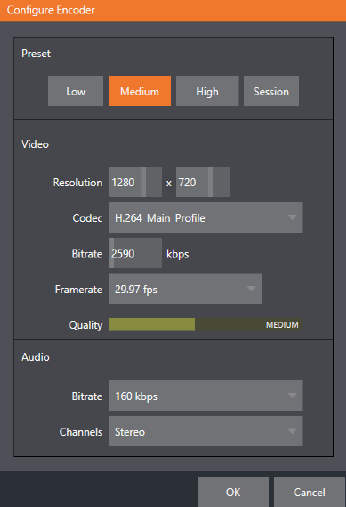
Settings for encoders are configured in the Configure Encoder dialog.
-
Open this dialog by clicking the Configuration (gear) icon for an encoder, on the top left of the Streaming/Record Configuration panel.
-
Select an encoder Preset (for example Medium or High), or manually configure custom settings using controls in the Video and Audio control groups below.
-
To save, click OK.
Note: The Codec selector in this panel allows you to select from a number of H.264 profiles as well as HEVC
Presets
Details about a given CDN or other encoder target are retained in a preset (for example, Facebook, YouTube Live, etc.)
-
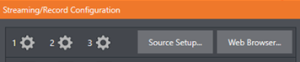
You can add new presets to the Streaming/Record Configuration panel with the New preset menu, bottom left of the panel.
Tip: A default File Capture preset allows you to capture output from either encoder to a file.
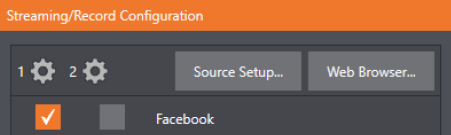
Creating a Preset
There are two columns of checkboxes that enable sending of output from one of the encoders to the presets displayed on the right.
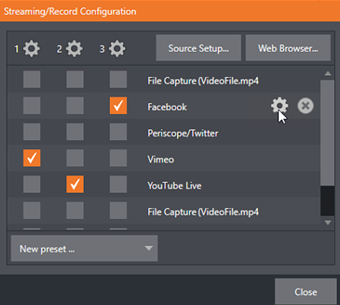
-
Move the mouse pointer over a preset to display two new gadgets.
-
Click the Configure (gear) icon to open a suitable dialog.
-
You may need to enter your account credentials for a site and log in, or provide suitable controls for other relevant settings that are required.
-
For a File Capture preset, choose the path for encoded file output.
Clicking the X deletes the Preset.
Custom Presets
In addition to the many recognizable names listed in New preset, there is a menu item labeled Custom.
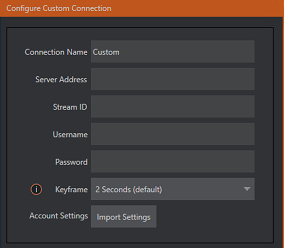
-
The dialog this selection opens allows you to enter the details typically required by generic streaming services.
-
If your CDN (Content Delivery Network) service provides an XML file containing the recommended configuration settings related to your streaming account, click Import Settings to navigate and load this file.
The file typically automatically provides all necessary values for streaming via their service.