Plug-ins User Guide
Version 5.2 | Published March 20, 2024 ©
Noggi

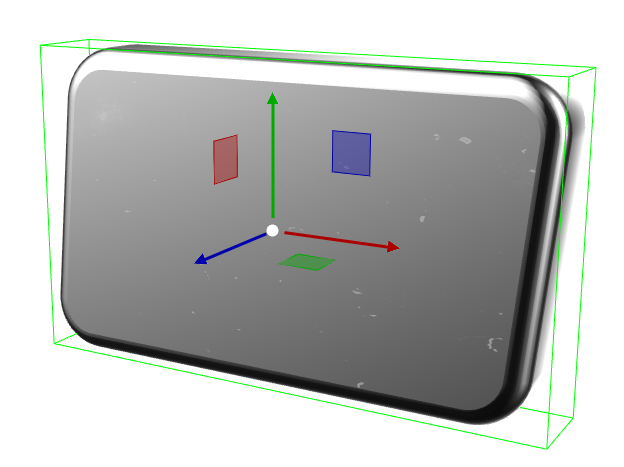
The Noggi plug-in creates geometry objects of beveled rectangles with some attributes.
Note: This plug-in is located in: Plugins -> Geom plug-ins -> Default
Noggi Properties
-
Width: Changes the width in X-direction.
-
Height: Changes the height in Y-direction.
-
Bevel (top/right, top/left, bottom/left and bottom/right): Changes the bevel on each corner.
-
Stretch: The result is an object like a parallelogram. Stretch is in percent (= tan(alpha)). If Geometry Type is Outline.
-
Horizontal Alignment: Changes the object alignment to left, center or right. This change affects the y-rotation.
-
Vertical Alignment: Changes the object alignment to bottom, middle or top. This change affects the x-rotation.
-
Geometry Type: Renders the object as area- or with outline look.
-
Inner Outline: Changes the vertex sequence in outline mode. Inner Outline is important for face orientation when extruding the geometry.
-
Outline Width: Changes the thickness of the rendered outline.
-
Edge Points: Change the number of triangles to render a beveled corner. Increasing the number increases the bevel resolution.
-
Crop: Enables/disables cropping of the object. Cropping and vertex texture are only available if Geometry Type is Area.
-
Crop Face (Left, Right, Bottom and Top): Crops the object on each given side.
-
To Create a Noggi

-
Create a new group and add the Noggi plug-in to it.
-
Add a material and/or a texture to the group.
-
Open the transformation editor and set Position X to -150.0.
-
Open the Noggi editor and set the following parameters:
-
Set Width and Height to 600.0 and 100.0.
-
Set Bevel top/right and bottom/left to 0.0.
-
Set Bevel top/left and bottom/right to 20.0.
-