Graphic Hub Administrator Guide
Version 3.6 | Published December 10, 2021 ©
Maintain Deploy Agents and Tasks
This page details the maintenance of Deploy Agents and configured Deploy Tasks in the following procedures:
To View Deploy Tasks
-
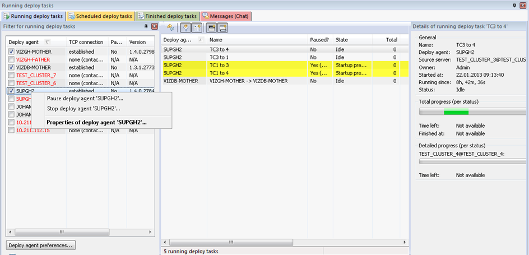
Click Tools > Administer Tasks > Running deploy tasks.
-
Click Tools > Administer Tasks > Scheduled deploy tasks.
-
Click Tools > Administer Tasks > Finished deploy tasks.
All selected deploy tasks are shown in the Journal.
To Modify a Deploy Task
Note: Modifications do not affect tasks that are currently running. If you modify such a task, the changes only take place at the next interval. Realtime tasks can NOT be modified.
-
Make sure you are logged into the source server for which you wish to modify the deploy task.
-
Show the deploy tasks in the Journal, in accordance with one of the procedures above.
-
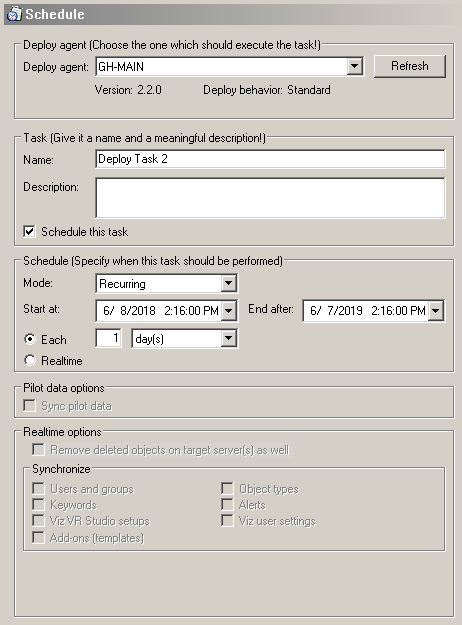
Right-click the task and select Properties. The Schedule Deploy Task window is shown.
-
Continue to schedule a Deploy Task from step 3 onward.
To Search Scheduled Deploy Tasks
-
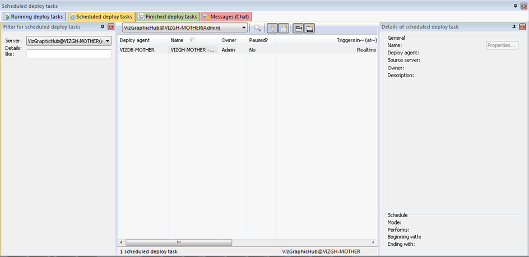
Click Tools > Administer Tasks > Scheduled deploy tasks.
The Journal is enabled for searching scheduled deploy tasks.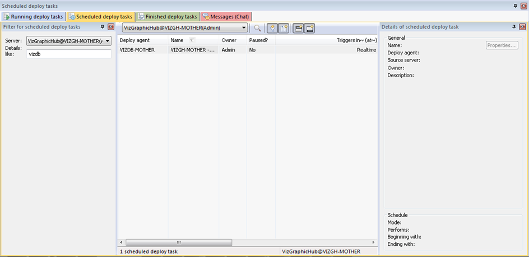
-
From the Filter, using the Server drop down box, select a server.
-
In the Details like field, enter free text like name of the task, name of the agent, or any description that may figure in the task.
-
In the Journal, click the Search button. The search results are shown in the panel below. The Triggers in column shows when the scheduled deploy task is set to run next. When one is selected, the deploy task’s details are shown in the panel to the right.
-
To modify the deploy task, do one of the following:
-
Right-click the deploy task in the results panel and select Properties.
-
In the details panel, click the Properties button.
-
-
Continue to schedule a Deploy Task from step 3 onward.
To Search Finished Deploy Tasks
-
Click Tools > Administer Tasks > Finished deploy tasks.
The Journal is enabled for searching deploy tasks.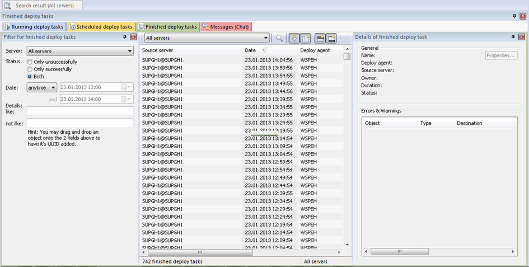
-
From the Filter, using the Server drop down box, select a server.
-
Select a task Status. Your options are:
-
Only unsuccessful
-
Only successful
-
Both
-
-
From the Date drop down box, select one of the following options:
-
Anytime
-
From: Selecting this option prompts you to also enter a beginning date and time.
-
Until: Selecting this option prompts you to also enter an ending date and time.
-
Between: Selecting this option prompts you to also enter a beginning and ending date and time.
-
-
In the Details like field, enter free text like name of the task, name of the agent, or any description that may figure in the task.
-
In the Details not like field, enter free text like name of the task, name of the agent, or any description that you want to exclude from the task search.
-
In the Journal, click the Search button. The search results are listed in the main panel. When a result is selected, the finished deploy task’s details are shown in the Details of finished deploy task panel to the right. There are general details as well as any errors and warnings.
If the Deploy Agent encounters corrupted files, it attempts to restore files on the source server. In such cases, an error message is logged in the journal if the restoration fails. If the log level is set to All, successful restore operations are also logged.
To Maintain Deploy Agents
-
Launch the Graphic Hub Manager on the machine where the Deploy Agent is to run.
-
Log into the source server(s) and view the deploy tasks.
-
In the left panel, right-click the relevant Deploy Agent and select Properties.
The Deploy Agent properties window is shown (Statistics is selected by default). The data shown here is for information purposes only.
-
Click Configuration.

-
Configure the following parameters as necessary:
-
Log additional information to EventLog: Select this option to include debugging information, as well as records of the start of tasks, in the Windows event log.
-
Log additional information to journal on dedicated log server: Select this option to include debugging information, as well as records of the start of tasks, in the Graphic Hub server log, on one of the servers available in the Dedicated Log Server drop down box.
-
Deploy agent work directory: The path and folder which acts as the temporary buffer for the Deploy Agent. The Deploy Agent process must have full access rights on the selected directory. This directory location can not be changed.
-
Timeouts: Set the timeouts times for each file as required.
-
Expert settings: Consult your Vizrt CA representative before changing any of these settings:
-
Do ‘emergency’ pausing of realtime tasks: In the event that there is a risk of too many files being deleting on the destination server, select this option and assign a threshold as a percentage or number of files beyond which the Deploy Agent pauses the task. If such a task is paused, you can find it when searching for finished Deploy tasks. You are always able to resume the task.
-
TCP port: Default is 19393. Change only after consultation with your network administrator, if there are firewall issues.
-
UDP port: Default is 19392. Change only after consultation with your network administrator, if there are firewall issues.
Note: Changing TCP or UDP setting requires changes to the Graphic Hub Manager preferences: click Tools > Edit preferences and in the left panel select Deploy.
-
-
Click Version Info.
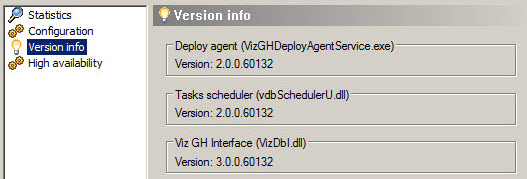
-
When reporting a problem, make sure to include this version information.
-
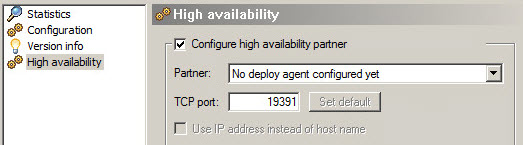
Click High Availability.
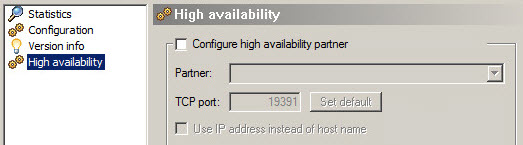
-
To configure a high availability partner, select the respective check box.
-
From the Partner drop down box, select the alternative to take over in case of failover.
Note: In general, it is recommended that you use the default TCP port.
-
Click OK.
-
Click Close.