Graphic Hub Administrator Guide
Version 3.6 | Published December 10, 2021 ©
Initial Setup
When installation of the ImEx Agent is complete, the default web browser opens http://127.0.0.1:19390/index.html for initial configuration.
Quick Start
-
View web interface on http://127.0.0.1:19390/index.html.
-
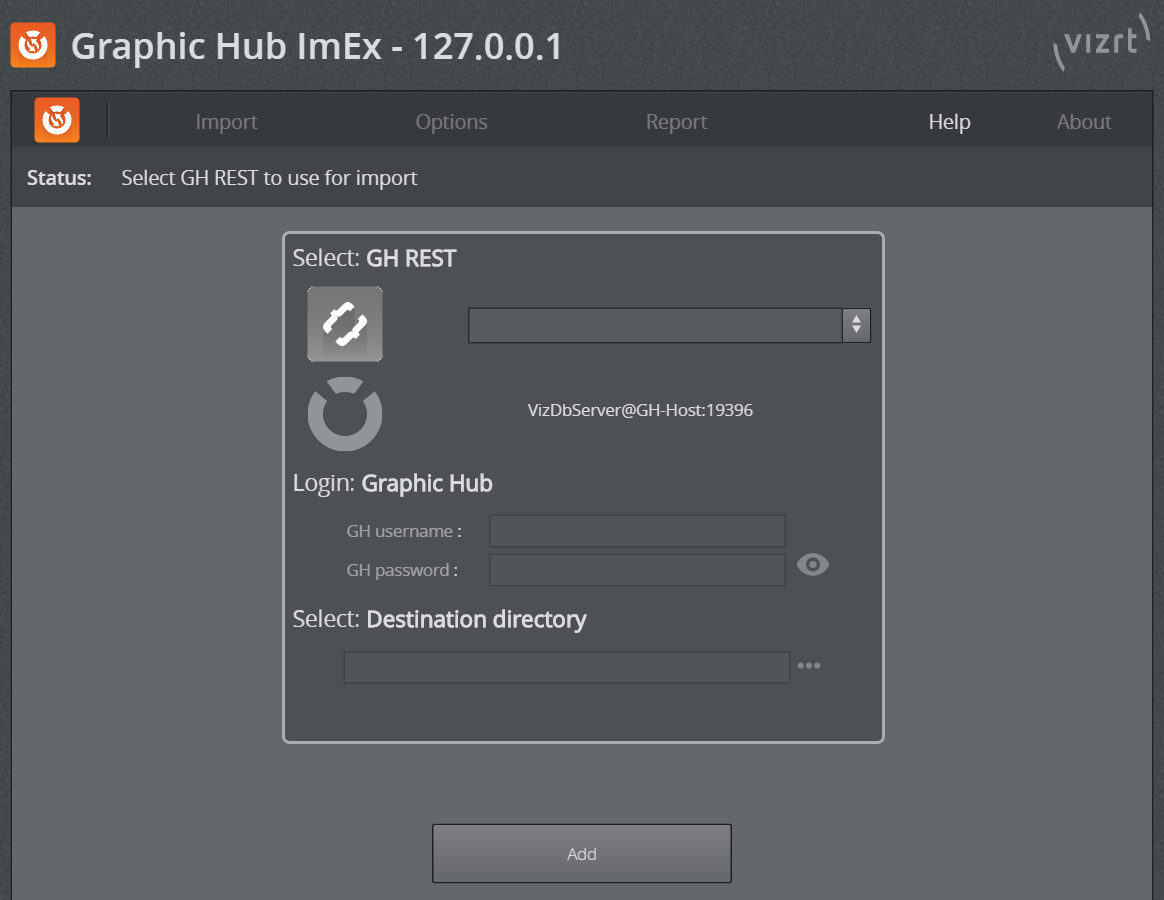
The initial configuration wizard displays if no destination directories exist.
-
Select a Graphic Hub REST host to use for importing assets. You can also enter the host manually, in the format http://resthost:port/. The GH REST must be bound and connected to a running Graphic Hub.
Note: GH REST version 2.0.1 or newer and Graphic Hub version 3.0.1 or newer are required.

-
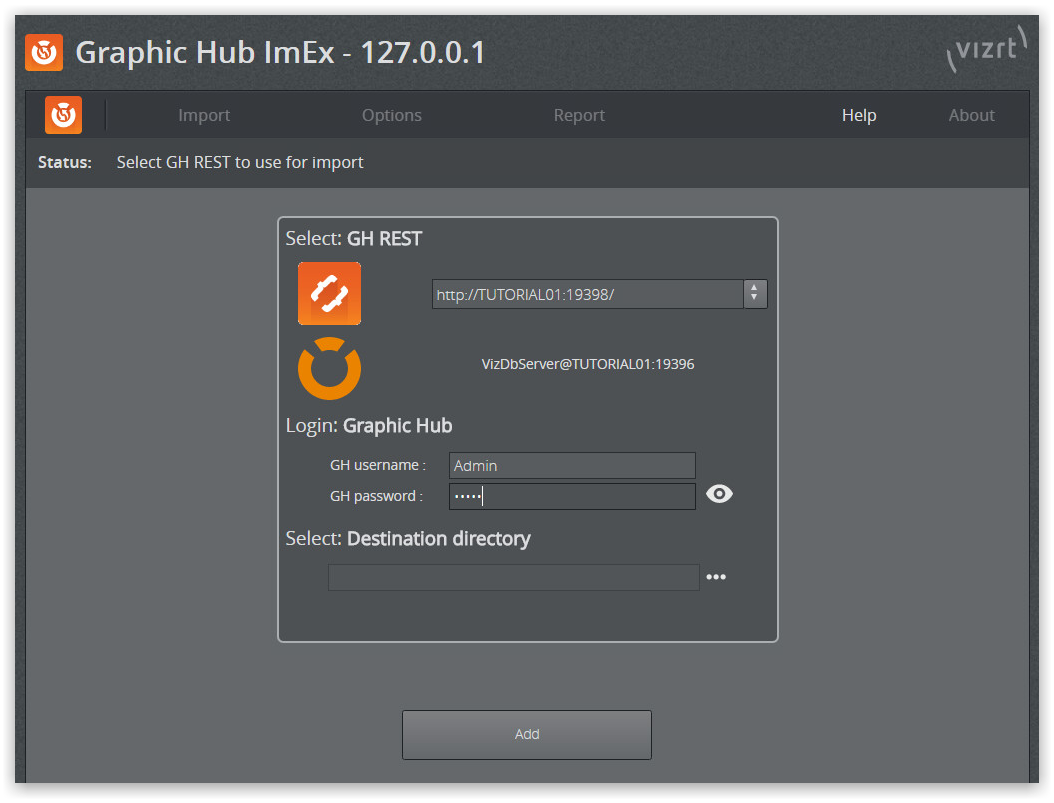
Providing a valid GH REST host enables the Login panel. Provide a valid GH username and password from the Graphic Hub you are connecting to.
-
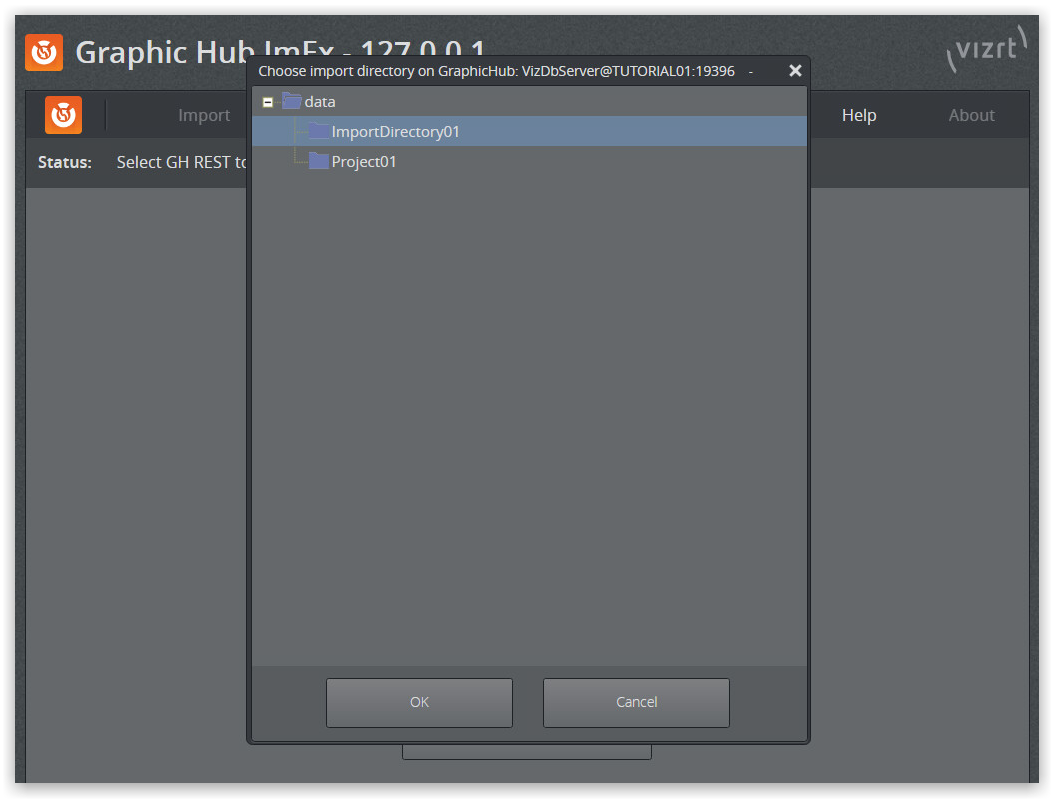
Select a destination directory (folder or project), by clicking the browse icon (...) on the right side. You can also create new projects or folders using the directory browser.
-
Save the selected destination directory by pressing OK, then Add.
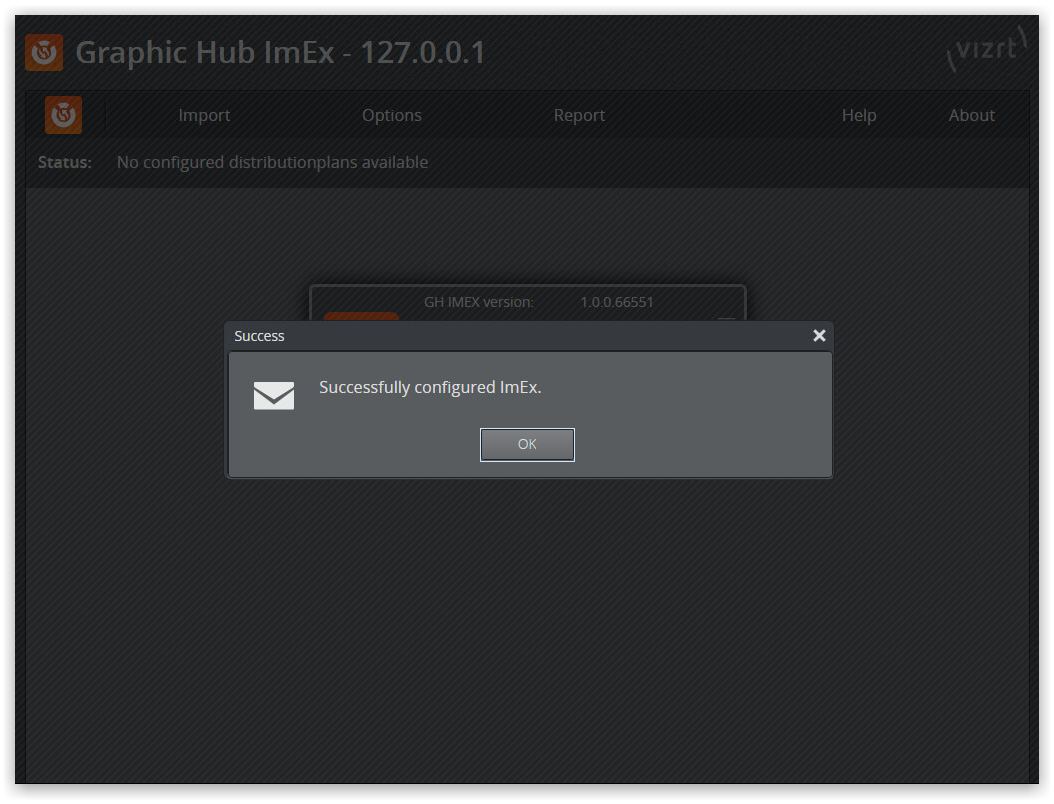
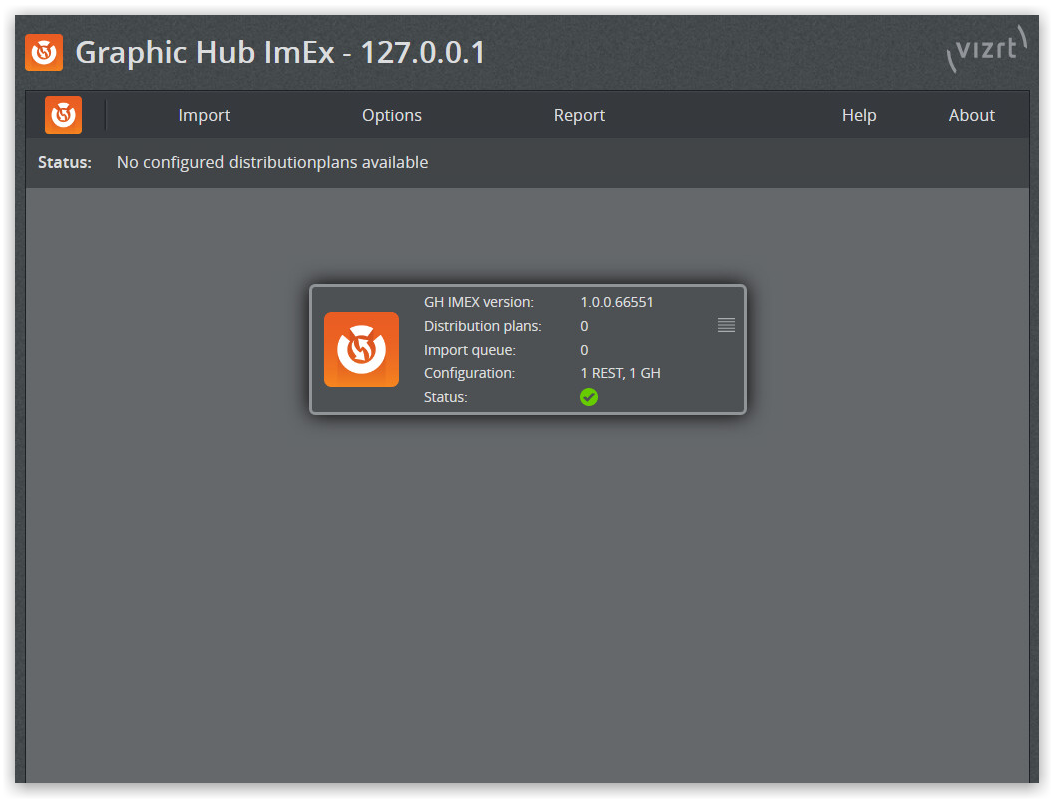
After successful configuration, the ImEx status page opens.
Configure ImEx for Media Staging
The following describes how to configure ImEx for media staging using (third-party) search providers. For a guide on how to setup related Viz products for media staging, see Basic Media Sequencer Configuration.
After setting up ImEx (see Quick Start), a search provider in Pilot Data Server and other media staging related Viz products, also add the fitting pre-authenticated host to ImEx's pre-authenticated hosts list, see Manage Pre-Authenticated hosts.
Basic Media Sequencer Configuration
The following list describes how to setup Media Sequencer for media staging via ImEx Agent.
-
Setup Viz Pilot and Media Sequencer, see Basic Viz Pilot and Media Sequencer setup using, for example, a Viz One as search provider.
-
Open the Media Sequencer configuration file named default.xml in an editor of your choice. By default, this file is located in C:\ProgramData\vizrt\Media Sequencer.
-
Disable the http_resource_poller by adding:
mode="disabled" -
In the scheduler section of the configuration file, add the following node:
<handlertype="vme"name="imex_image_staging"><entryname="service_document">http://my-imex-host:my-imex-port/</entry><entryname="log_level">50</entry><publish_media_type>image</publish_media_type></handler>Here, my-imex-host and my-imex-port need to be set to the relevant ImEx host name in lowercase format (e.g. imex-host) and the relevant port that ImEx uses (e.g. 19390), respectively.
-
When using a single Graphic Hub/Viz Artist: Add a single publishing point to Media Sequencer by adding/configuring the following node in the config section of the configuration file:
<entryname="global_publishing_points"><entryname="image"><entryname="uri">http://my-imex-host:my-imex-port/publishingpoint/my-pp-uuid</entry><entryname="atom_id">MY-PP-UUID</entry></entry></entry>Here, my-imex-host, my-imex-port, my-pp-uuid and MY-PP-UUID need to be set to the host name in lowercase format used in bullet 3, the port used in bullet 3, the UUID of the relevant publishing point in lowercase formatted as xxxxxxxx-xxxx-xxxx-xxxxxxxxxxxx (e.g. c94a50d8-867b-11e7-bb31-be2e44b06b34) and the used publishing point UUID in uppercase format (e.g. C94A50D8-867B-11E7-BB31-BE2E44B06B34).
When using multiple Graphic Hubs/Viz Artists: To distribute images used for media staging to several Graphic Hubs, first remove the global_publishing_points node from the config section of the configuration file. Then, add a distinct publishing point for each Viz Engine by adding the following nodes to the handler sections of type viz in the configuration file:
<entryname="image_publishing_point_uri">http://my-imex-host:my-imex-port/publishingpoint/my-pp-uuid</entry><entryname="image_publishing_point_atom_id">MY-PP-UUID</entry>The Viz handlers can be configured in Director, see the Profile Configuration page in the Director Configuration section of the Viz Pilot User Guide. Again, set my-imex-host, my-imex-port, my-pp-uuid and MY-PP-UUID (see bullet 4).
Note: For each Viz handler, add a publishing point on the Graphic Hub connected to the Viz Artist/Engine which corresponds to the currently relevant Viz handler.
Adding an image publishing point to a solely configured Viz handler achieves the same effect as adding a global publishing point.
Again, the global_publishing_points node has to be removed from the config section to enable publishing points bound to Viz handlers.
Examples
-
When using a single Graphic Hub/Viz Artist: Add the following node to the scheduler section to enable the ImEx Agent on host imex-host and port 19390 for media staging:
<handlertype="vme"name="imex_image_staging"><entryname="service_document">http://imex-host:19390/</entry><entryname="log_level">50</entry><publish_media_type>image</publish_media_type></handler>Then, add the following node to the config section to enable a publishing point with UUID c94a50d8-867b-11e7-bb31-be2e44b06b34:
<entryname="global_publishing_points"><entryname="image"><entryname="uri">http://imex-host:19390/publishingpoint/c94a50d8-867b-11e7-bb31-be2e44b06b34</entry><entryname="atom_id">C94A50D8-867B-11E7-BB31-BE2E44B06B34</entry></entry></entry>Also, disable the htttp_resource_poller.
-
When using multiple Graphic Hubs/Viz Artists:
Info: This example demonstrates how to add two publishing points respectively residing on distinct Graphic Hubs. For other numbers of publishing points/Graphic Hubs proceed analogously.
Add the following node to the scheduler section to enable the ImEx Agent on host imex-host and port 19390 for media staging:
<handlertype="vme"name="imex_image_staging"><entryname="service_document">http://imex-host:19390/</entry><entryname="log_level">50</entry><publish_media_type>image</publish_media_type></handler>Next, navigate to each handler node of type viz and respectively add the corresponding image publishing points. In this example, two entities of Viz Artist (respectively connected to Graphic Hubs on gh-host1 and gh-host2) have been configured in Director. The Media Sequencer configuration reads:
<handlername="viz_background_ai"connected="yes"mode="enabled"type="viz"><entryname="encoding">UTF-8</entry><entryname="state"/><entryname="renderer"><entryname="gh-host1"><entryname="active"/></entry></entry><entryname="publishing_point_uri"/><entryname="publishing_point_atom_id"/><entryname="info"/><command_timeout>20.</command_timeout></handler>and
<handlername="viz_background_e"connected="yes"mode="enabled"type="viz"><entryname="encoding">UTF-8</entry><entryname="state"/><entryname="renderer"><entryname="gh-host2"><entryname="active"/></entry></entry><entryname="publishing_point_uri"/><entryname="publishing_point_atom_id"/><entryname="info"/><command_timeout>20.</command_timeout></handler>Then, enable the publishing points with UUIDs b02cbb8e-87d6-11e7-bb31-be2e44b06b34 and d0053030-87d6-11e7-bb31-be2e44b06b34, which respectively reside on gh-host1 and gh-host2, by adding them to their correpsonding Viz handler. The configuration file should then read:
<handlername="viz_background_ai"connected="yes"mode="enabled"type="viz"><entryname="encoding">UTF-8</entry><entryname="state"/><entryname="renderer"><entryname="gh-host1"><entryname="active"/></entry></entry><entryname="publishing_point_uri"/><entryname="publishing_point_atom_id"/><entryname="image_publishing_point_uri">http://imex-host:19390/publishingpoint/b02cbb8e-87d6-11e7-bb31-be2e44b06b34</entry><entryname="image_publishing_point_atom_id">B02CBB8E-87D6-11E7-BB31-BE2E44B06B34</entry><entryname="info"/><command_timeout>20.</command_timeout></handler>and
<handlername="viz_background_e"connected="yes"mode="enabled"type="viz"><entryname="encoding">UTF-8</entry><entryname="state"/><entryname="renderer"><entryname="gh-host2"><entryname="active"/></entry></entry><entryname="publishing_point_uri"/><entryname="publishing_point_atom_id"/><entryname="image_publishing_point_uri">http://imex-host:19390/publishingpoint/d0053030-87d6-11e7-bb31-be2e44b06b34</entry><entryname="image_publishing_point_atom_id">D0053030-87D6-11E7-BB31-BE2E44B06B34</entry><entryname="info"/><command_timeout>20.</command_timeout></handler>Last, check if the global_publishing_points in the config section exists. If it does, it needs to be removed to enable the newly configured publishing points. Also, disable the http_resource_poller.