Graphic Hub Administrator Guide
Version 3.6 | Published December 10, 2021 ©
Graphic Hub Manager Customization
The GUI has two default layouts but it can be customized with different layouts in the workspace. In addition to the Layouts function, the look and feel of the Graphic Hub interface can also be customized. The Graphic Hub GUI has several options to modify its look and feel. In the Look panel of the system Preferences change the overall look from the drop down list. Also the color of the text for a selected server can be modified as required.
This page contains the following topics:
Default Layouts
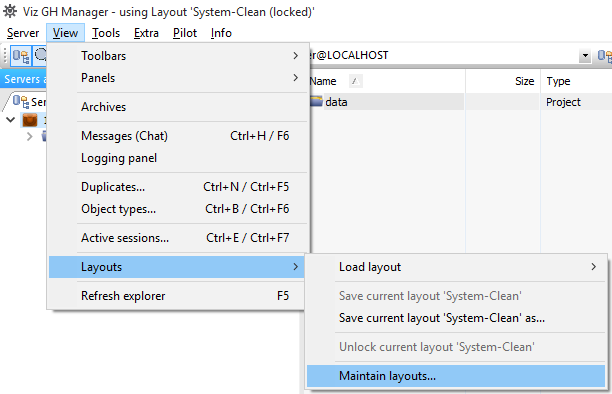
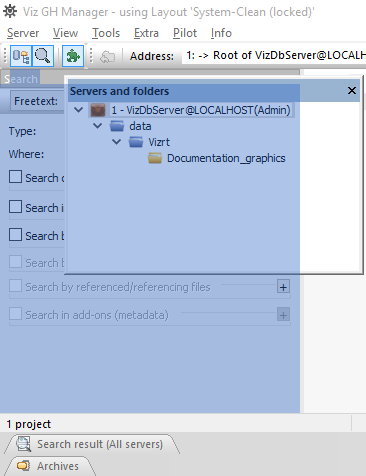
System-Clean (locked)
The System Clean layout is always identical to the presented layout when the Graphic Hub Manager is opened after a fresh install.

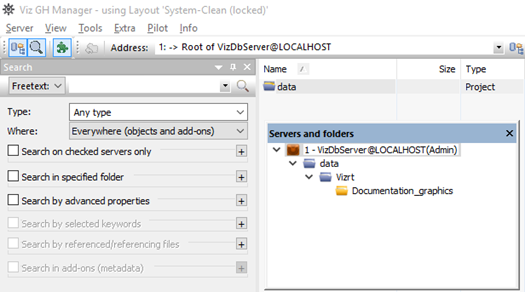
System-Default
System-Default is the default layout if a User does not create or save layouts. This layout is, by default, not locked, which means, that if a User opens the archives pane and then close the Graphic Hub Manager then on next startup the archives pane is shown.
Locked/Not Locked Layouts
Each layout can be set to locked or unlocked:
-
Not locked: When the Graphic Hub Manager is closed the last used layout is stored and when the Graphic Hub Manager is started this last stored layout is used.
-
Locked: If a User modifies a locked layout, the layout must be saved or the modifications are not saved.
Layout Maintenance
To View the Layout Maintenance Window
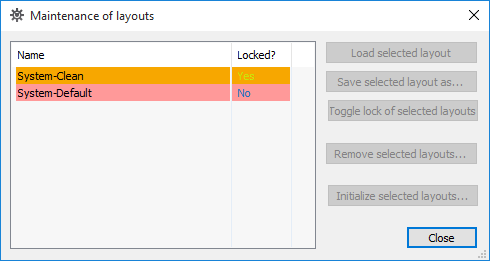
Layouts Maintenance Properties
-
Load selected layout: Opens the selected layout.
-
Save selected layout as...: Create a new layout from the selected layout.
-
Lock/Unlock selected layout: See Locked/Not Locked Layouts (not available for System-Clean).
-
Remove selected layout: Delete the layout (not available for System-Clean and System-Default).
-
Initialize selected layout: Set the selected layout to the same layout as System-Clean (not available for System-Clean.
Layout Procedures
To Save a Layout
-
Click View > Layouts > Save current layout < layout name >, or
-
Click the Save button in the Layout bar
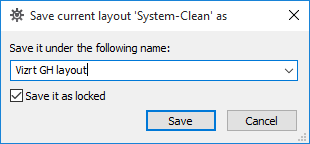
To Save a New Layout
-
Open the Save as window:
-
Click View > Layouts > Save current layout < layout name > as..., or
-
Click the Save as button in the Layout bar
-
-
Type a new layout name.
Tip: Also save a new layout to an existing layout, if required. Existing layouts are listed in the drop down menu.
-
Tick the Save it as locked box, if required.
-
Click Save.
To Load a Layout
-
Click View > Layouts > Load layout > <layout name>, or
-
In the Tool Bar, click the Layout button and select a previously saved layout.
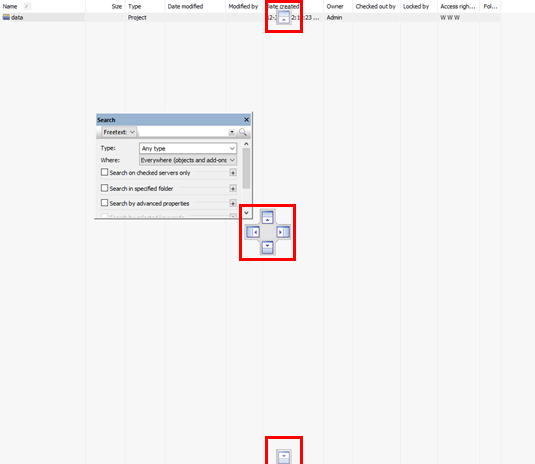
To Drag and Drop Layout Panels
-
Click and hold the title bar of the element to be moved.
-
Drag and drop the panel in a new position. Options are:
-
Drag the panel to a symbol which shows possible target positions. When a valid place is reached, that area is highlighted:
-
Drag the panel to the title bar of another panel. When a valid place is reached, that area is highlighted:
Note: When a series of elements are docked together, they show as tabs.
-
Drag to white space. When released the panel becomes a floating panel:
-
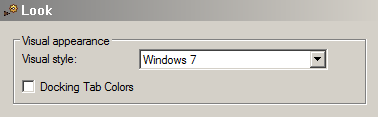
To Load a New Look
-
Click Tools > Edit Preferences > Look .
-
Select a visual style from the drop-down.
-
If colored tabs are required, tick the Docking Tab Colors box.
-
Click Apply or OK.
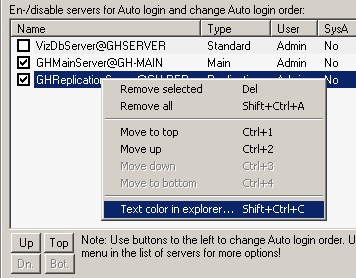
To Change the Color of a Server Text
Change the color of the text for the selected server, in the Server Tree.
Tip: A right-click on a server in the Servers and Folders also opens the Color window - go to step 3.
-
Click Tools > Edit Preferences > Login .
-
Right-click a server and select Text color in Explorer...
-
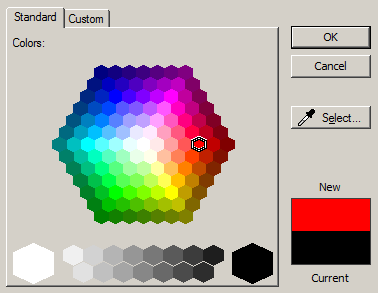
Select a color (Standard or Custom) from the color picker.
-
Click OK.
-
In the Preferences window, click Apply or OK.
Note: All folders and files in the Server show the selected text color in the Graphic Hub GUI.
Import and Export Custom Settings
All workstation-based customizations to the Graphic Hub Manager, such as changes to any of the panels, column layout and visibility, as well as the user interface in general can be exported (and subsequently re-imported on another machine).
To Export Local Graphic Hub Manager Settings
-
Click Tools > Export settings (incl. layouts) to file.
-
Select a file name and location, and click Save.
Note: The settings are saved with a file extension of .vghms.
To Import Local Graphic Hub Manager Settings
-
Click Tools > Import settings (incl. layouts) from file.
-
Select a settings file with the .vghms extension, and click Open.