
Viz Multiplay User Guide
Version 2.3 | Published August 10, 2018 ©
Presets
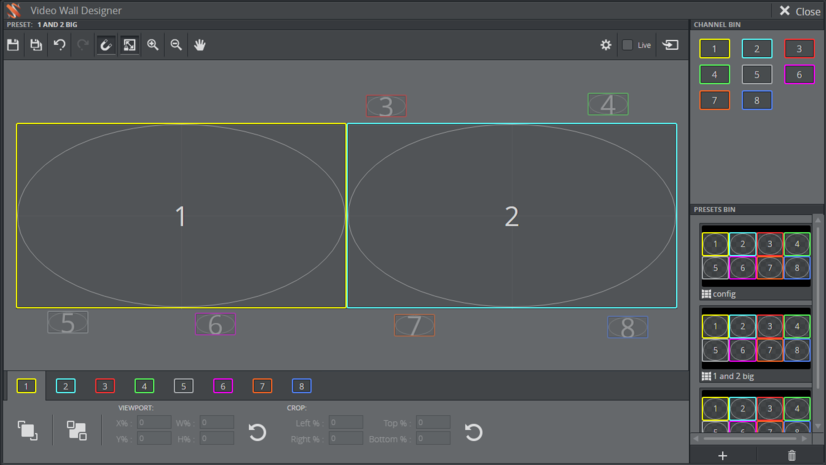
Presets describe the layout of the GFX channels in the video wall. Each GFX channel can have either a clip, a graphic element or an image. GFX channels are not bound to the size and dimensions of the physical video wall setup. A preset can have GFX channels spanning over several screens, and vice versa - several GFX channels can be placed inside a physical screen. GFX channels can also overlap each other. In addition, they have an Z-order, which allows content to be combined in GFX channels that are placed on top of each other.
The definition of presets encompasses the following:
-
Presets are regular graphic elements playing out the DynamicChannel scene, which keeps track of the positions of the GFX channels. When you import the DynamicChannel scene in Viz Trio and create a page from it, you are left with a preset. This element can be edited and played out from Viz Trio as well as from Viz Multiplay.
-
Presets are pages in a show that are not technically tied to one special video wall configuration in a profile. Rather, in reality, the presets of a show will not be usable for a different video wall setup. Therefore, the presets that are created in a show should only be used together with one special profile.
The following topics are covered in this section:
Creating presets
-
Start by creating a video wall setup in a profile
-
Create a show.
Tip:
For instructions on creating a show, see To create a new show with Viz Multiplay
-
Activate the profile
-
When you create the new show, Viz Multiplay automatically creates a special playlist for presets. This will appear under the Videowall tab in the sources pane
-
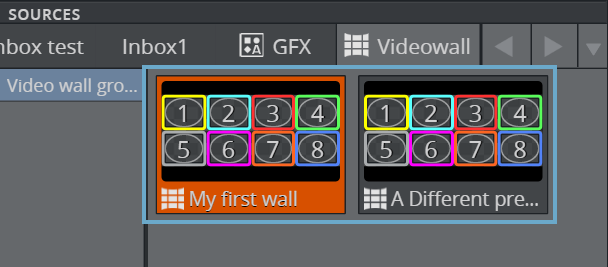
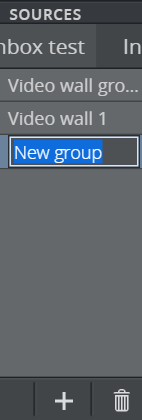
If you want to organize your presets in groups, create a few new groups in the Videowall playlist, or keep the existing “Default” group.
-
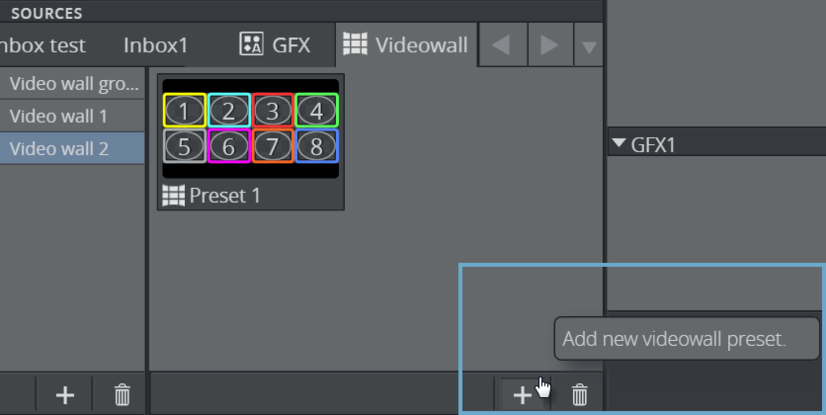
Create some presets in one of the groups by clicking the Add
 button.
Note:
The presets created in the video wall playlist should be seen as templates. They cannot be played out directly, unless you are in the Video Wall Designer. The purpose of this step is for someone to prepare a set of basic presets that can be used later when the content of the show is created. The presets are created default with a 4x2 layout.
-
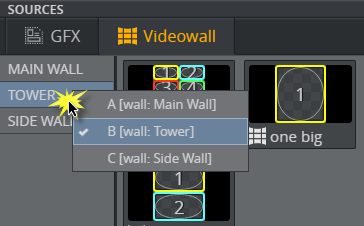
Right-click a group to connect it to a video wall in the active profile.
Using your new presets
-
Right click them in the Videowall tab and enter the Video Wall Designer
-
In the Video Wall designer, you can reorganize the layout of the GFX channels
-
Save the presets when you are finished
Tip:
Play out the content in the renderer in all the GFX channels before adjusting the GFX channels in the Video Wall Designer. This allows you to click Take or check the Live box from within the Video Wall Designer. This will automatically adjust the positions and dimensions of the content when working in the Video Wall Designer.
Tip:
If you have GFX channels that should be invisible in a preset - do not disable them. In terms of performance, it is better to drag them outside the video wall area and/or resize them to a smaller size.
Fine tune size or position of GFX channels
You are left with some preset templates with different layouts after working with the presets in the Video Wall Designer.
If you need to fine tune the size or positions of the GFX channels, do the following:
-
Enter the Video Wall Designer and click the Take button
-
Return to the main GUI in Viz Multiplay
-
Play some content out in each GFX channel and enter the Video Wall Designer again
-
Now check the ‘Live’ box and fine tune the GFX channels
-
The output on the physical screens will update live as you adjust the GFX channels in the Video Wall Designer.
Workflow without using the VideoWall tab
This workflow is more suitable when you have a fixed set of presets that can be created and prepared before the broadcast or event, and when the Viz Multiplay operator does not need to change any content.
-
Create a show
-
Drag the default preset from Videowall tab into your shortcuts playlist
Note: Optional: Go to Settings > General and select (No playlist set) in the Videowalls dropdown. Now the Videowall tab disappears from the Sources panel and appears in the Show panel.
-
You now have one preset in the shortcuts playlist. Right click it and select Video Wall Designer
-
Make your adjustments and click the Save As button to save more presets.
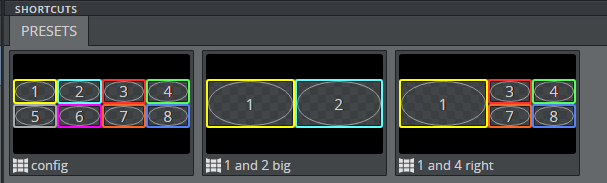
The end result is the same in this workflow: A set of presets in the Shortcuts bar, ready to control the layout of the video wall.
See Also