
Viz Multiplay User Guide
Version 2.3 | Published August 10, 2018 ©
Editing Media Items
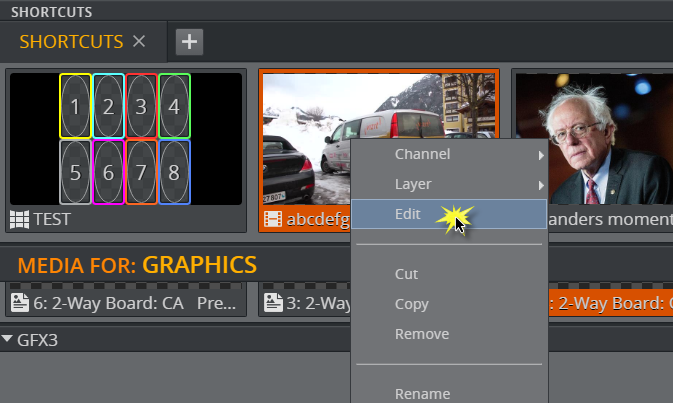
Once items have been added to the Media Column in a story, they can be edited (right-click the item and select Edit).
The editing options depend on the type of media:
Note:
All changes are live and cannot be canceled.
Editing Images
Use the Image Effect Editor to crop an image or add a zoom/pan animation.
Image Effect Editor
To open the editor, right-click an image and select Edit.
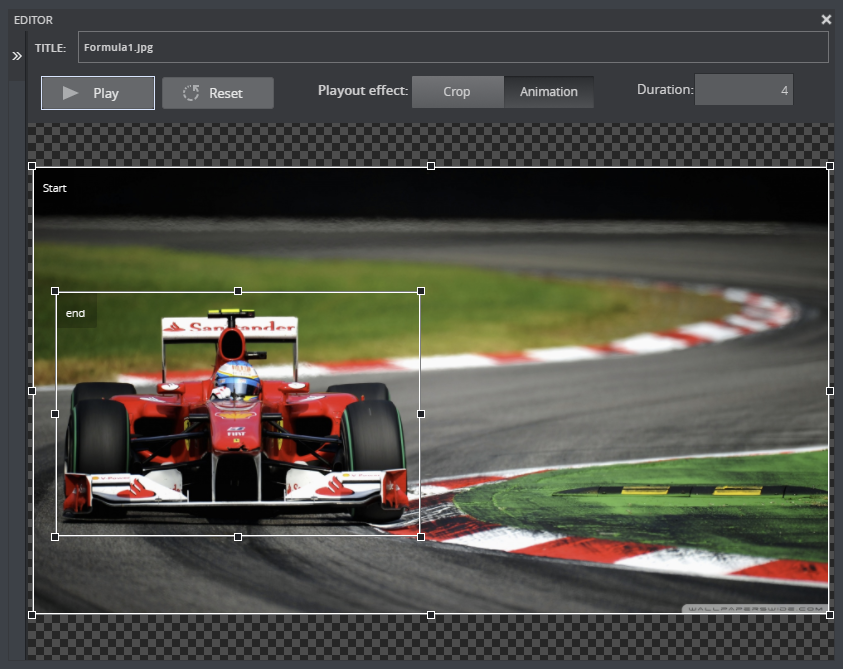
The Image Effect Editor allows you to crop or animate an image instantly using a crop rectangle. By default, the crop rectangle matches the image’s aspect ratio, but you can also freely set the rectangles’ aspect.
-
To crop an image, drag the rectangle to the desired size.
Tip:
Hold Ctrl before dragging the crop rectangle to maintain the image’s aspect ratio.
-
To animate an image, select a start and end frame and a duration for the animation. Preview the animation using the Play/Stop button.
Note:
All changes are live and cannot be canceled.
Note:
The image editor uses a proxy image, so the image may differ slightly when played out on a Viz Engine.
-
Click the Reset button to reset applied effects to the default settings.
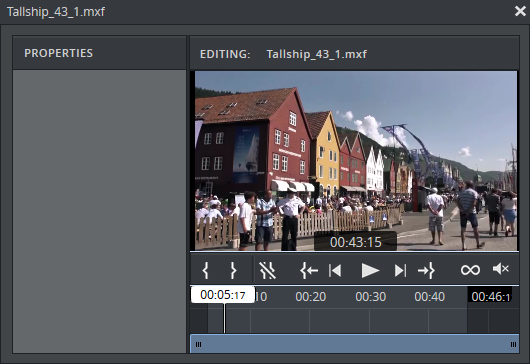
Editing Videos
Use the Video Editor to edit videos in GFX channels.
This section covers the following topics:
-
Open the video editor
-
Playback buttons on timeline
-
Playback keyboard shortcuts
Open the video editor
-
Right-click a video in a channel in the Media Column or in the Shortcuts Bar.
-
Click Edit.
Tip:
Double-click a video in the Shortcuts Bar or Media Column to open the Image Effect Editor. However, double-clicking to open the editor only works in Offline Mode.
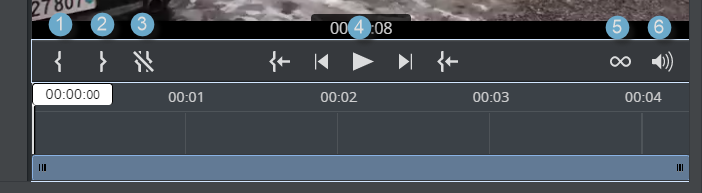
Playback buttons on timeline
-
Set Mark In: Set an in point.
-
Set Mark Out: Set an outpoint.
-
Clear Mark In/Out: Clear in and out points.
-
Playback buttons: Go to in point/outpoint, Play/pause, move one frame forward/back.
-
Loop video: Enable looping.
-
Volume slider: Adjust the clip volume.
Playback keyboard shortcuts
Use the following shortcuts during editing on the timeline.
-
Go to mark in: Move the playhead to the video’s first frame. Keyboard shortcut: SHIFT + i
-
Play/pause: Play/pause video. Keyboard shortcut: SPACEBAR
-
Move 1 frame back: Keyboard shortcut:
-
Move 1 frame forward: Keyboard shortcut:
-
Go to mark out: Move the playhead to the video’s last frame. Keyboard shortcut: SHIFT + o
Editing Graphics
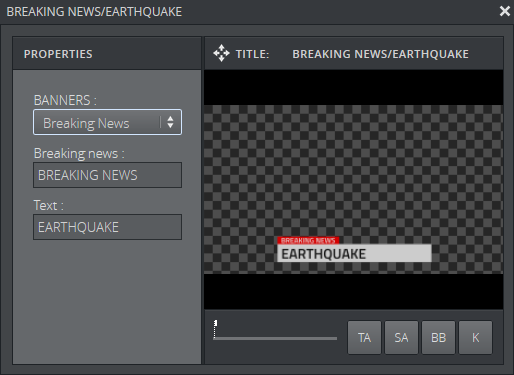
Graphics Editor
Open the Graphics Editor by right-clicking a graphics element and selecting Edit. Any changes made inside a graphical element are visible immediately.
On the left is the Payload Editor, where you can edit the fields that are available in the graphical element.
On the right you can adjust how you view the preview of the element:
-
TA: Show/hide the Title Area in the edit window.
-
SA: Show/hide the Safe Area.
-
BB: Show/hide the Bounding Box for the tab field currently selected in the edit window.
-
K: Show the key signal for the graphics.
-
Scrub the timeline back and forth using the slider.
Note:
All changes are live and cannot be canceled.
Editing Presets
There are two types of presets, Presets and Filled Presets, each with their own editing options.
Preset
A Preset defines the layout of the graphics channels on a video wall.
New presets are created in the Videowall Tab. Drag presets to the Shortcuts Bar in order to switch between layouts during a broadcast and send presets to air.
This section covers the following:
-
Create a preset
-
Send a preset to air
-
Open the Video Wall Designer
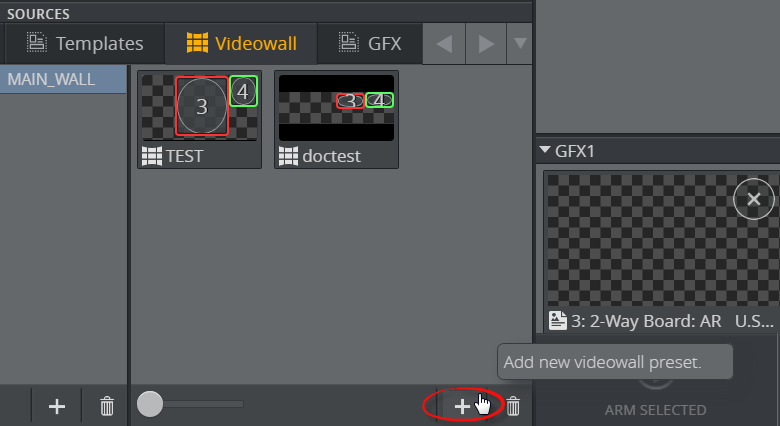
Create a preset
Add a new videowall preset.
-
Click the Videowall Tab in the Sources Pane.
-
Click the + icon.
-
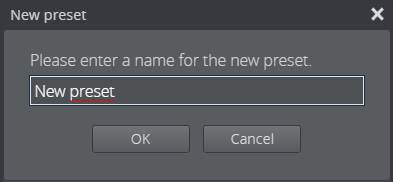
Give the preset a title.
-
Click OK.
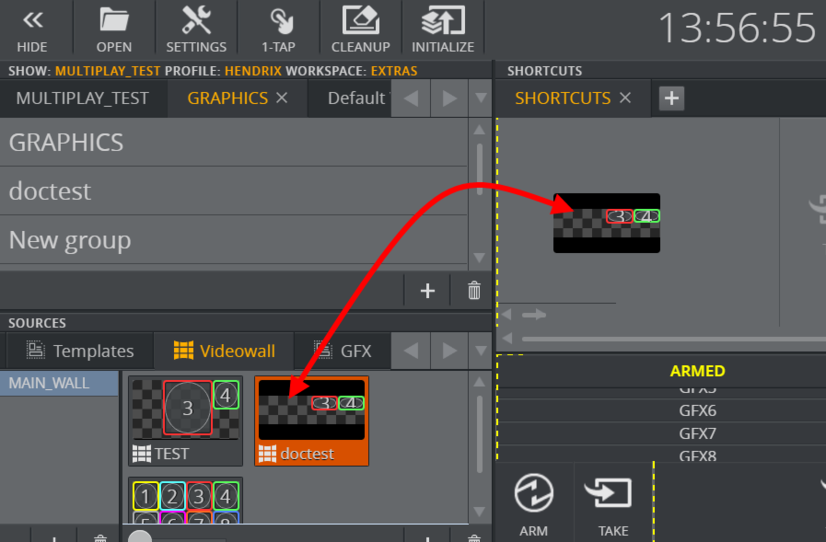
Send a preset to air
Send a preset to air via the Shortcuts Bar.
-
Drag a preset to the Shortcuts Bar.
-
Click the preset to send it to the Armed column.
Note:
In 1-Tap Mode, clicking a preset will send it straight to on air.
-
Click the preset in the Armed column, or click the Take button.
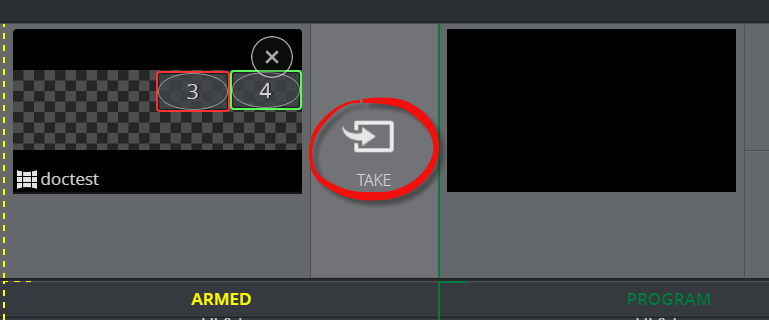
-
The preset moves to the to the Program column and is now on air.
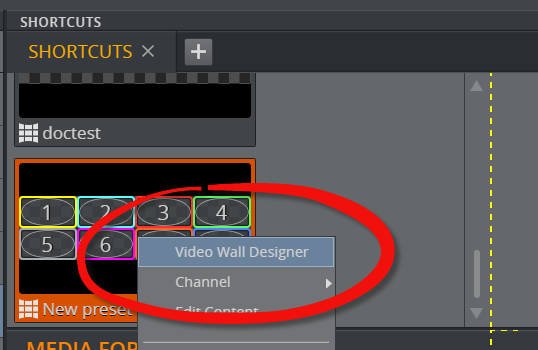
Open the Video Wall Designer
Edit the preset layout in the Video Wall Designer. There are two ways to access the Video Wall Designer, as described below:
Access the Video Wall Designer via the Videowall Tab:
-
Right-click a preset in the Videowall Tab.
-
Click Video Wall Designer.

Access the Video Wall Designer via the Shortcuts Bar:
-
Right-click a preset in the Shortcuts Bar.
-
Click Video Wall Designer.
Filled Preset
A Filled Preset is a video wall layout which also includes predefined content. Use Filled Presets to send content onto your video wall quickly. Content can only be added to presets which are in the Shortcuts Bar.
Edit the content in a preset in the Preset Content Editor (right-click a preset in the Shortcuts bar and select Edit Content).
See Also
Renaming playlist entries
There are two ways to rename media items added to a playlist in the Shortcuts Bar or Media Column:
Rename from the context menu
-
Right-click an item in either the Shortcuts Bar or Media Column
-
Click Rename
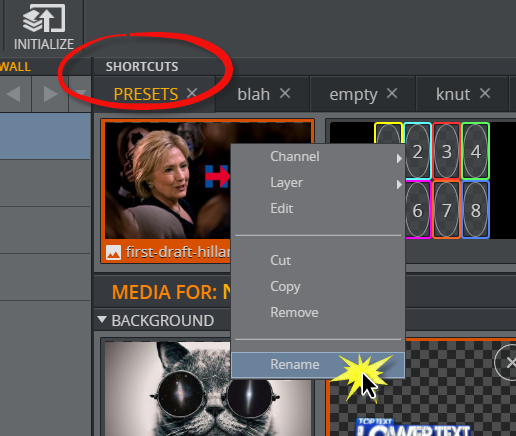
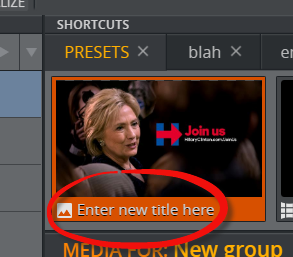
-
Enter a new title
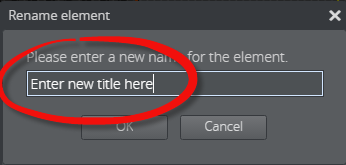
-
Click OK
-
The new title shows on the element.
Note:
The new name will not be overwritten by the auto generation process when entering new field values in the Editor.
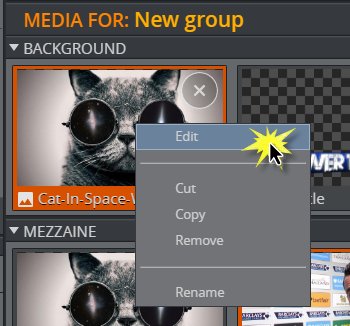
Rename from the Editor
-
Right-click an item in the Media Column
-
Click Edit to open the Editor
-
Click the title text field
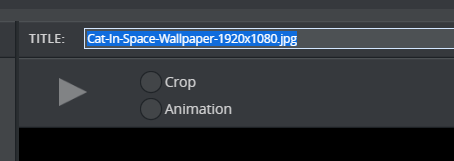
-
Enter a new title
-
Press ENTER
-
Click ‘x’ to close the editor. The element shows in the Media Column with the new title.