
Viz Plug-ins User Guide
Version 5.0 | Published December 20, 2022 ©
Presets
The Presets scene plug-in manages superchannel-based preset master scenes. It has functionality for creating, updating and removing named presets, as well as the ability to transition between such presets. The presets define different layouts of the superchannels in the scene. Preset state and the transition animations between presets are represented by directors in the stage. The Presets plug-in also provides a command interface that is utilized by the Media Sequencer Engine for management and playout of named presets.
Note: This plug-in is located in: Plugins -> Scene plug-ins -> Control
Presets Properties
-
Show advanced: Toggles advanced properties.
-
Current preset: The last preset taken, cut or selected in the dropdown.
-
Command in: Receives commands in order to perform an operation on the preset master scene.
-
Command result: Returns a result using the result parameter when a command is successfully executed.
-
Command error: Sets an error message using the error parameter on invalid commands or command failure.
-
-
Add superchannel: Adds a superchannel and a default content transition director to the scene, and applies superchannel settings needed for playout from the Media Sequencer.
-
Preset name: Specifies the name of a new preset.
-
No layout transitions (new preset): Specifies whether the new preset should be transitionless. When selected, new presets added do not support layout transitions to and from other presets. When transitioning to and from such presets, the plug-in always falls back to cut (immediately applies the layout without animation).
-
Add preset: Adds a new preset with the name specified by the preset name parameter. The layout of the new preset is determined by the layout of superchannels in the scene at the moment of adding the preset. This does not overwrite existing presets.
-
Preset: Determines the preset for editing.
-
Discard changes: Discards the changes made to the superchannel layout and shows the layout for the preset currently selected in the dropdown list.
-
Apply changes: Applies changes to the preset currently selected in the dropdown list. This updates the preset director and preset transition directors with the layout currently visible in the editor.
-
Remove preset: Removes the preset currently selected in the dropdown list from the scene.
Creating a Preset Master Scene
This section describes how to create a preset master scene from scratch with Viz Artist. Start with an empty scene.
Adding the Presets Scene plug-in
The first step is to add the Presets scene plug-in to the scene.
Adding Superchannels
The preset scene manages named presets that define layouts of superchannels. We need to add superchannels to the scene. Superchannels can be added to the scene one by one with the plug-in:
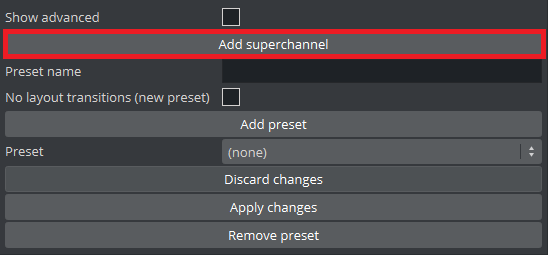
It is possible to add superchannels to the scene manually in the DVE media assets tab, however this is discouraged because the default superchannel configuration does not support playout from the Media Sequencer. The following settings are set when adding superchannels with the Presets plug-in:
-
Superchannel asset type is set to Texture.
-
Superchannel start mode is set to Loaded / Cleared.
-
Directors for transitioning from subchannels A to B and from B to A are set to content transition directors generated by the plug-in.
-
Start mode for superchannel subchannels are set to Transition Start.
-
Image zoom mode is set to Scale to fit min for superchannel subchannels.
-
Image border color is set to transparent (alpha 0%).
Creating Presets
When the Presets plug-in and superchannels are added to the scene, we can create presets, defining different layouts of superchannels.
To create a new preset, first arrange the superchannels to the desired layout and set the desired superchannel properties:
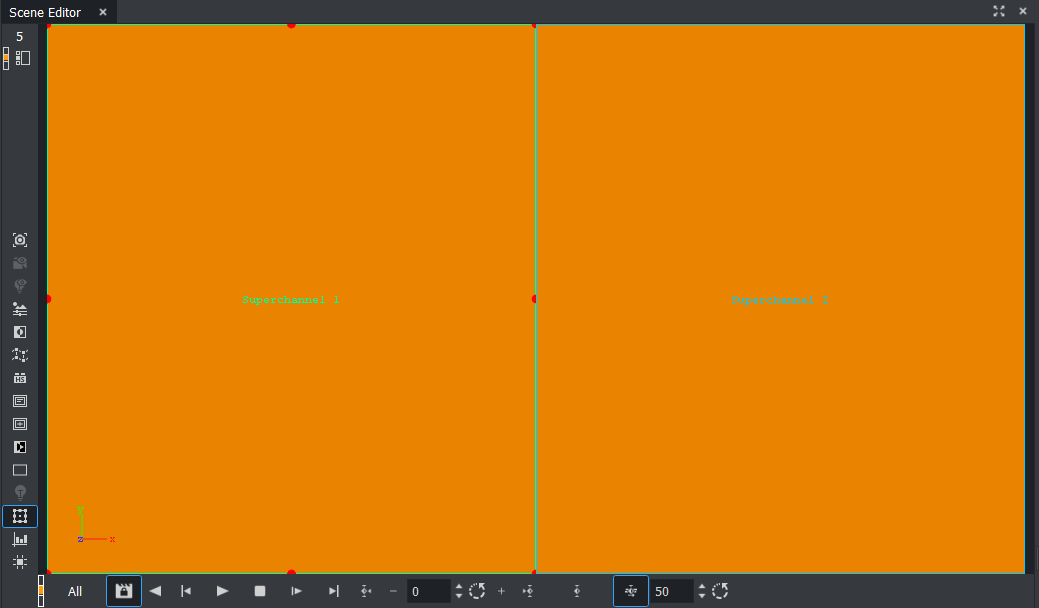
When the desired layout is set, use the Presets plug-in interface to add a new preset:
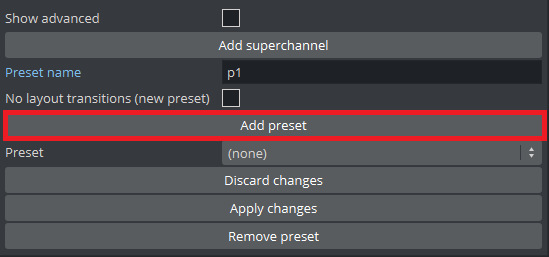
Specify a unique name for the new preset before pressing the Add preset button. Existing presets are not overwritten. For adding more presets to the scene, repeat the process of adjusting the superchannel layout, choosing a new preset name and pressing the Add preset button. If it is desired to add a preset without layout transitions to and from other presets, the option No layout transitions (new preset) should be enabled before pressing the Add preset button.
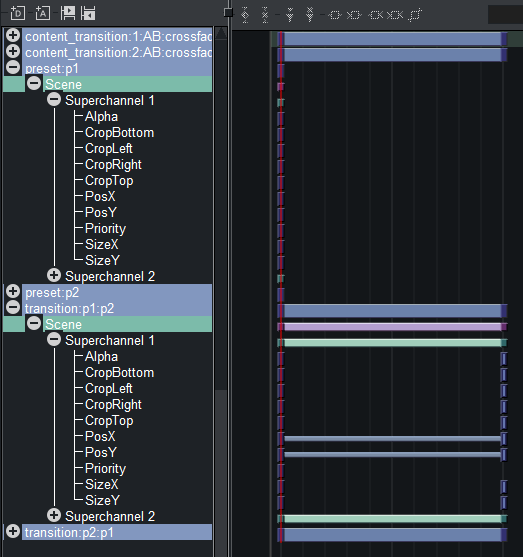
The presets and transitions between presets are now represented by directors in the stage, created by the plug-in:
Editing Presets
To edit a preset, first make sure it is selected in the dropdown list:
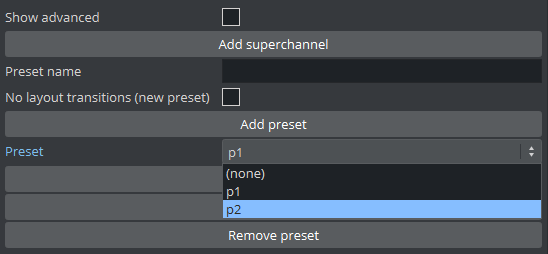
Now you can rearrange the superchannels to the desired layout. Note that selecting a different preset discards any unapplied changes currently made in the editor. Changes can be applied to the selected preset with the Apply changes button, or discarded with the Discard changes button.