Tracking Hub Administrator Guide
Version 1.6 | Published December 15, 2022 ©
NDI Service
Features
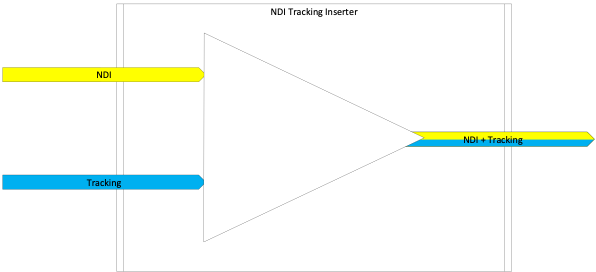
Tracking Hub can now receive standard tracking data via UDP or serial connection and embed it into an NDI Stream.
The NDI Service is free running and tries to synchronize the incoming packages from the camera to the incoming video frames from the NDI stream. It is quite important, that the NDI camera is connected to a separate network without any router between the Tracking Hub and the PTZ Camera. It is also mandatory that the Tracking Hub is the only connected instance to the camera.
Engine Configuration
In Viz Engine, set tracking data input to SMURF/NDI. Open the configuration file and set the use_trackinghub flag to 3.
## 0 = use vizio, 1 = use trackinghub, 3 = use SMURF/NDIuse_trackinghub = 3Camera Configuration
There are also some important settings which need to be done in the Camera Setup. As an example, we configured the Panasonic AW100 PTZ camera.
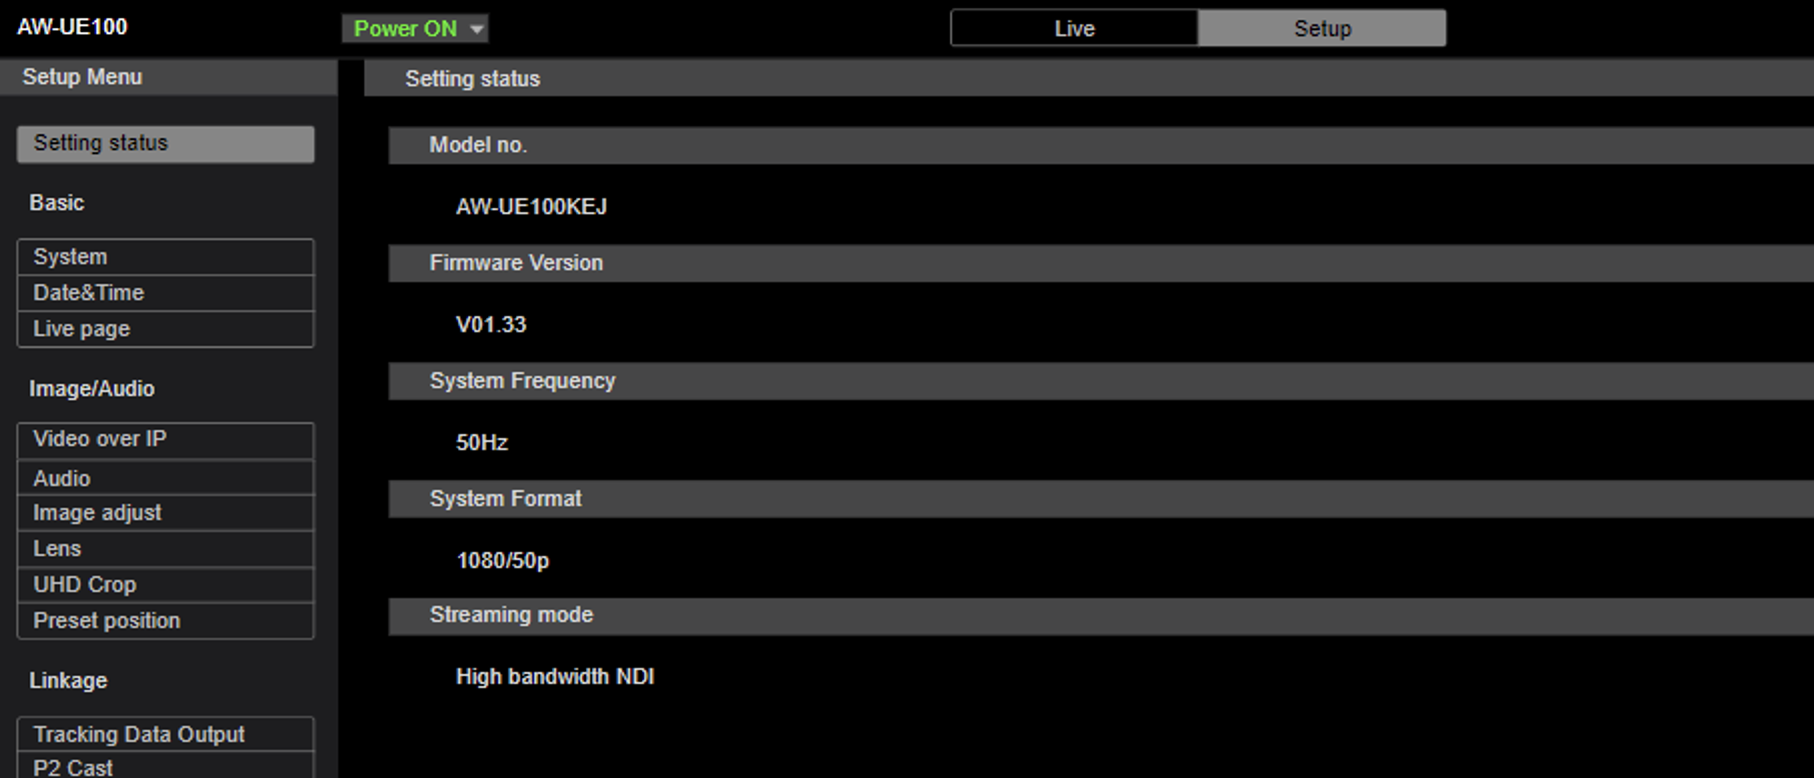
At the time of writing, this is the only camera tested and certified with NDI tracking data.
The minimum recommended firmware version is V01.33.
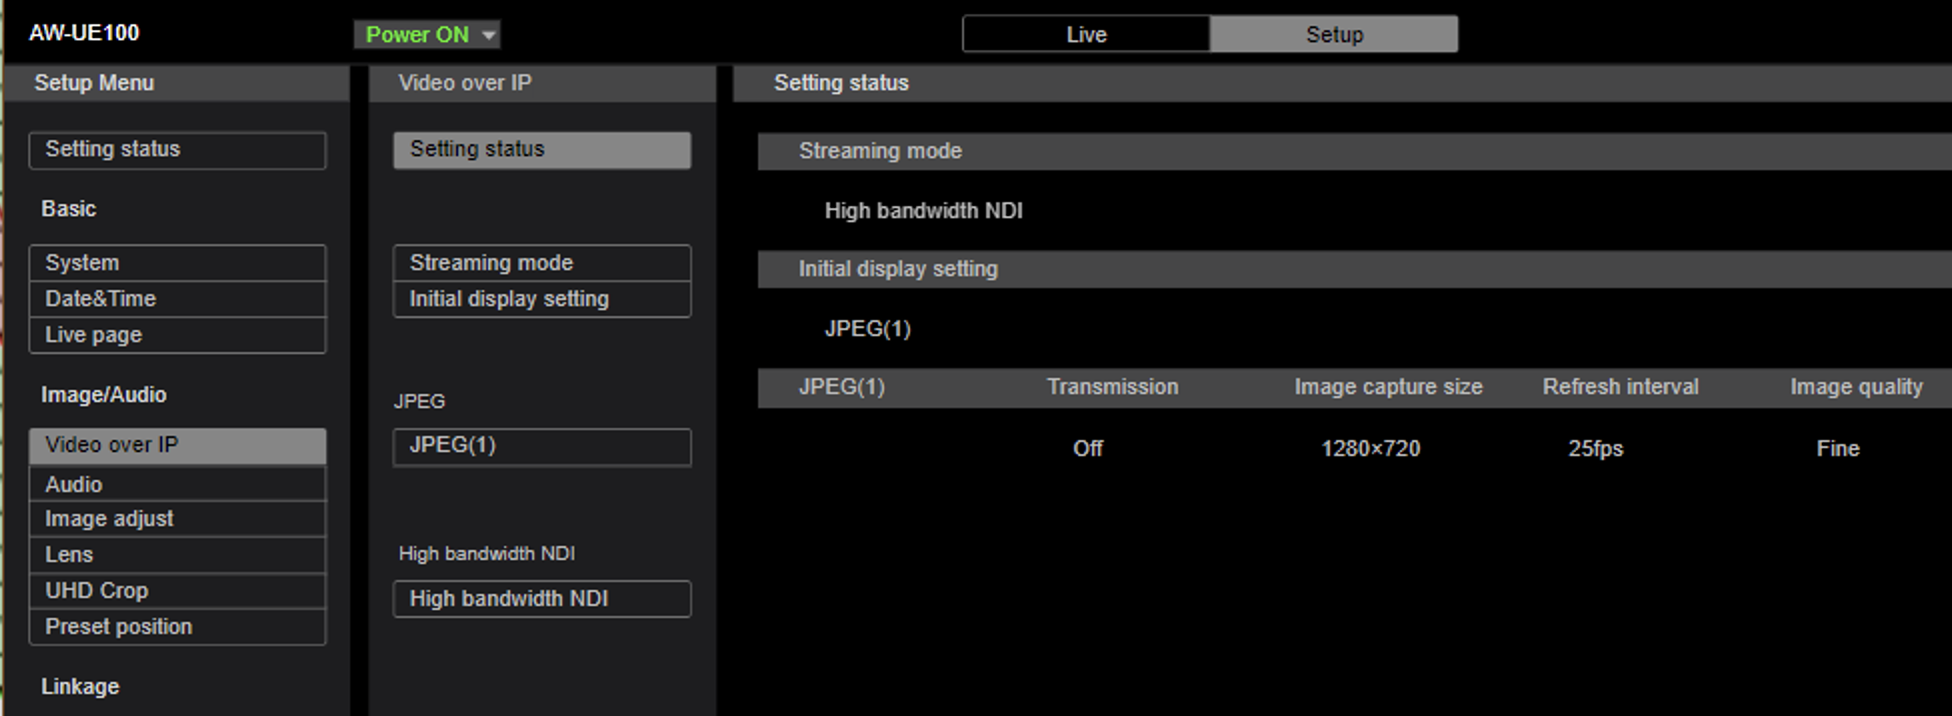
The streaming mode must be set to High Bandwidth. It is recommended to switch of JPEG streaming to the web GUI.
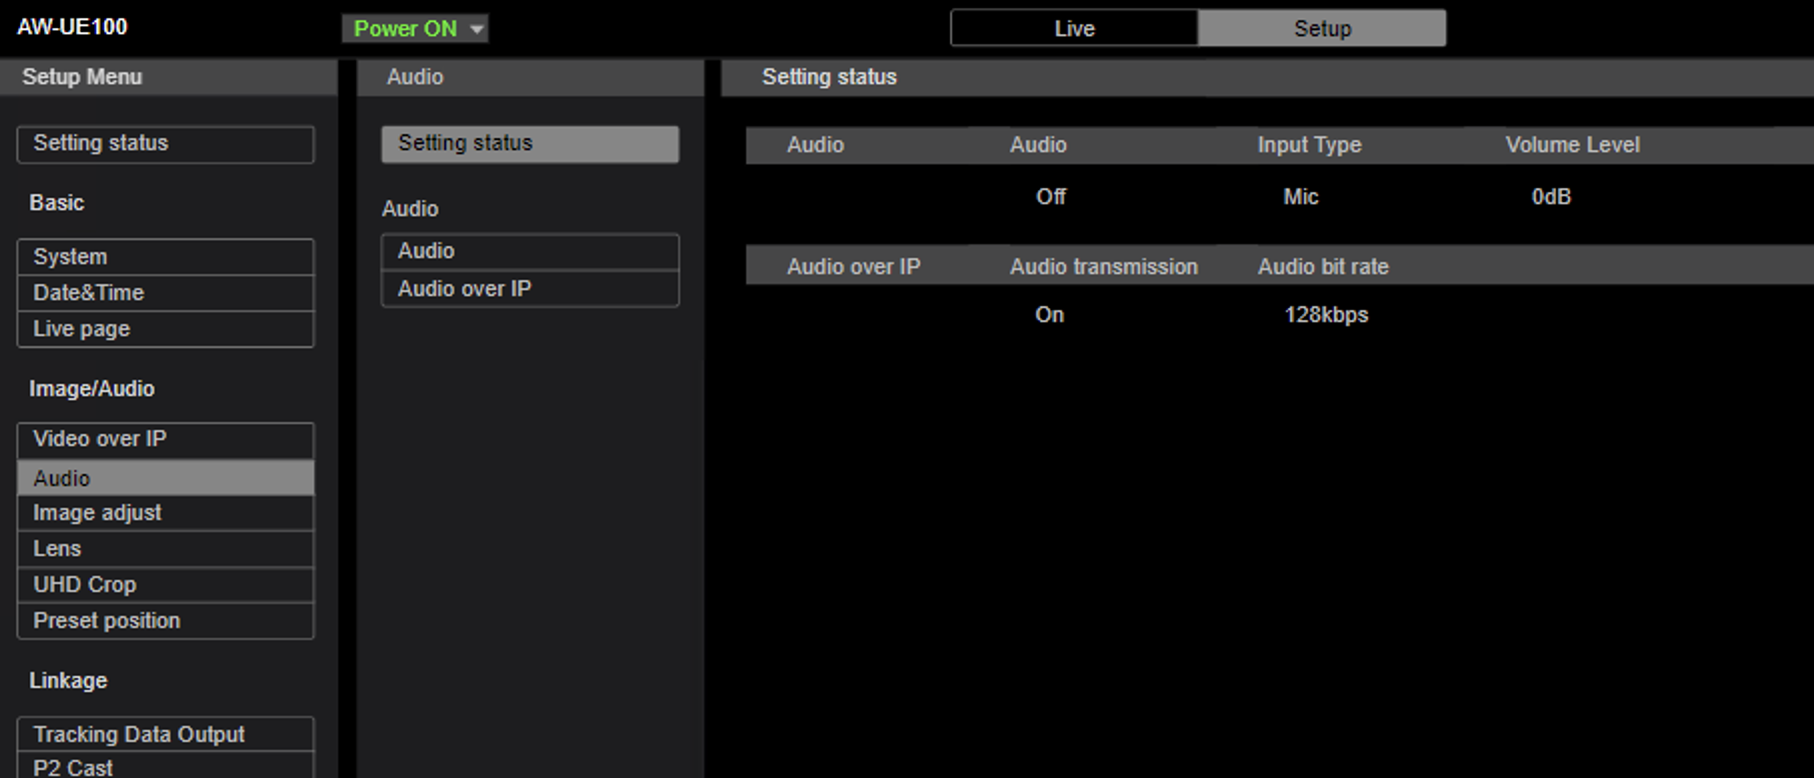
Audio is not supported in Tracking Hub. The reason is that NDI sender like the Panasonic AW100 attempts to synchronize video and audio by repeating or skip frames when audio gets unsynchronized. This leads to delay changes in the tracking data. When a frame is missed, the virtual objects lag behind the real video, and when a field is repeated the virtual objects are in front of the video. It is best to deactivate audio in the camera settings.
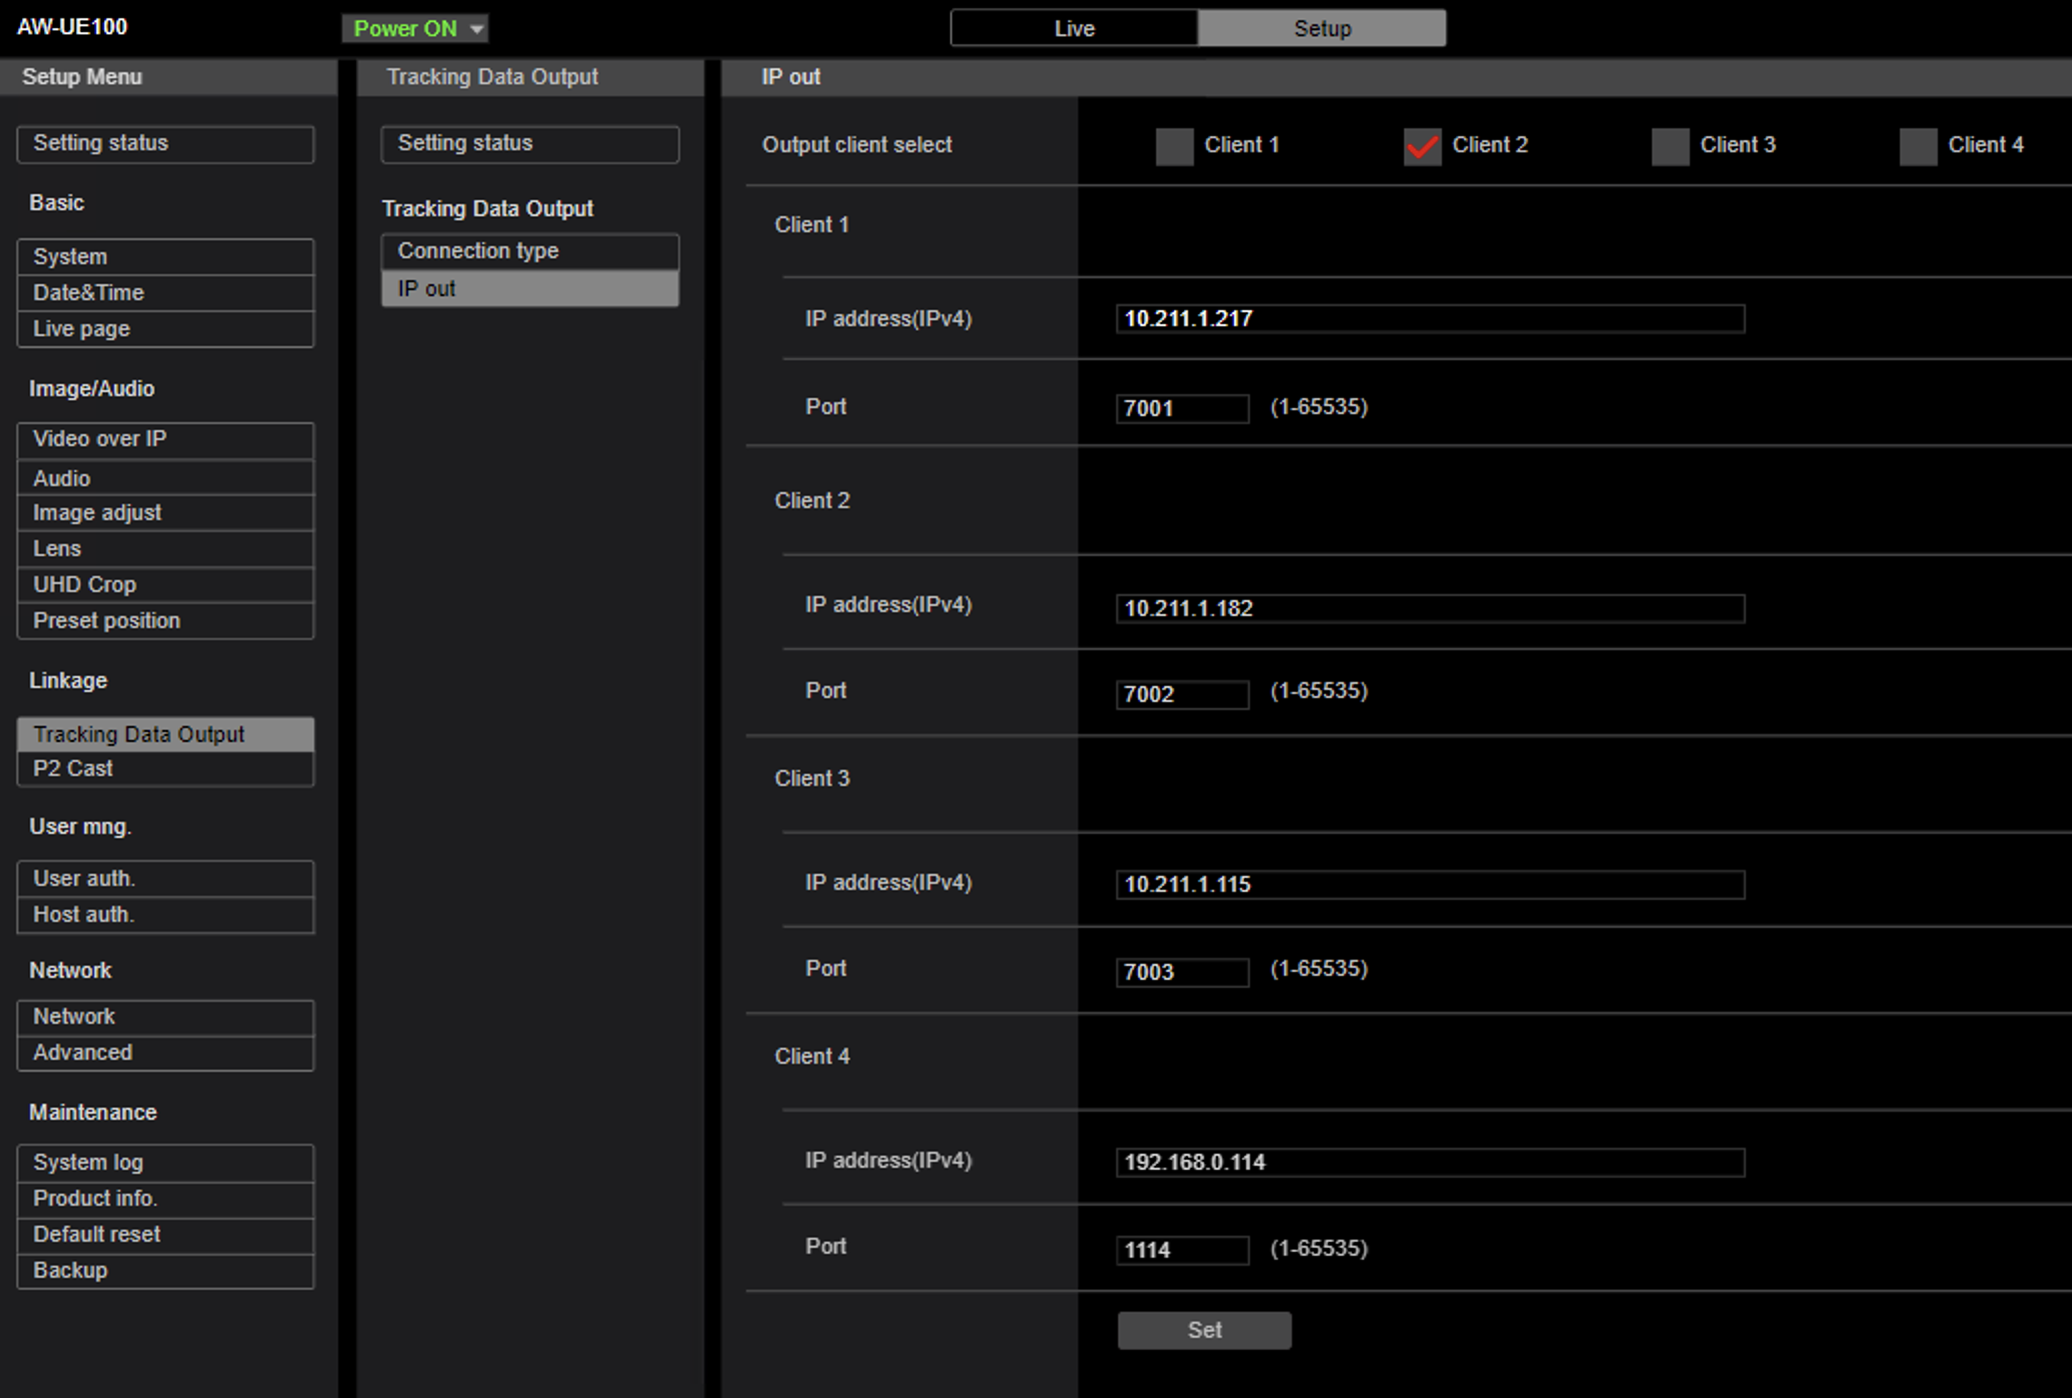
There is also need to activate tracking data output of the camera. Activate one client and enter the IP address of the Tracking Hub. The camera then sends the UDP packets to the tracking driver of the Tracking Hub.
Studio Manager Configuration
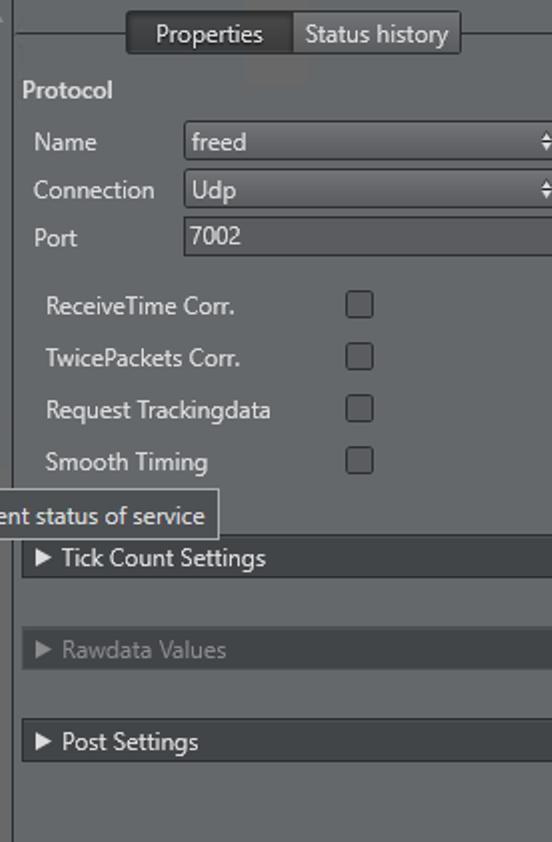
Add a new Tracking Driver and select freed as protocol. Enter the port number, which was selected in the setup section of the cameras user interface. In this example, it is 7002. Then right click on the Tracking Driver and select connect. The tracker changes to green if all values were set correctly.
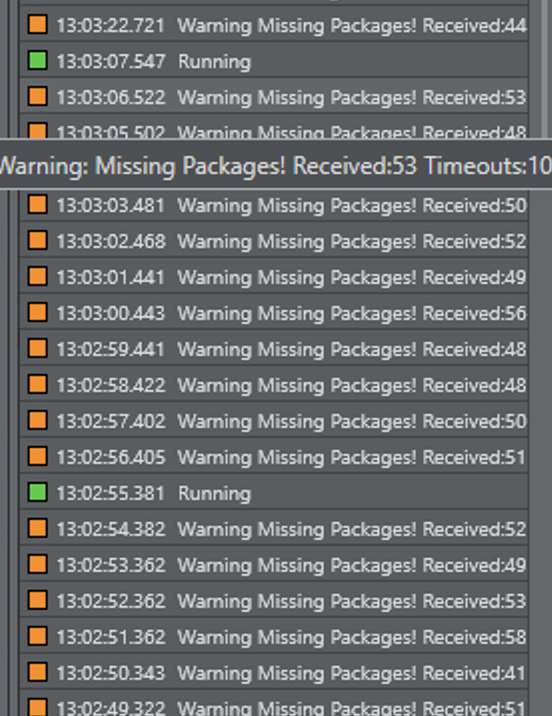
In case the tracker color goes from green to orange and the incoming tracking data is irregular or erratic, the camera needs a reboot. Power off the camera and turn it on again. If the camera data is not coming in correctly after this procedure, check the frame rate and video settings of the Tracking Hub and the camera. The next step is to set up the rig and lens file (please refer to the Configure Topology section). When the topology is set, a NDI service can be added.
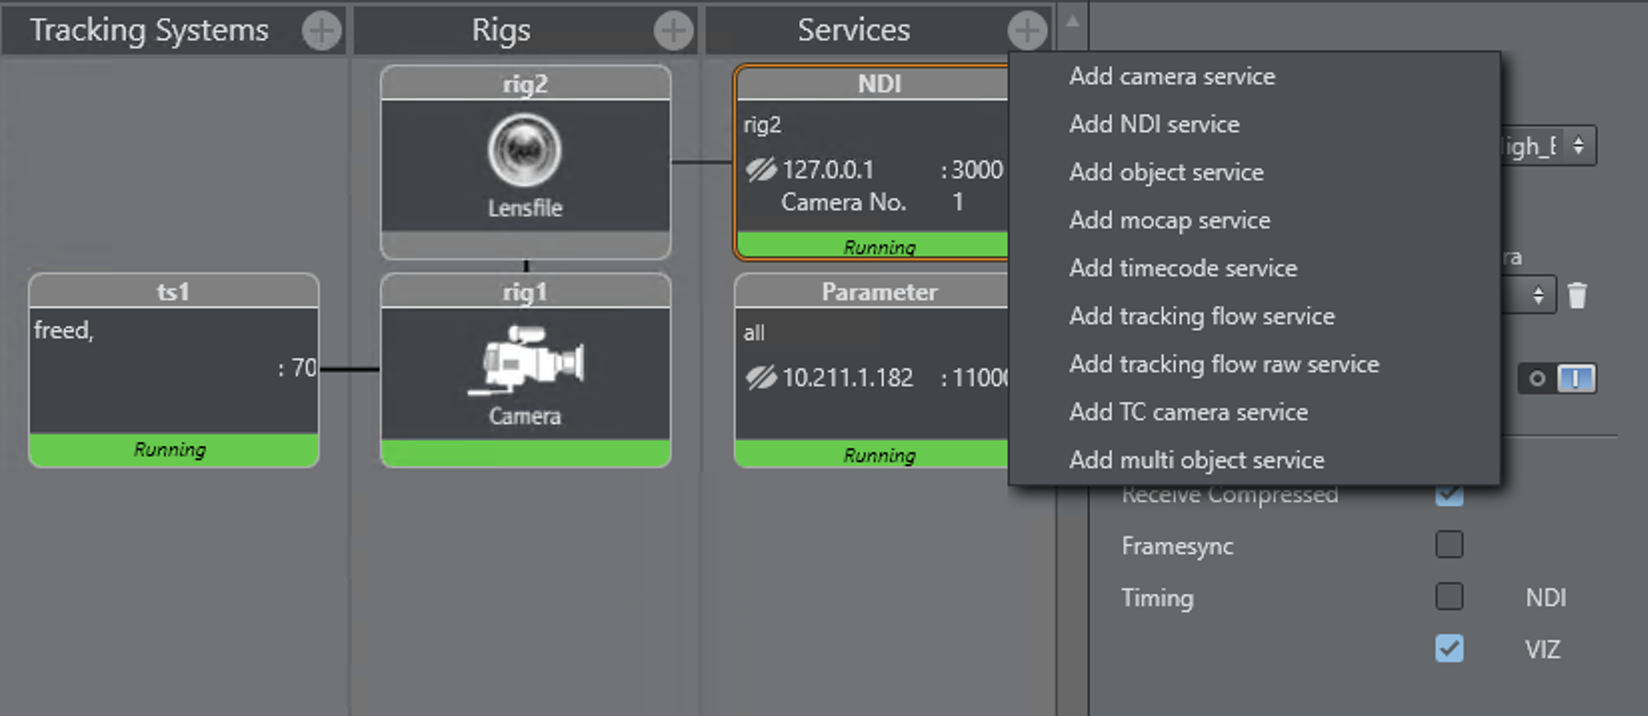
Click on the + Button in the service section of the Studio Manager and Add NDI service. The service properties a dropdown shows all available NDI streams. Select the stream of the NDI camera, then add a rig and select the camera number. When using more than one camera, every service should use a different camera number. When in Viz the video should be switched from one camera to the other, the correct camera number must be sent to Viz Engine.
Like all other Services the NDI Service can be switched On and Off. The other options of the Service are:
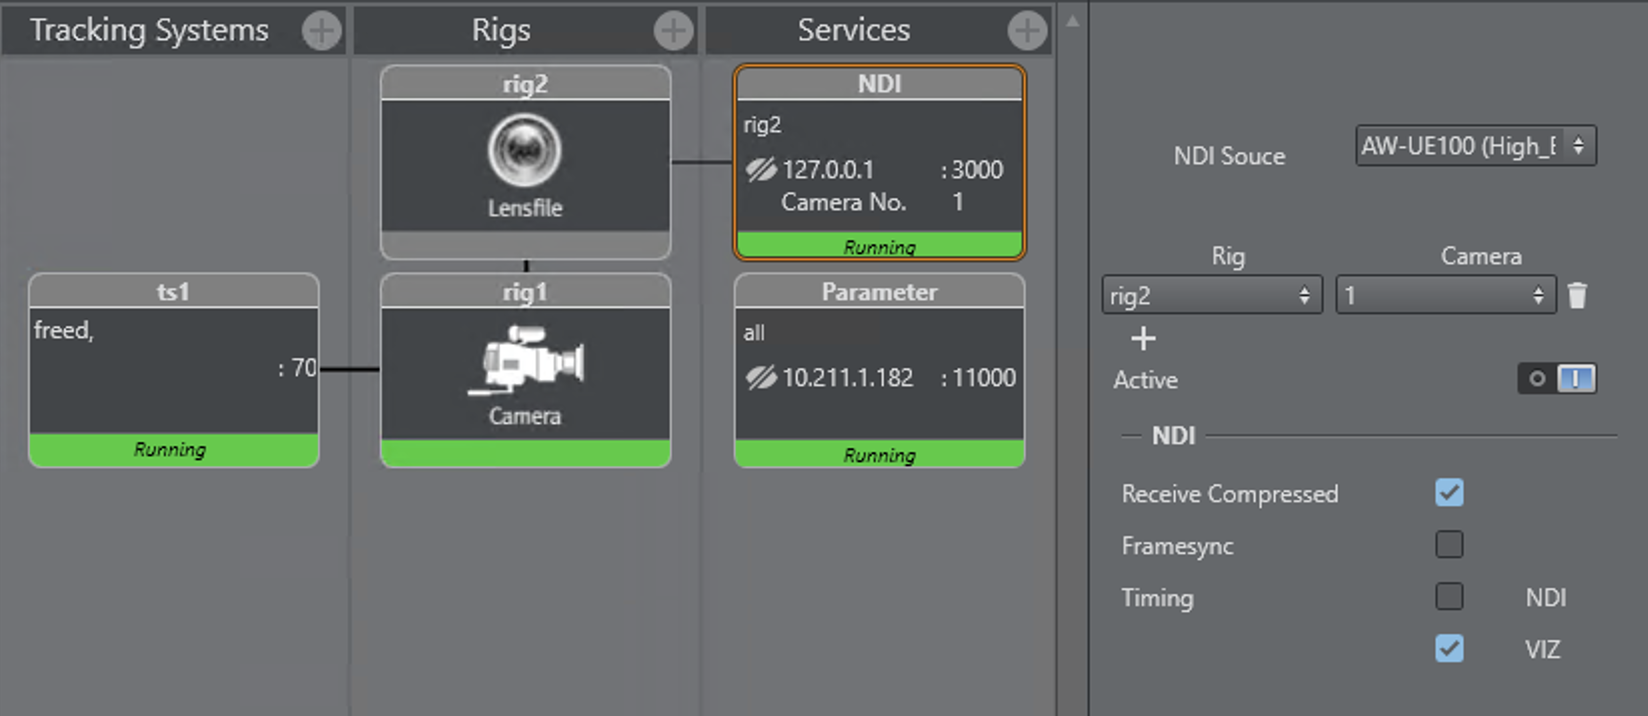
-
Receive Compressed: Tracking Hub does not try to decode the video frames. It only extracts the Video metadata and adds the tracking information into it. When deactivated, Tracking Hub needs much more CPU resources. This option is on by default.
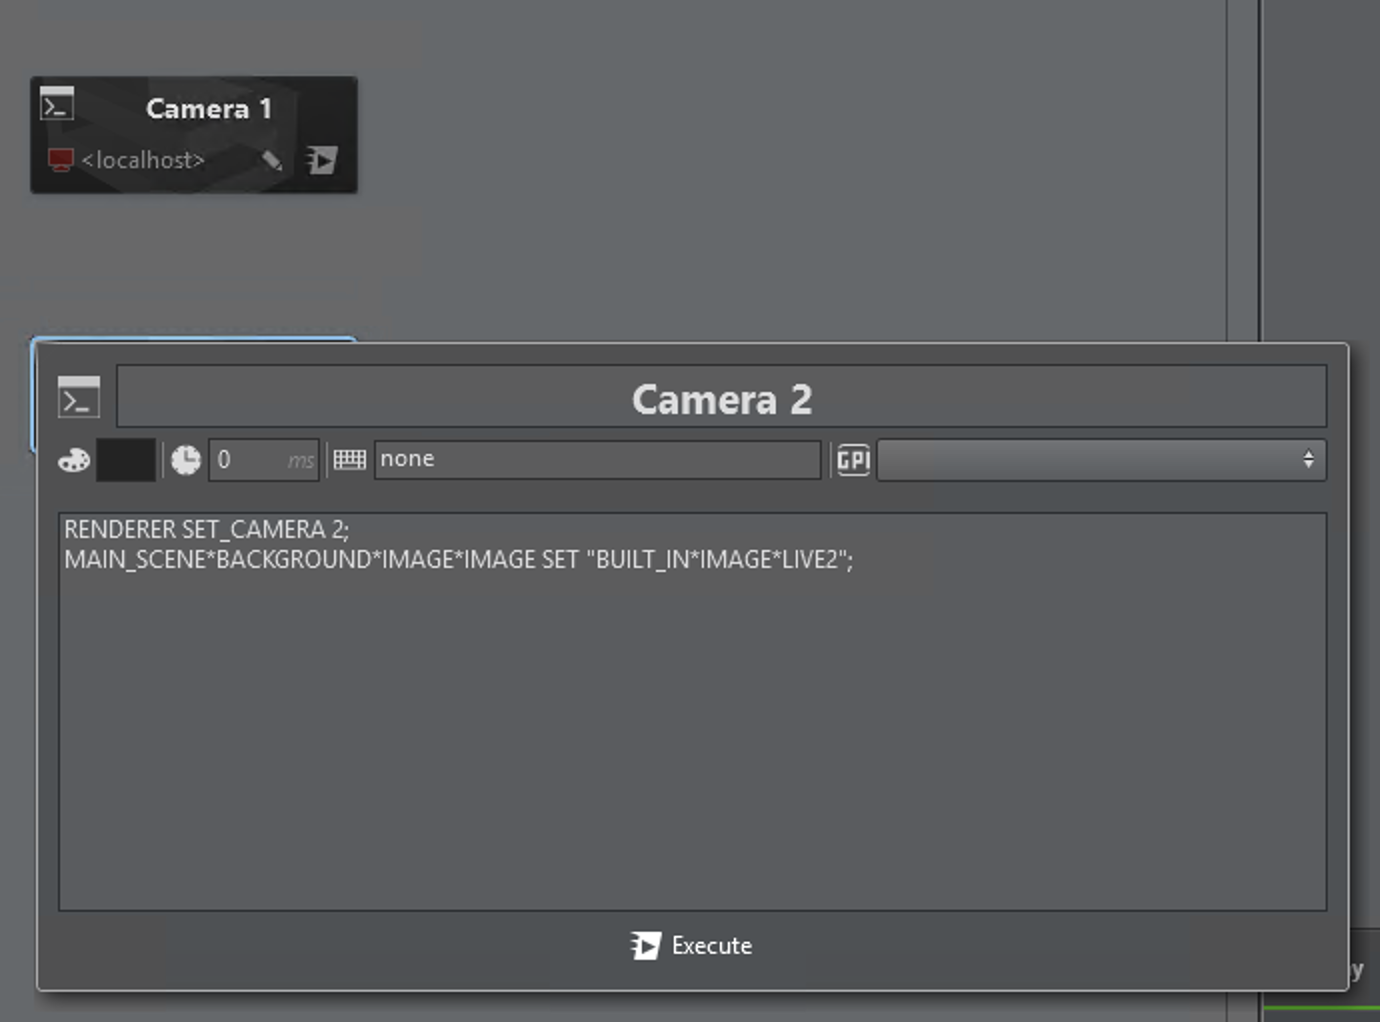
Viz Arc Camera Switching
The following command sequence from VIZ Arc shows the correct commands to switch between camera 1 / LIVE1 and camera 2 / LIVE2. First, create two command buttons in Viz Arc and add the following commands to them:
RENDERER SET_CAMERA 1;MAIN_SCENE*BACKGROUND*IMAGE*IMAGE SET "BUILT_IN*IMAGE*LIVE1";RENDERER SET_CAMERA 2;MAIN_SCENE*BACKGROUND*IMAGE*IMAGE SET "BUILT_IN*IMAGE*LIVE2";