
Mosart Web Applications Guide
Version 1.6 | Published August 10, 2023 ©
Working with the Timing Display
Key Features
-
Supports a variety of devices (for example an iPad or networked phone).
-
A 24 x 24 editing grid enables rich flexibility for timer layouts.
-
Each timer has a consistent and readable appearance. Available space is optimized with proportionate fonts.
-
Rapid drag and drop of timer elements, from an intuitive list.
-
Rich text formatting: Color picker + Bold + Alignment + Show label.
Operating Modes
For daily operations, the Timing Display runs in View Mode. Use Edit Mode to create or adjust the display.
View Mode
Browse-anywhere timing information in your web browser.
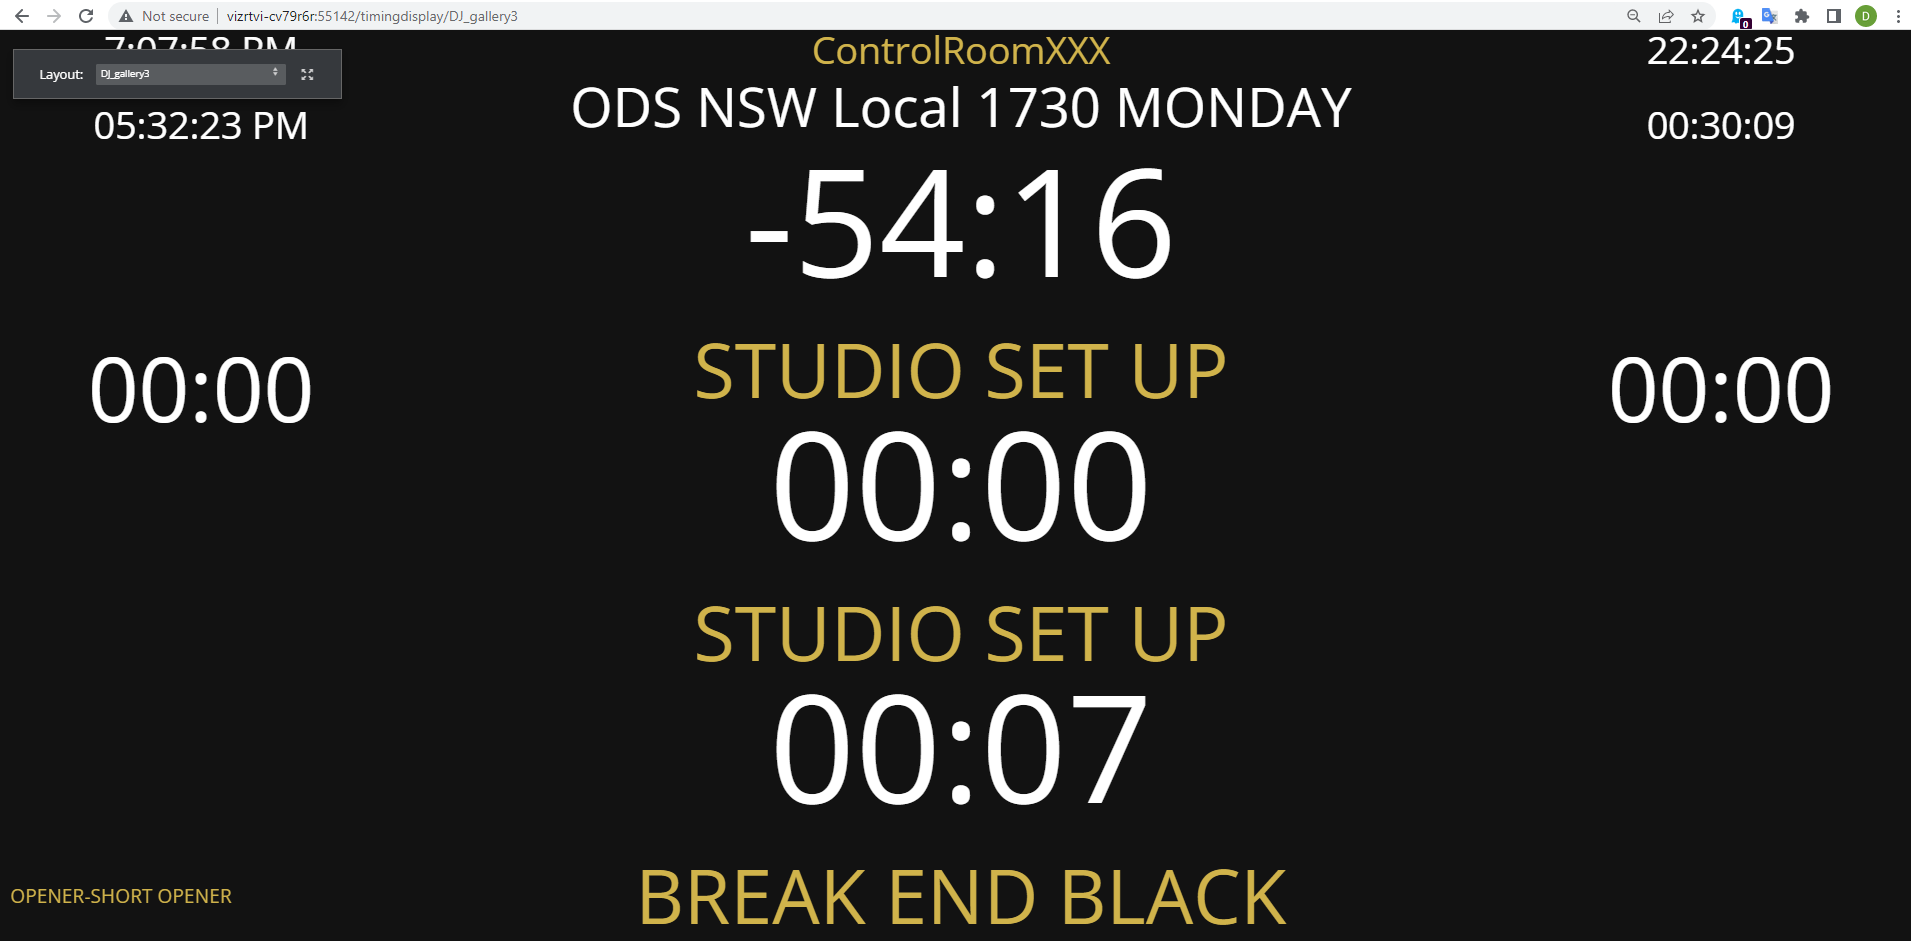
In View mode you can:
-
Mouse-over a timing detail for an explanation.
-
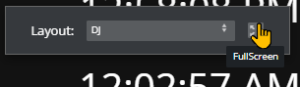
Display as full screen.
-
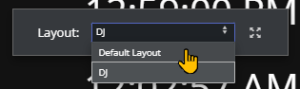
Select any other defined view of the display.
To display a Timing Display in View Mode
-
View Mode is the result of Distributing a Timing Display.
-
You can also browse a Timing Display in View Mode, by clicking the View button in the menu bar.

The View Mode opens in a new tab.
Edit Mode
To Create and modify a Timing Display
You can reconfigure or create a new Timing Display with details relevant to your operation.
-
If no Timing Display editor is running in your web browser
-
From the desktop shortcut or Programs menu, start the Viz Mosart Web Applications Configuration Tool.
-
In the Timing Display panel, click Open.
A Timing Display editing web page opens.
-
-
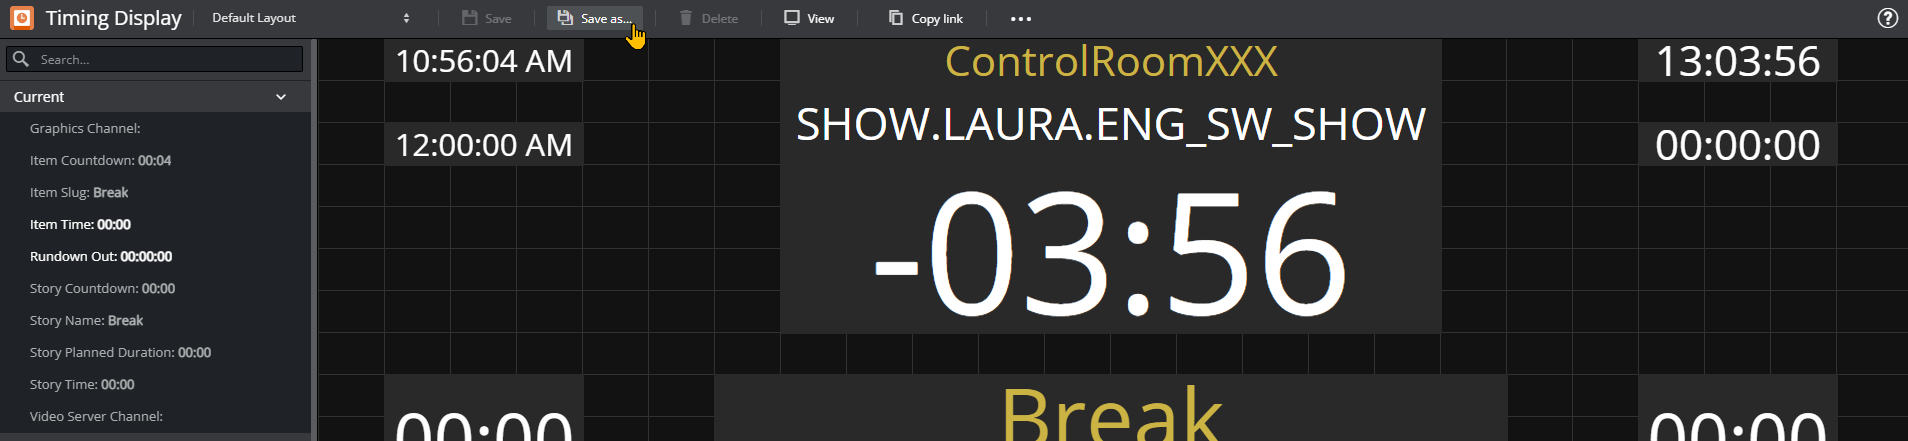
Configure the display. For example:
-
From the Timers panel to the left, drag any highlighted timing detail into the display area.
-
From the display area, click on any timing detail and edit/delete.
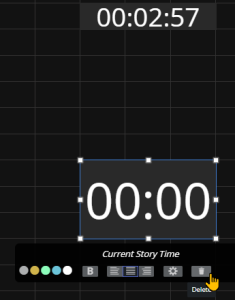
Note: The action Delete simply returns the selected timing detail back to the Timers selection panel on the left.
-
-
From the menu bar, click Save as and enter a unique, meaningful name for the display.
Distributing a Timing Display
Once you have created or modified a Timing Display, you can share it with other users on the same network.
To Distribute a Timing Display
-
Create/modify the Timing Display as described in Creating and modifying a Timing Display above.
-
From the drop-down menu, select the required display.
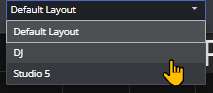
-
From the menu bar top-right, select Copy link.

-
Share the URL with your users.
Note: The original Viz Mosart Timing Display, with explanation of the elements, is described in the Timing Display section of the Viz Mosart User Guide.
Tip:
Appearance of timing information in the Viz Mosart UI
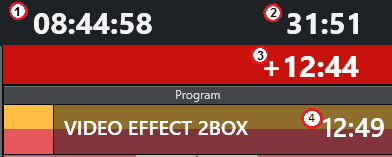
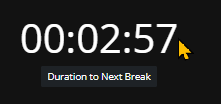
-
Counts the downtime to the next break.
-
Counts how much the rundown is over/under.
-
Counts down the remaining time for the current On Air template.
-
Shows the duration of the current On Air template.