Template Builder User Guide
Version 2.4 | Published November 17, 2022 ©
Editing Template Layout
Editing a template's layout makes it easy to create fill-in forms for journalist. With drag & drop functionality, creating new fill-in forms is quick and easy.
-
Adding tabs enables you to quickly create fill-in forms based on selected fields or start with an empty space where you can add your chosen field types.
-
The All tab gives you access to the classic form that contains all of the template's field types.
-
Resize, move, edit, add and delete fields quickly.
This section covers the following topics:
Follow the steps below to get started.
Accessing Layout Editing
-
Open or create a new template and add a scene.
-
Click Fill-in form:
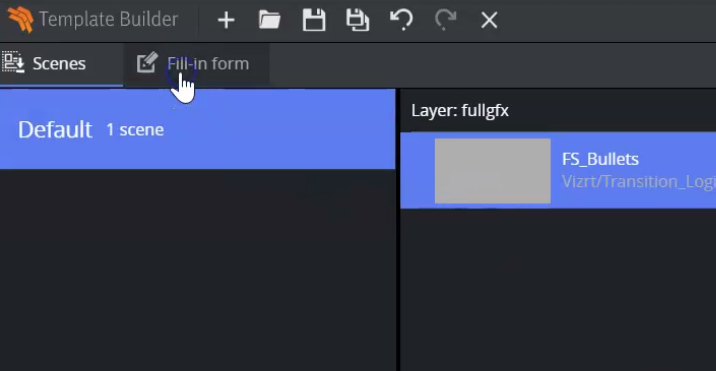
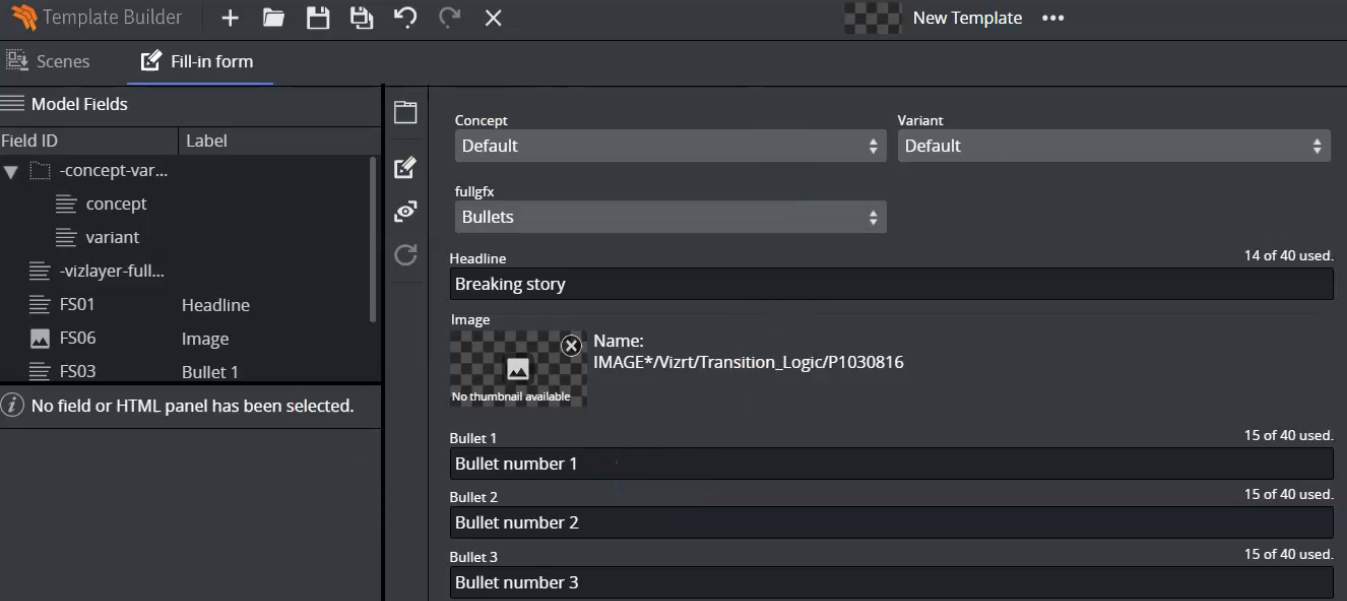
The default view is then displayed:
Creating a Template
Selecting Fields and Creating a New Tab
To create a new form for journalists to work with, select fields and click the Create New Tab button:
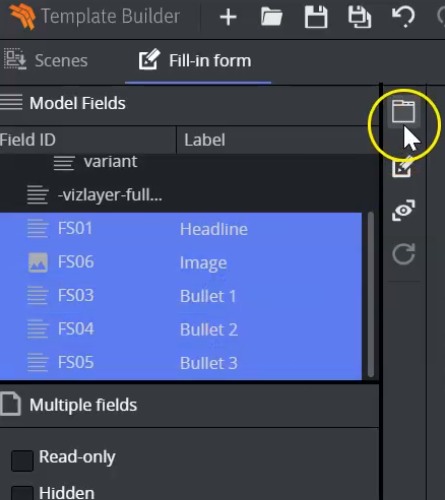
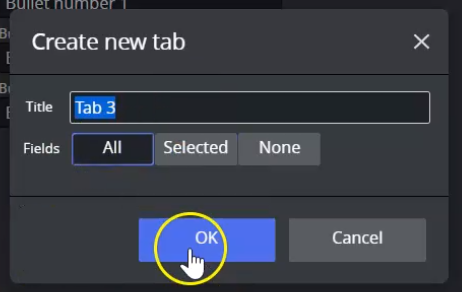
Enter a new for your new tab and click OK:
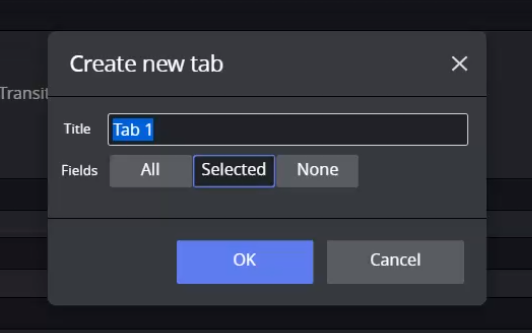
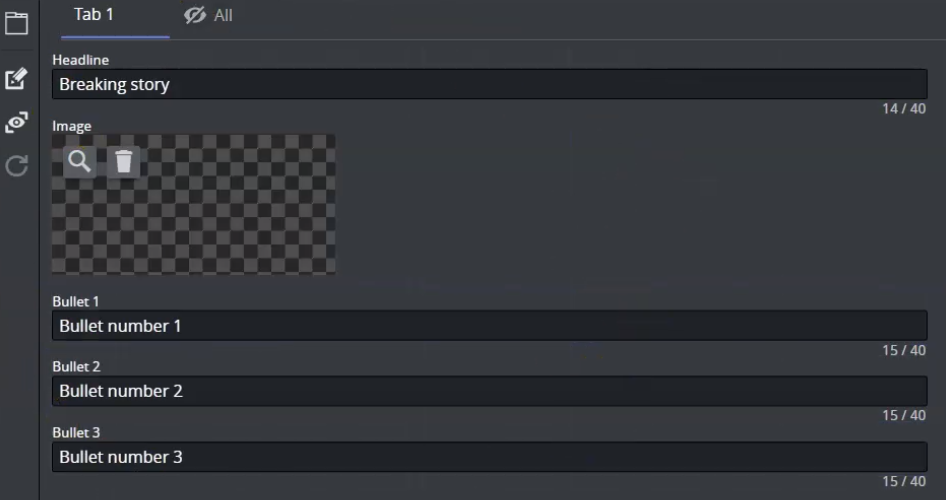
In the example in above, Selected is marked as the fields have already been selected. Click OK. All of the previously selected fields are now shown:
Creating a Second Tab
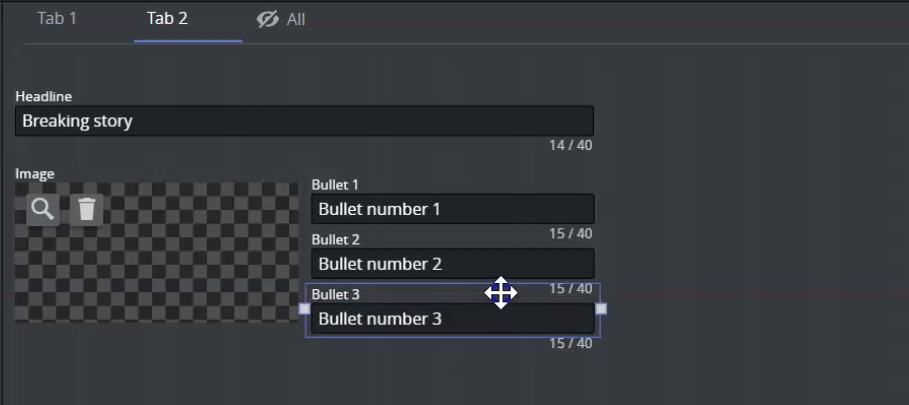
You can use the layout editor to drag and drop, resize and reposition elements in the form. This can be a quick way of doing things if you're only using a few fields.
-
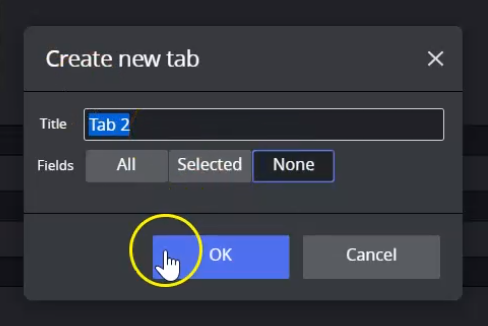
Click the Create Tab button (or ALT +T).
-
Enter a name for the tab. Select None and click OK:
Adding, Moving, and Resizing Fields
Use drag and drop to add fields:
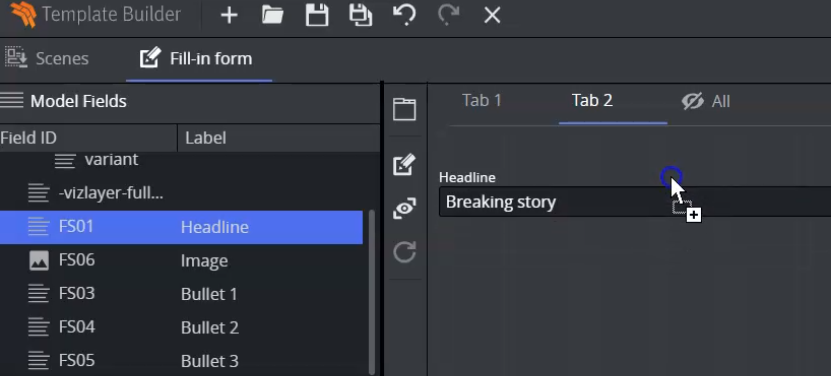
You can then use your cursor to resize and move the elements around:
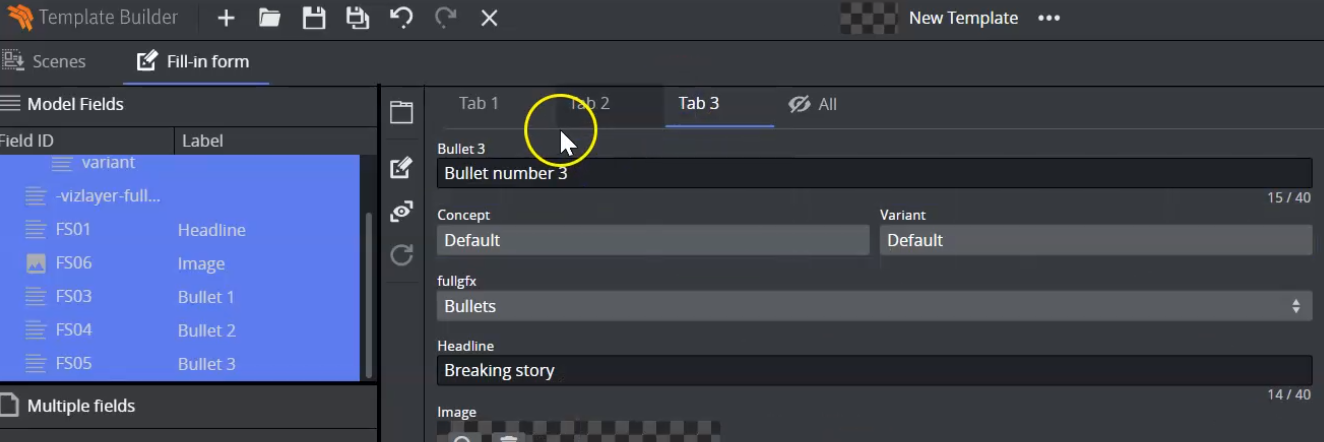
You can also create a new tab and click Select All:
This tab then contains all the fields, and is quite similar to the default view:
Deleting Tabs
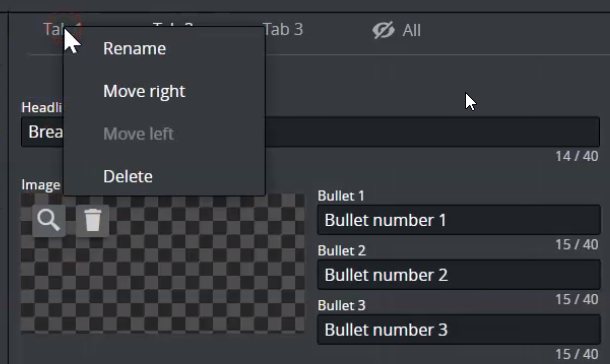
When you're happy with your design, you can Delete the tabs that you don't want to use, right-click on the tab:
Hiding and Showing Tabs
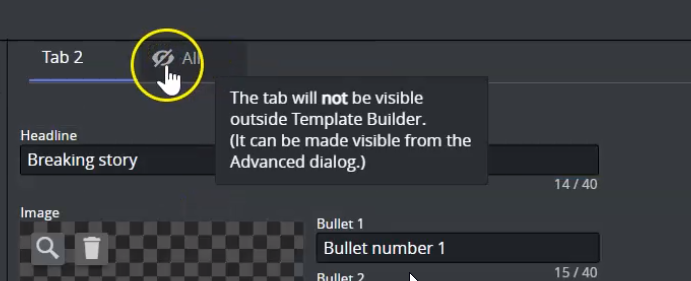
You can then decide what should be visible to the journalist. All with a line through the eye icon indicates that a tab is hidden:
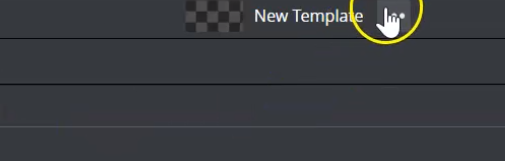
Make a tab visible by clicking the breadcrumbs beside New Template at the top of the screen:
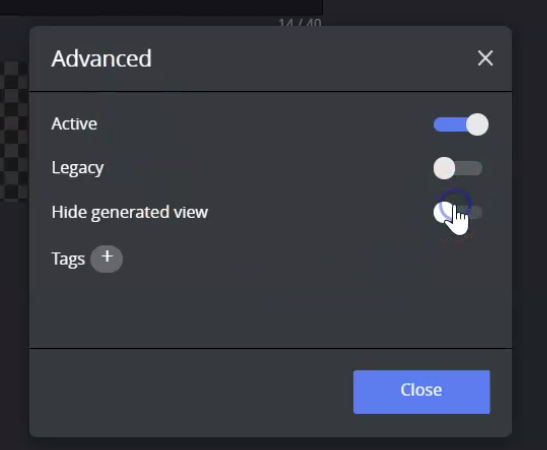
Deselect Hide generated view and click Close:
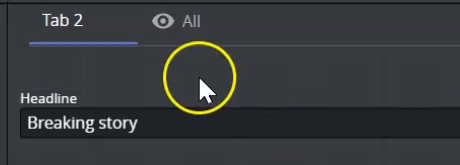
Voilà:
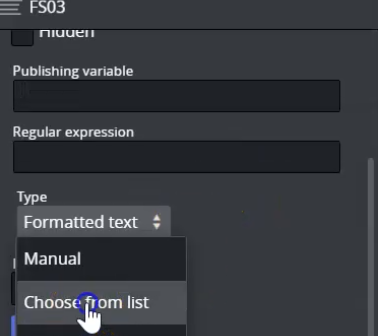
Creating a Drop-down Menu
Give the journalist more options to choose from. Click Data entry at the bottom left of the screen. Select Choose from list:
Enter a Name in the menu:
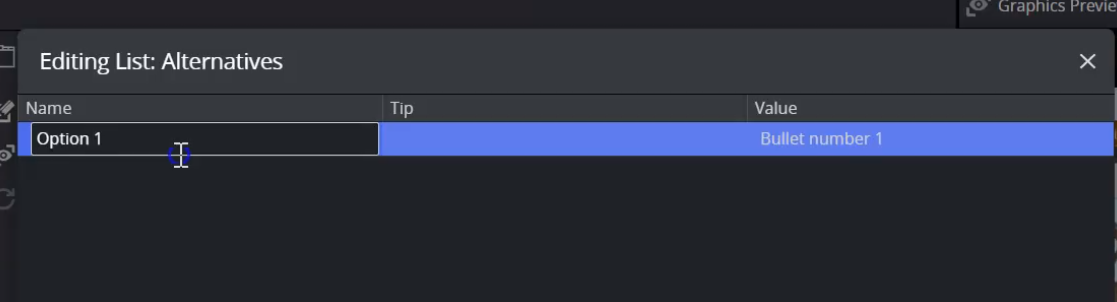
Double-click the Value field:
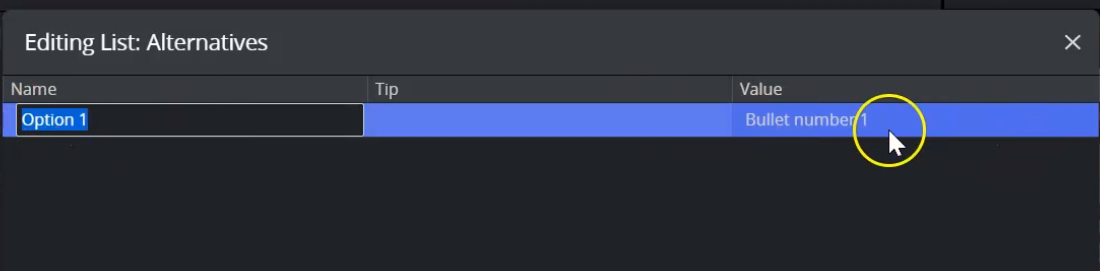
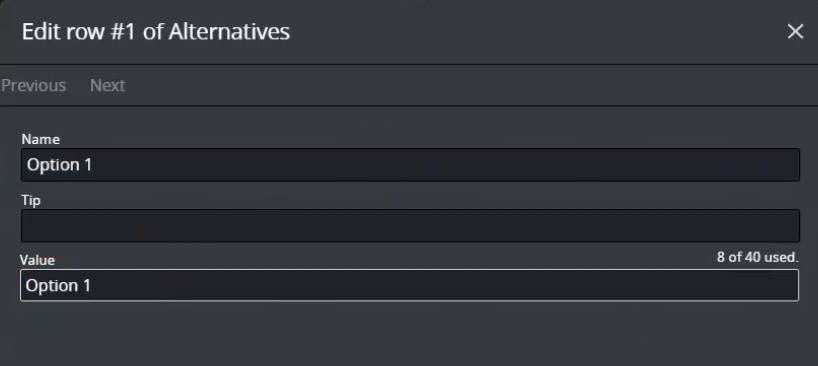
Edit the Value box:
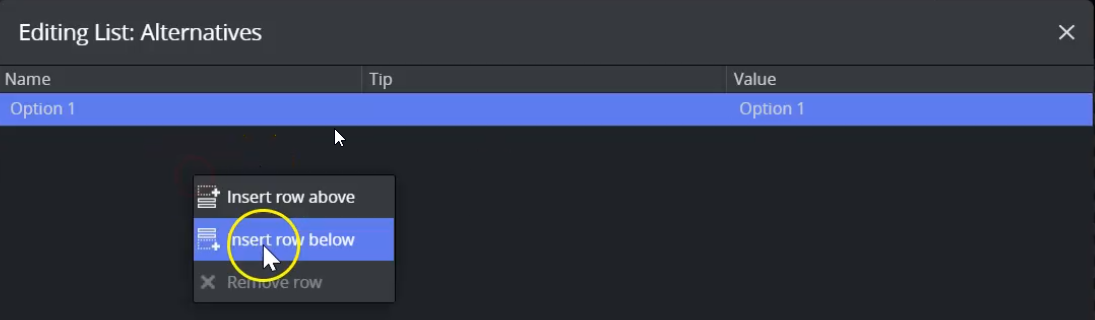
Right click in the menu and select Insert row below, to create more rows in the same way:
Dynamic Drop-down
When you create a drop-down, you can choose and create one that is dynamic. By choosing a dynamic drop-down, you can populate it with data, which will be used as a data driven drop-down.
To do so, these are the following steps:
-
Create a new single-line text field that may be called "mySourceField". This acts as the source of the drop-down item.
-
Secondly, create another single-line text field, this is where your drop-down will be displayed.
-
In the second single-line text field, click on it so that the parameters are displayed.
-
In the Data entry property, click on the Dropdown alternative.
-
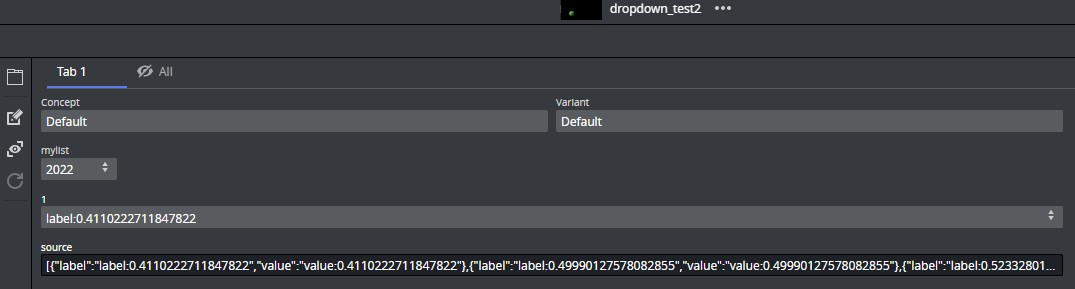
Once the alternative is added, a new text field right below called Linked source field will appear.
-
Fill the Linked source field with the name of your first single text field, which in this example is "mySourceField".
-
Within that field, you can add data, either directly through the "mySourceField" input, or from the script editor like shown below:
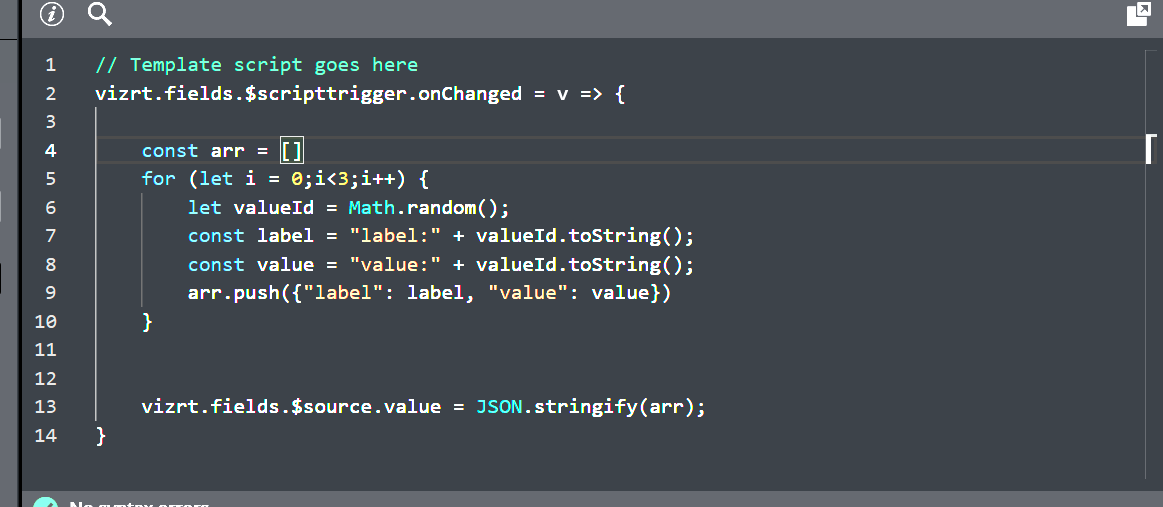
-
The data must be in a JSON format: [{"label": "my label1", "value": "my value1"}, {"label": "my label2", "value": "my value2"}, {"label": "my label3", "value": "my value3"}]:
-
The label property is what is displayed in the drop-down.
-
The value property is what is being stored in the data element (this is sent to Viz Engine).
-
Note: For more details please see Data Entry.
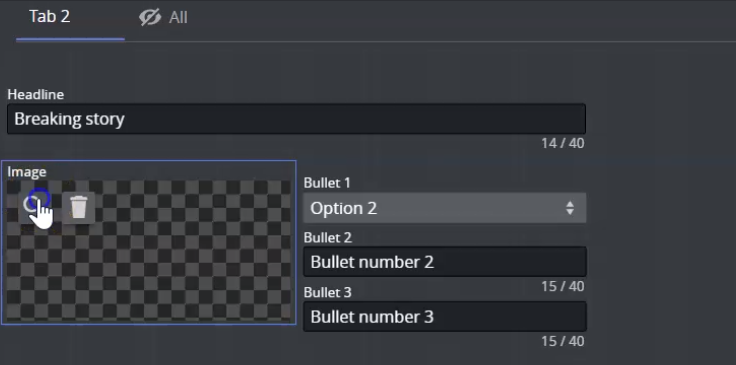
Changing the Image
Click the circle icon to open a menu to search for a different image:
Select an image and click OK:
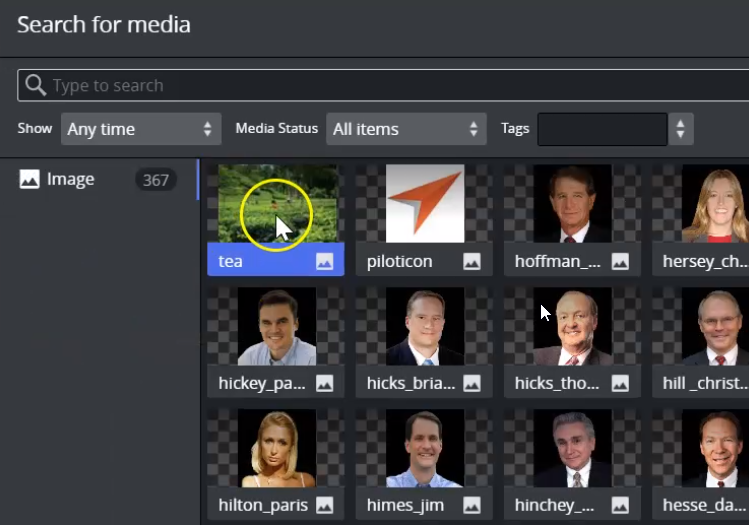
Image Constraints
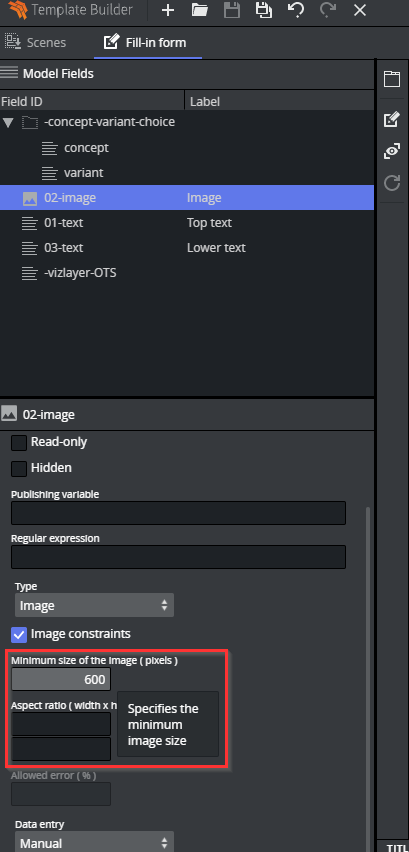
Specify standards for image quality and size using either or both of the following:
-
Minimum size of the image (pixels): number of pixels, irrespective of aspect ratio.
-
Aspect ratio: minimum width and height.
Note: A warning is shown if the image becomes smaller than the minimum permitted.
Saving a Template
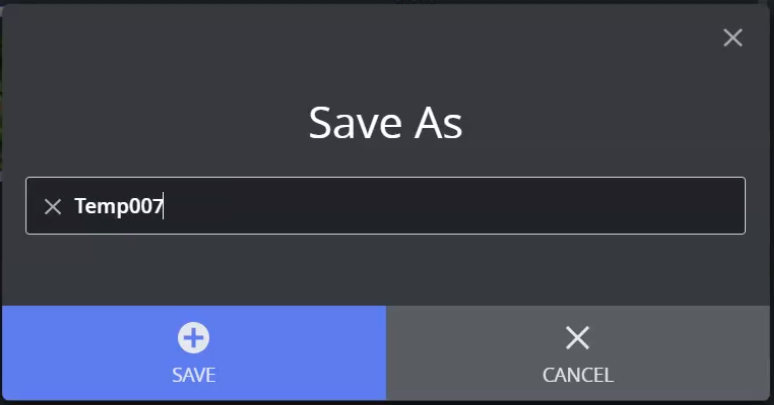
Click the Disk icon (or shortcut CTRL + S) to save:

Enter a template name and click Save: