The Lens Calibration Wizard helps launch the Lens Calibration Tool quickly, and setting the required parameters.
Note: The lens file calibration process requires a preconfigured, correctly set up tracking system. Inaccurate tracking, results in an inaccurate lens file.
Startup
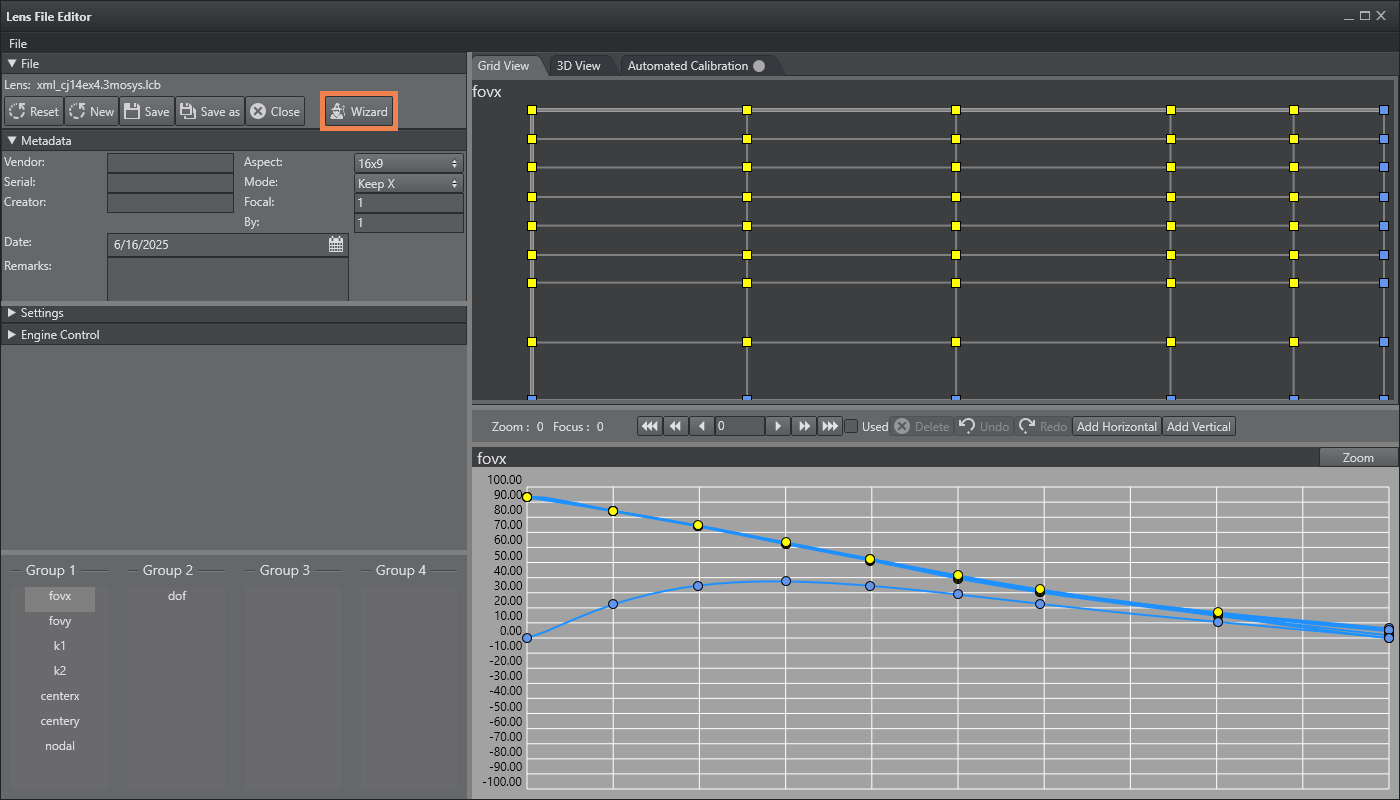
Start the wizard, by pressing the Wizard button in the Lens File Editor.
The start dialog of the Lens Calibration Wizard is shown:
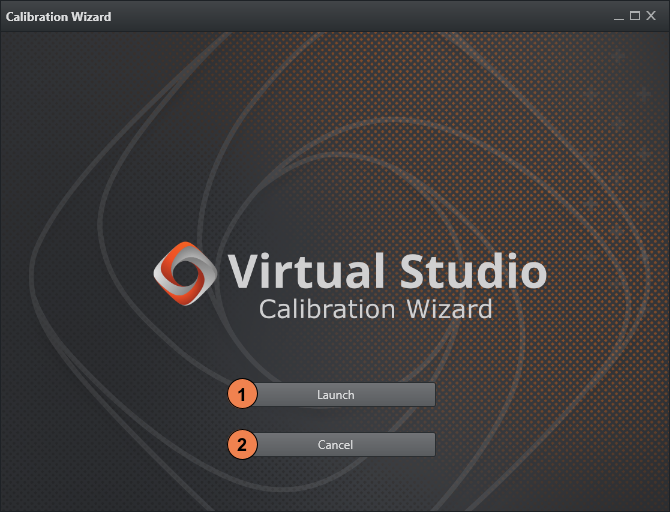
Launch: Starts the Calibration Wizard process and sets up all necessary prerequisites.
A check is performed if a connection to the configured Viz Engine camera service can be established. If no valid connection is found, or Viz Engine is not On Air, one of the following dialogues appears: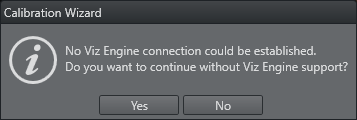
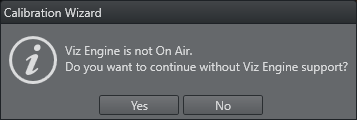
In this case, the process can still be continued, but Viz Engine video inputs and live preview of targets are not available.
If the usage without Viz Engine is not intended, press No and check that the rig setup is as described in Lens Calibration Process, and Viz Engine is On Air. Then press Launch again.
Warning: Starting the wizard process creates and sets a new scene on the configured Viz Engine. Make sure it is not in use before you proceed.
Cancel: Closes the Calibration Wizard dialog.
Configuration Modes
Once the calibration wizard process has started, one of two configuration modes have to be selected:
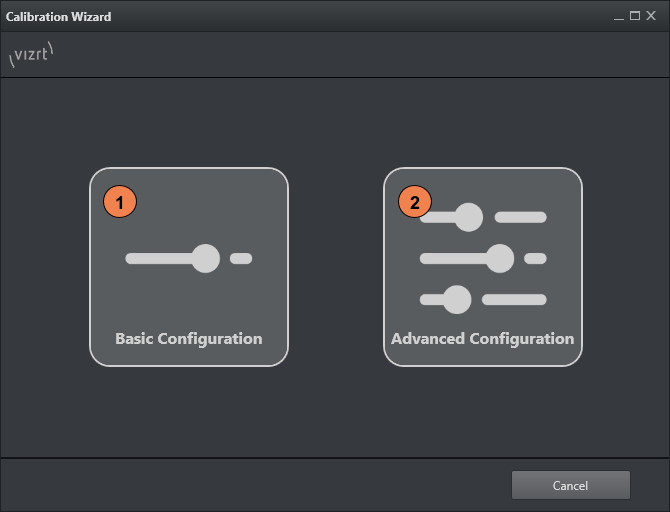
Basic Configuration: Offers the most essential configuration options, and can be used for a quick setup of the calibration process. Refer to Basic Configuration for a detailed description of all options. If unsure, use this configuration mode.
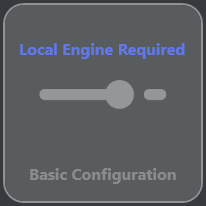
Note: This configuration mode is only available if a Viz Engine 5.4.0 or higher is configured and running on the same host machine as Studio Manager. Otherwise, you are not able to select it.
Advanced Configuration: Offers more configuration options, and controls the lens calibration process. Refer to Advanced Configuration for a detailed description of all options.
Basic Configuration
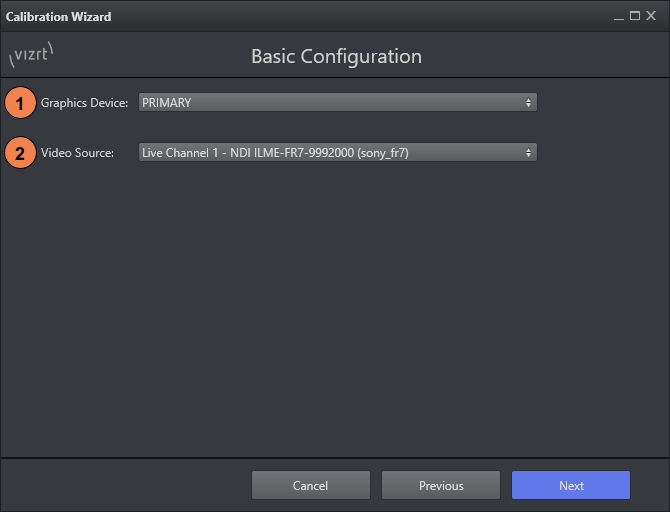
Graphics Device: Determines the graphics device (GPU) used for the lens calibration processing. To reduce the calibration time, select the most powerful device available.
If unsure, leave this setting on PRIMARY.Video Source: Determines the video input source for the calibration. The source can be any live channel configured on the local Viz Engine. Refer to the Viz Engine Administrator Guide for live channel configuration.
Advanced Configuration
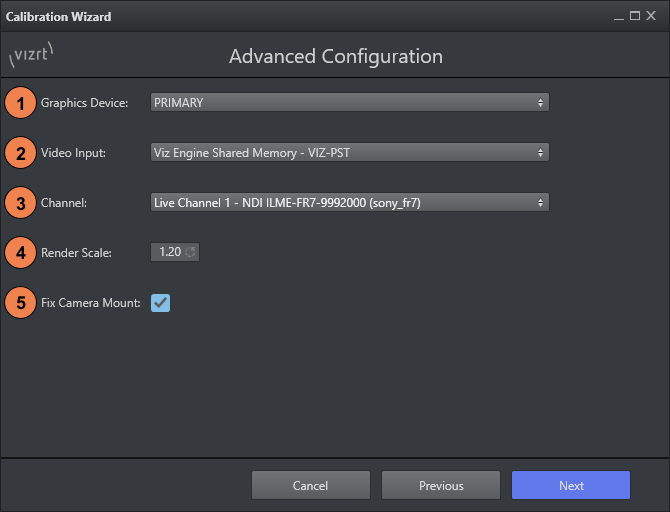
Graphics Device: Determines the graphics device (GPU) used for the lens calibration processing. To reduce the calibration time, select the most powerful device available.
If unsure, leave this setting on PRIMARY.Video Input: Determines the video input mode for the calibration. One of the following modes can be selected:
a.) Viz Engine Shared Memory: Allows to select any live channel configured on the local Viz Engine, as video input. The used live channel is selected by the Channel control. This mode can only be used for local Viz Engine instances.
Note: This mode requires Viz Engine to be running on the same host as Studio Manager to be available.
b.) Viz Engine NDI Forward: Allows to forward any live channel configured on Viz Engine as an NDI stream, and
use it as video input for the calibration. The used live channel is selected by the Channel control.
This mode can be used for local and remote Viz Engine instances.
Note: This mode requires Viz Engine 5.4.0 or higher with a valid Parallel Output license, and Tracking Hub 1.8.0 or higher to be available.
c.) NDI: Allows to use any discovered NDI source on the network as video input. The used source is selected by the NDI Source control. This mode does not require any Viz Engine instance.
Channel / NDI Source: If Viz Engine Shared Memory of NDI Forward is selected as a video input mode, this control is used to select the live channel used as video input for the calibration. Refer to the Viz Engine Administrator Guide for live channel configuration.

If NDI is selected as a video input mode, instead, this control is used to select the input NDI source.

Render Scale: Sets the scale value for deformation calibration. The default value for this setting is 1.2.
Fix Camera Mount: If this option is set, position tracking data is ignored, and the camera is considered static. Enable this setting if a PTZ camera is used.
Target Modes
After the configuration is finished, one of two target modes has to be selected.
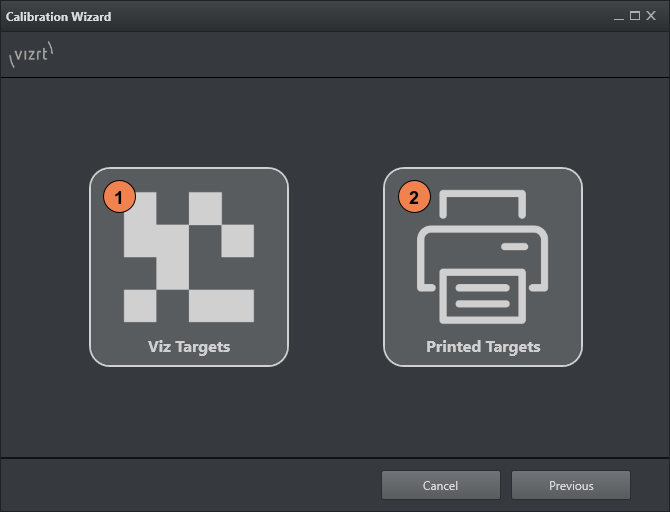
Viz Targets: Select this mode if targets provided by Vizrt are going to be used. In this case, continue to Target Selection.
Printed Targets: Select this mode if custom printed targets are to be used. In this case, continue with Printed Target Measurement onwards.
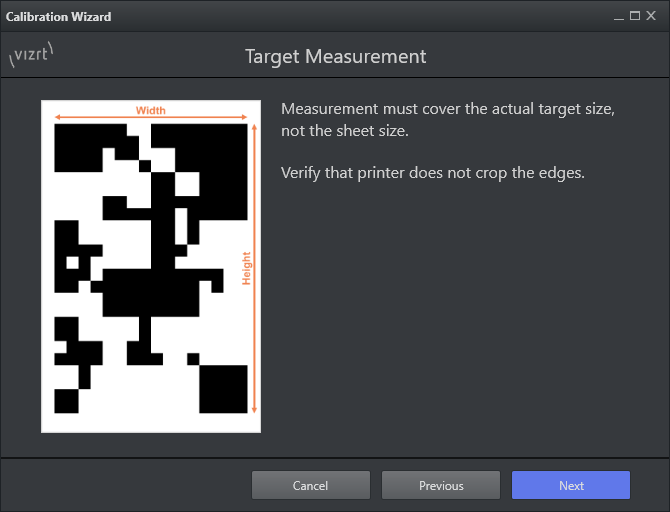
Printed Target Measurement
For custom printed targets, it is necessary to measure all targets used individually.
Verify that the printer did not crop any edges of the original template.
Then measure the width and height of the calibration pattern as accurate as possible.
The wizard then shows a visualization of the lengths to be measured.
Target Selection
Each target used during the calibration has to be selected. Additionally, the dimension of each target must be specified if custom printed targets are used.
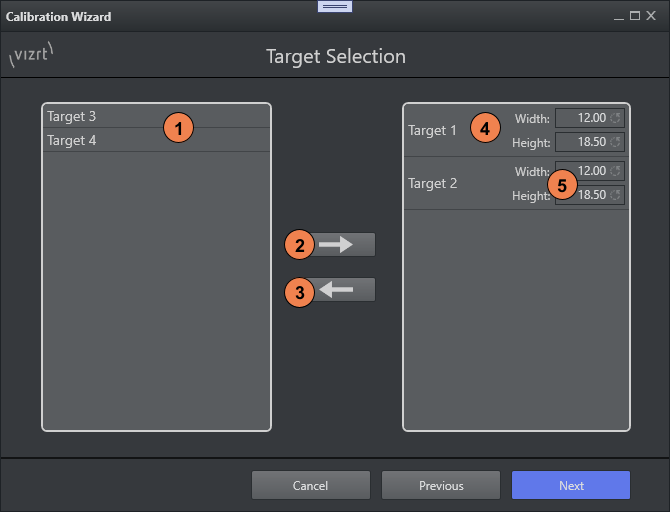
Available Target List: Displays all available targets for selection.
Double click any target entry to select it for the calibration. Alternatively, select an entry and use the Add Target button. If Viz Targets mode was selected, each target has a Small and Big variant. Only one variant can be selected for each target and they replace each other.Add Target: Adds the currently selected target entry to the calibration selection.
Remove Target: Removes the currently selected target entry from the calibration selection.
Selected Target List: Displays all targets selected for calibration.
Double click any target entry to remove it from the selection. Alternatively, select an entry and click the Remove Target button.Target Width / Height: Each selected target entry has a Width and Height control to define its dimension. Dimensions must be entered in centimeters [cm]. Width and height are predefined if Viz Targets mode was selected.
Target Alignment
After the targets for the calibration are selected, the wizard shows guidelines on how to position them in the studio. Read and confirm each guideline. The wizard only allows to proceed to the next page after all items have been checked. Alternatively, this section can also be skipped.
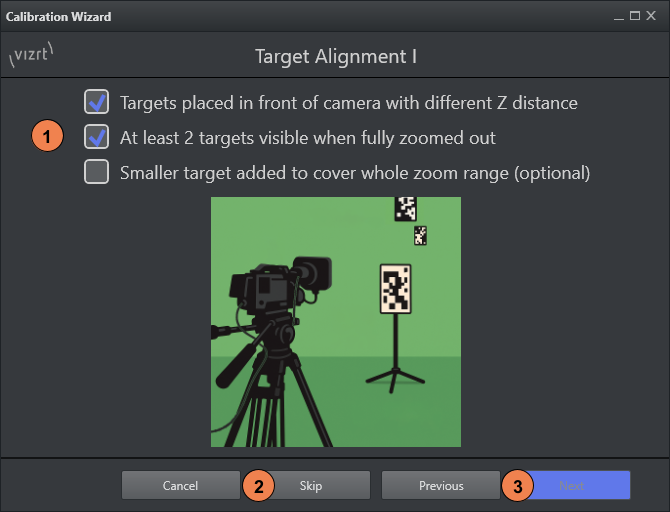
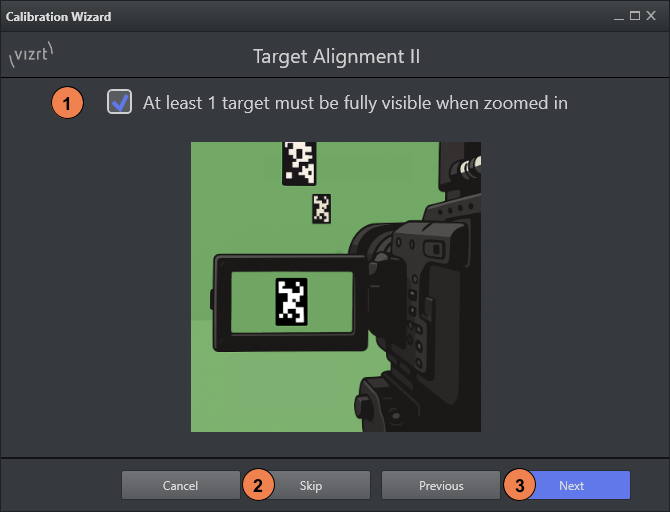
Check List: Target alignment guidelines that should be followed. Select an item to mark it as checked.
Skip: Skips the target alignment check, and goes directly to the Calibration Controls page.
Next: Disabled until all guideline items are checked.
Calibration Controls
Once all steps have been completed, the wizard moves to the final main page from which the calibration process can be started and controlled.

Start Calibration: Starts the lens calibration process.
Stop Calibration: Stops the lens calibration process and closes the wizard dialog.
Open Coverage: Opens the main calibration window. Only available after the calibration has started.
Open Preview: Opens the preview window showing the estimated target corner positions according to current calibration. Only available after the calibration has started.
Add Lens Point: Adds an additional calibration point for the current zoom and focus value. Only available after the calibration has started.
For a detailed description on how to proceed after the calibration has started, refer to Lens Calibration Process.