The automated lens file calibration tool, allows the operator to create lens files without manually adjusting the lens parameters. It provides an easy solution for most of the known broadcast lens types.
Starting the lens calibration can be achieved by either using the general lens calibration settings in the Automated Lens Calibration Panel, or via the Lens Calibration Wizard.
Preparations
Note:
A correct lens calibration can only be achieved if the tracking system is delivering correct positional data.
Automated calibration requires addition GPU resources. Refer to section Recommended Hardware Configuration.
The automated lens calibration expects the correct CCD position of the physical camera, in order to adjust the lens file, and its internal offsets properly.
Make sure the following criteria is met:
Tracking system and offsets in camera rig are set up to distribute CCD position.
Add Height Lens Shift, Right Lens Shift and Front Lens Shift (if needed).
Verify by measuring the CCD position, physically in the studio, if possible.
Lens limits for Zoom and Focus are calibrated.
No Center shifts are set within the camera rig.
Automated process is calibrated inside the lens file.
If a lens gets remounted on the camera body afterwards, the lens shifts need to be adjusted starting from
0.0.
Start Process
Starting with a default rig setup: a tracking system connected to a camera rig with a lens file node as a parent, containing the previously described needed offsets/adjustments to receive the cameras CCD position (see also Configure Topology).
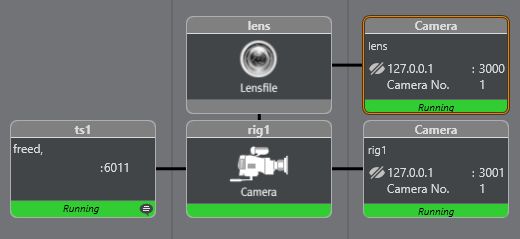
Two services are added, one to Viz Engine, and a second one to send the tracking data to the calibration tool.
The port for the second service needs to be set to 3001. When using the Wizard, this service is created automatically.
Camera Rig | Lens Rig |
|---|---|
 |  In this example, an empty lens file named xml_empty, is used. Any lens file can be used, while a new one can be created after opening the lens file editor as well. |
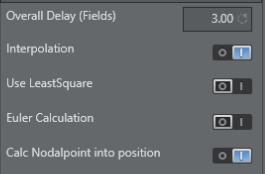
Note: Make sure the option Calc Nodalpoint into position is chosen, as this is mandatory for lens files calibrated with the automated calibration.
Open Lens File Editor
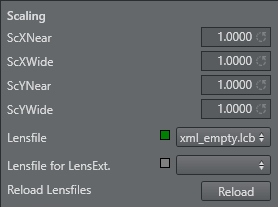
Choose the lens file assigned to the rig to be calibrated..
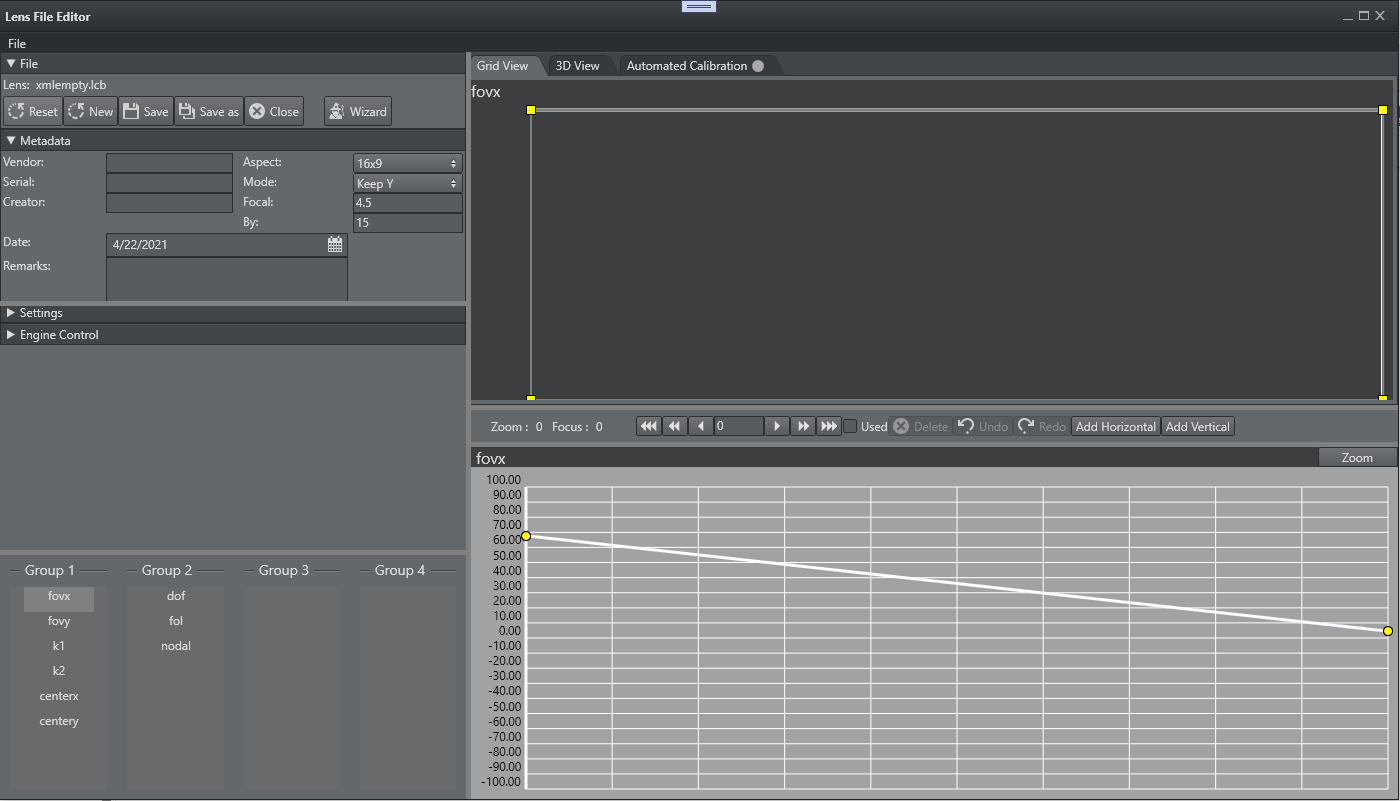
With the lens file editor you can reset the current lens, or create a new one to start from scratch. Please note that a reset, results in overwriting the currently loaded lens file, once saved.

Create a new file if necessary, and start the Wizard, or continue with the Automated Calibration Panel.
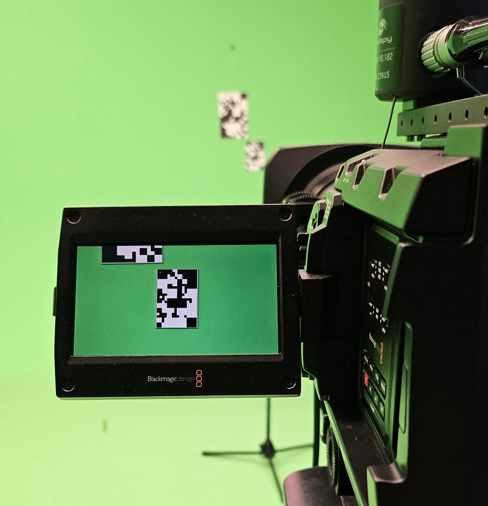
Prepare Targets
The hard plastic targets come in two fixed sizes (large and small), but any size can be used.
Targets should be placed in front of the camera, no exact positioning, or any measurement is needed. At least two targets should be visible when the camera is zoomed out.

A smaller third target should be added for zoom lenses, if the default A4 target does not match the cameras FOV, when fully zoomed in.
Start Calibration
The lens calibration tool can be started in two different ways:
Directly out of the Lens Calibration Panel, after configuring the necessary parameters.
By using the Lens Calibration Wizard, and following the steps to achieve a proper lens file.