
Viz Multiplay User Guide
Version 3.2 | Published March 07, 2024 ©
Color Correction
Correct colors for a monitor or group of monitors on a video wall:
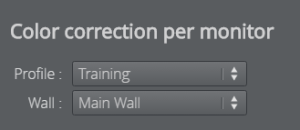
Select Profiles and Walls
Load the wall you want to edit:
-
Select the Profile and Wall from the drop-down menus:
Map Outputs to Monitors
Map outputs (1) to cubes (2). This is usually only done once.
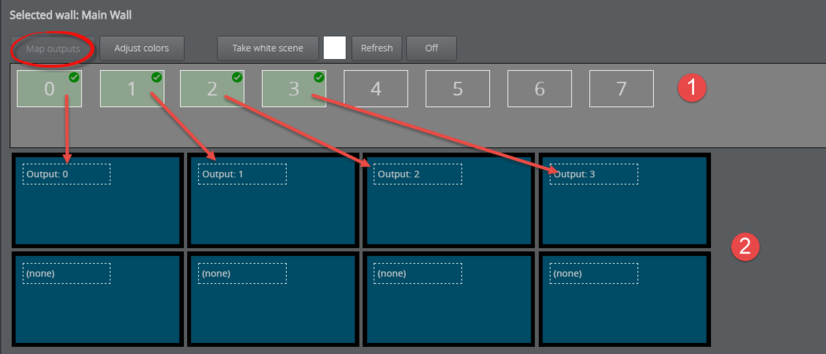
Drag outputs onto cubes (the physical screens on your video wall) to map them. For the sake of organization, the cube layout should ideally match the layout of the actual video wall.
Note: The Map outputs view opens by default as long as there are remaining outputs that need to be mapped. The Color correction tab always opens to the Adjust colors view once outputs are mapped.
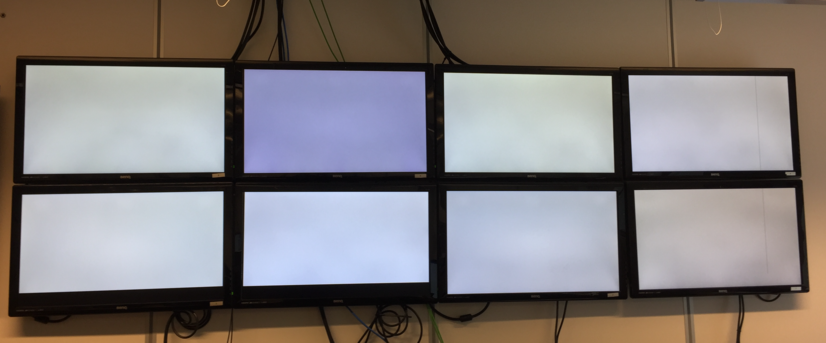
The easiest way to match outputs with screens is to load a white scene.
-
Click Adjust color > Take white scene. All monitors on your video wall now display white.
-
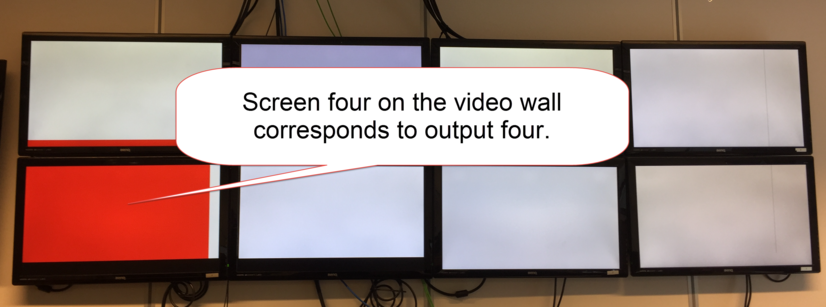
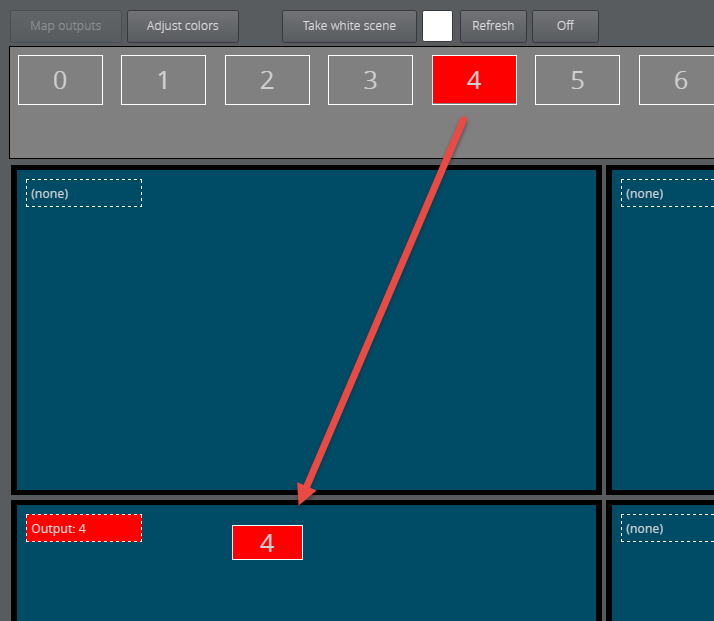
Click an output.

-
The video wall screen matching the output turns red. Below, the bottom left screen corresponds to output four:
-
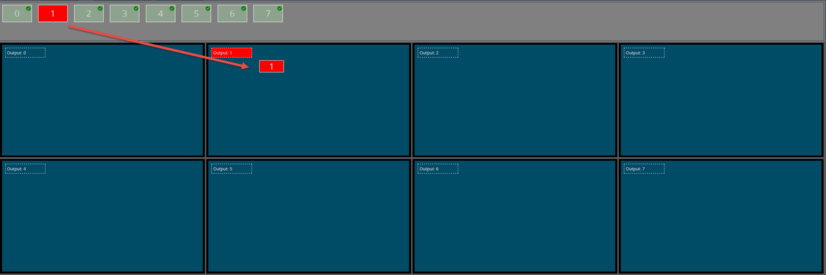
Then drag the output to the same position in the editor to map.
Note: Remember that graphics channels feed content to the screens. Channels are mapped to screens in the output. In the video wall above, output four is mapped to screen four, which could be receiving content from any GFX channel.
-
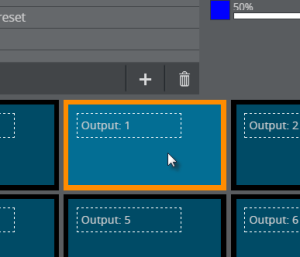
Map output 1.
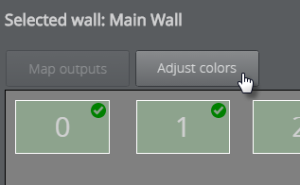
Note: The output turns green and a check mark appears when it is successfully mapped to a monitor.
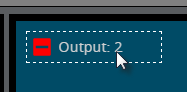
Tip: Unmap an output by hovering the mouse over a mapped cube and clicking the red icon.
Create a Preset
Create a color correction preset. This is useful in the case of multiple shows where each requires screens with different color intensity. A blue border appears around selected presets.
-
Click the Adjust colors button.
-
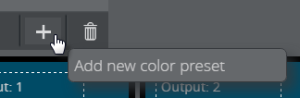
Click the Add new color preset button.
-
Give it a name and press ENTER.
Adjust Colors and Other Options
Adjust screen color on a monitor-by-monitor basis.
Note: Color corrections are only visible on the physical screen and are not shown in Viz Multiplay. You should therefore use a physical video wall when adjusting color.
-
Click a cube or screen to adjust its color:
-
Adjust colors in the menu below.
-
Click OK to save the values for the selected preset.
Note: Changes in color correction cannot be canceled.
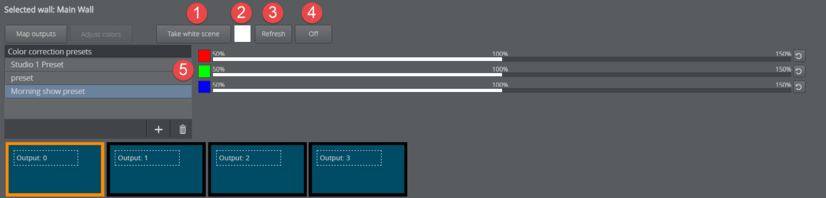
-
Take white scene: Take a completely white scene in the renderer.
-
Select a color: Alter the background color of the current screen.
Note: The Take white scene button must be clicked to expose the color picker.
-
Refresh: Sent the configuration of entire preset (all monitors) to air.
Note: You can also send presets to air using commands in the media sequencer.
-
Off: Removes all currently-applied color corrections for the video wall.
-
RGB sliders: Click or drag along the slider to adjust the screen’s RGB intensity. Select a value between 50 and 150%, where 100% is default. For example, a 50% setting for red will deprive media in that screen of red.
Note: The luminosity in the color block next to the slider brightens or dims to reflect changes in luminosity. View the monitor on the physical video wall to see the changes in real time.
Grouping Screens
Apply the same color correction edits to multiple screens.
-
In Adjust colors view, hold down CTRL and click the screens you want to group together.

-
Right-click a screen and select Group.