Right-clicking in the main area makes a menu appear where you can create the following:
Flowics Playlist
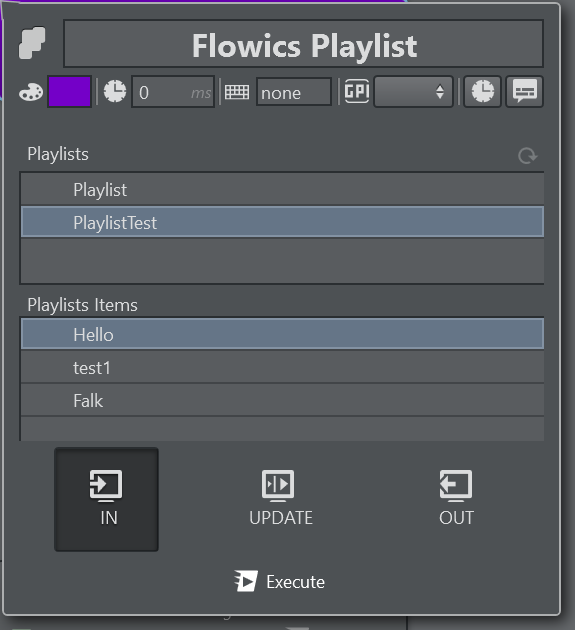
A Flowics Playlist action is used to play out or update a Flowics playlist item. The action can only animate in the playlist element, update it or animate it out. It is not possible to control the content of the playlist items. The graphics package needs to be published as Rundown Control.
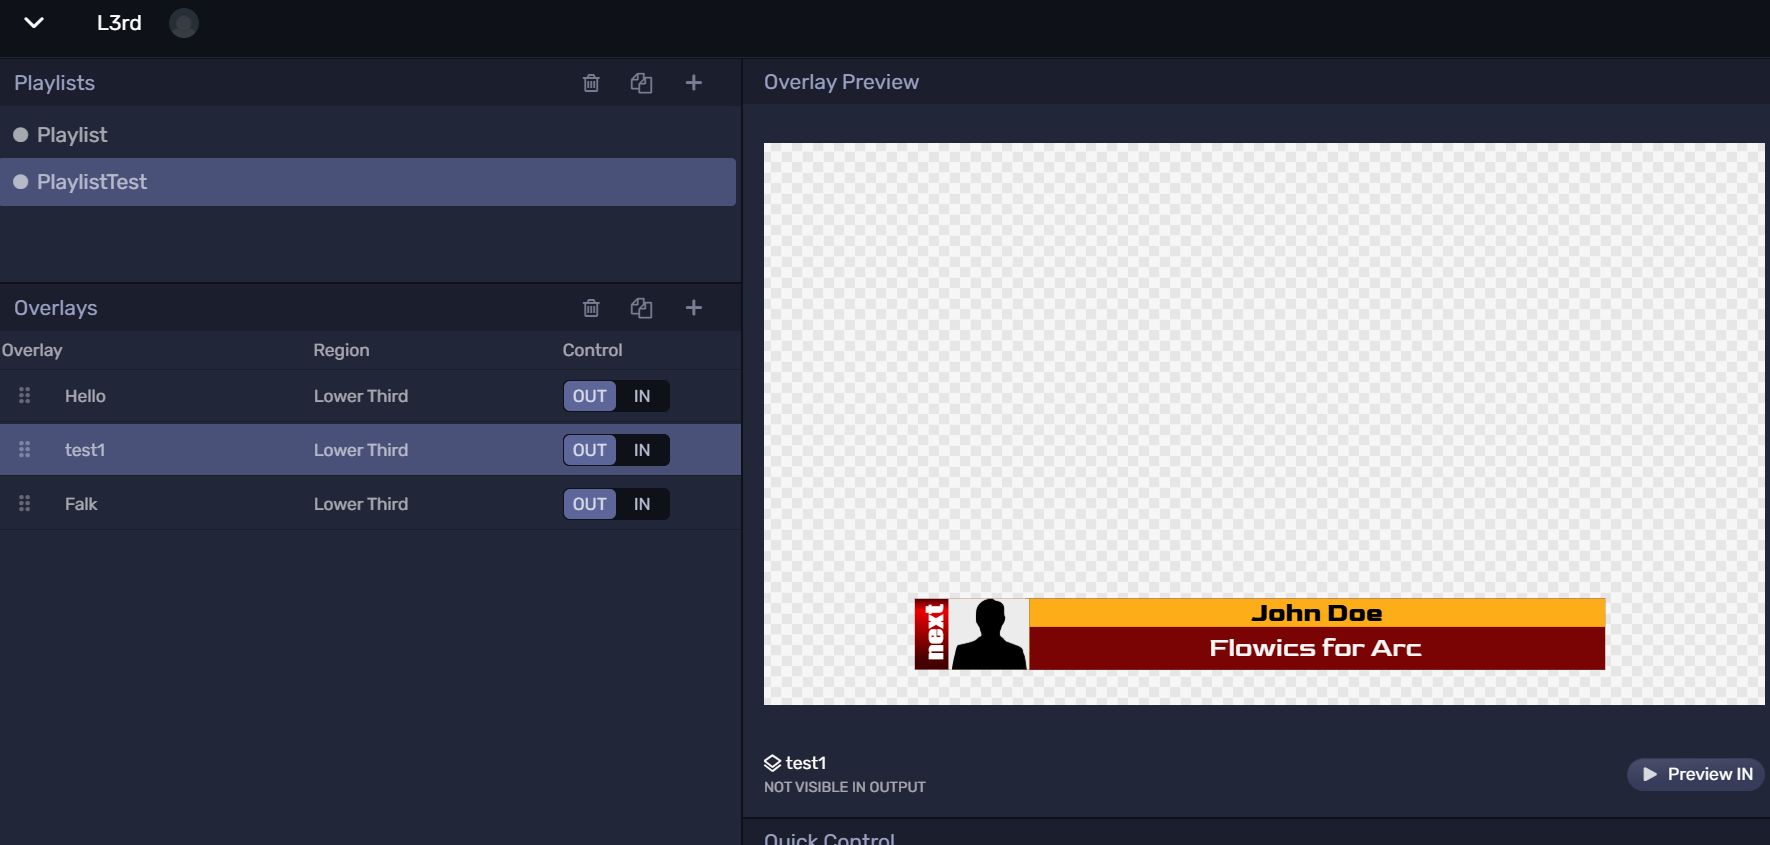
Make sure the action uses the correct channel containing the Flowics engine pointing to the respective Package.
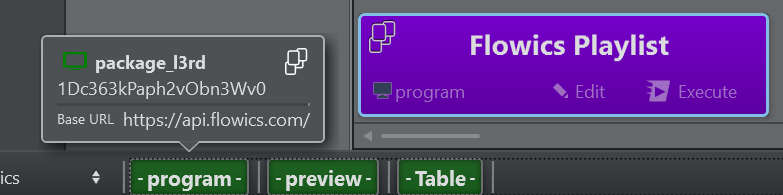
HTTP Request
The HTTP Request action calls external web services and REST APIs directly from the Viz Arc action canvas: Scoreboards, weather services, CMS backends, home-grown data endpoints or any other system that speaks HTTP. Requests can carry live values from the Data Map, and the response can be written back into the Data Map, turning any web API into a data source for templates and other actions.
It is an independent action: It needs no Engine or channel and runs entirely inside Viz Arc, so it can be combined freely with graphics actions, used in groups, sequenced in the playlist or fired from scripts.
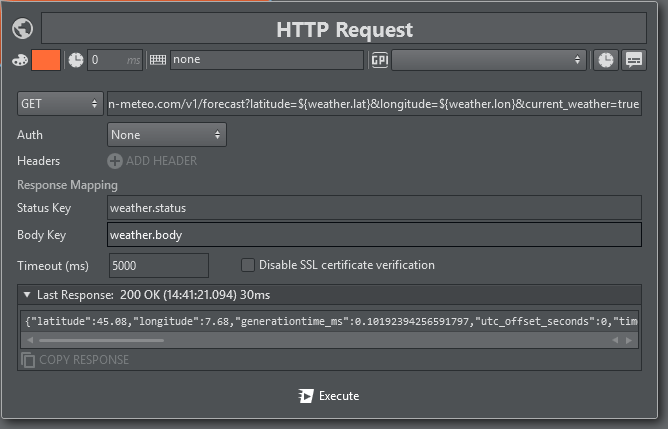
Request Setup
The action's edit view holds everything that describes the request:
Method:
GET,POST,PUT,PATCHorDELETE.URL: the request address (for example,
https://api.example.com/endpoint). May contain Data Map placeholders (see below).Auth: None, Basic (username and password) or Bearer (token). The matching
Authorizationheader is generated automatically.Headers: Any number of custom name/value pairs, added with ADD HEADER. Header values may also contain Data Map placeholders.
Content-Type and Body: For
POST,PUTandPATCHrequests, a free-text body sent with the selected content type (application/jsonby default; plain text, XML, form-urlencoded and HTML are also available).GETandDELETErequests send no body.Timeout (ms): How long to wait for an answer before the request is aborted (default
5000ms).Disable SSL certificate verification: Accepts self-signed or otherwise untrusted certificates, useful for on-prem equipment on closed networks. Leave it off whenever the target has a valid certificate.
Dynamic Values from the Data Map
The URL, all header values and the body support ${key} placeholders. At execution time, every placeholder is replaced with the current value of that Data Map key, so a single action adapts to whatever is live right now:
https://api.example.com/matches/${match.id}/scoreA placeholder whose key does not exist resolves to an empty string.
Using the Response
Under Response Mapping, two optional Data Map keys capture the result of the call:
Status Key: Receives the numeric HTTP status code (for example,
200).Body Key: Receives the raw response body.
From there the data behaves like any other Data Map content: It can be linked to template parameters, evaluated in scripts or used to drive follow-up actions. Fetch a JSON scoreboard with one click, and the graphics fill themselves in.
The action reports success for 2xx status codes; any other status, a timeout or a connection error counts as failed.
Example: Live Weather in a Graphic
A complete, working example that can be tried immediately – Open-Meteo is a free weather API that requires no API key:
Method:
GETURL:
https://api.open-meteo.com/v1/forecast?latitude=${weather.lat}&longitude=${weather.lon}¤t_weather=trueResponse Mapping: Status Key
weather.status, Body Keyweather.raw
With weather.lat = 45.07 and weather.lon = 7.58 in the Data Map (Turin), executing the action writes 200 into weather.status and the forecast JSON into weather.raw:
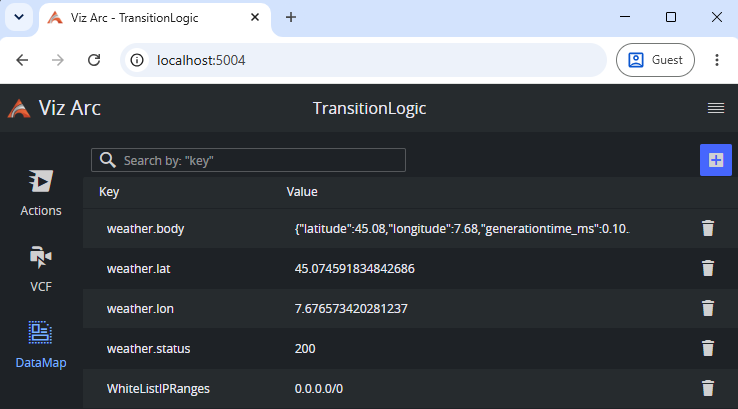
A template script can then parse weather.raw and write current_weather.temperature into a text field. Changing the two Data Map coordinates re-targets the same action to any city, which is exactly what the ${...} placeholders are for.
The same pattern works in the other direction: A POST notifying an external system (for example a messaging webhook) when a graphic goes On Air:
Method:
POST, Content-Type:application/jsonURL: your webhook endpoint
Body:
{ "text": "Lower third '${l3rd.name}' is on air" }
Testing and Monitoring
Results are visible directly on the action, so a request can be tested without leaving Viz Arc:
Status indicator: The action's channel indicator is colored by the last HTTP status: Green for success, red for a failed request, gray while a request is in flight or before the first call.
Last Response panel: The edit view shows the last status line (code, reason, timestamp and round-trip time in milliseconds) together with a preview of the response body. COPY RESPONSE puts the full body on the clipboard for inspection in an external tool.
Timeouts and errors: Shown as
TIMEOUTorERRORin the same panel, with the elapsed time, so slow or unreachable endpoints are easy to identify.Logging: Every request is written to the action log with its method, resolved URL and outcome.
Automation
Like every Viz Arc action, the HTTP Request action can be executed from the playlist, from action groups, via the REST interface and from scripts, so calls to external systems slot naturally into automated rundowns (for example, notifying a CMS whenever a graphic goes On Air).
Tip: Combine the placeholders with the response mapping to chain requests: Write an id from one response into the Data Map, and let the next action's URL pick it up with ${...}. The request body is only sent for POST, PUT and PATCH. For GET requests, pass parameters in the URL (query string) instead.
Multizone Chroma Key
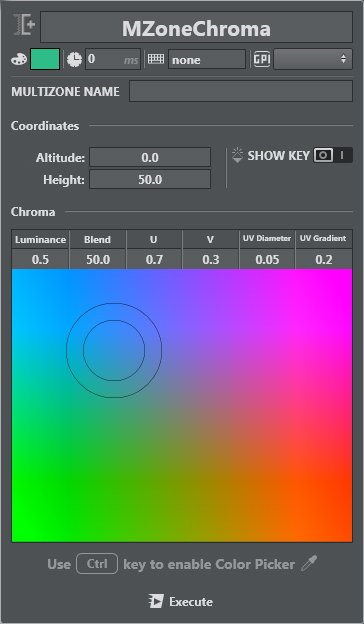
The Multi-zone Chroma key is often used in outdoor sporting event broadcasts, such as sports productions where more than one color needs to be keyed out.
Like the single Chroma Key, it's also possible to set parameters such as the color of your chroma and other fine tuning parameters like U, V, Blend etc. in Multizone Chroma Key.
Altitude and Height parameters can also be set. See Multizone Chroma Keying for more information on this topic.
NDI
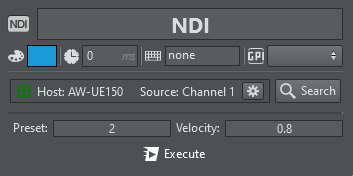
NDI actions allow you to command an NDI camera to go to a certain preset at a configurable velocity.
When creating an NDI action, the configurable content is blocked until an NDI source linked to a controllable camera is selected. This can be achieved by clicking the Search button which provides a list of all available NDI sources and let you select those that can be controlled.
Once a valid source has been selected, the configurable values are unlocked and an UI displaying the connected NDI source is shown. This new interface serves two purposes: to show the NDI source identification and its status; To allow the user to control linked camera and verify / modify its presets.
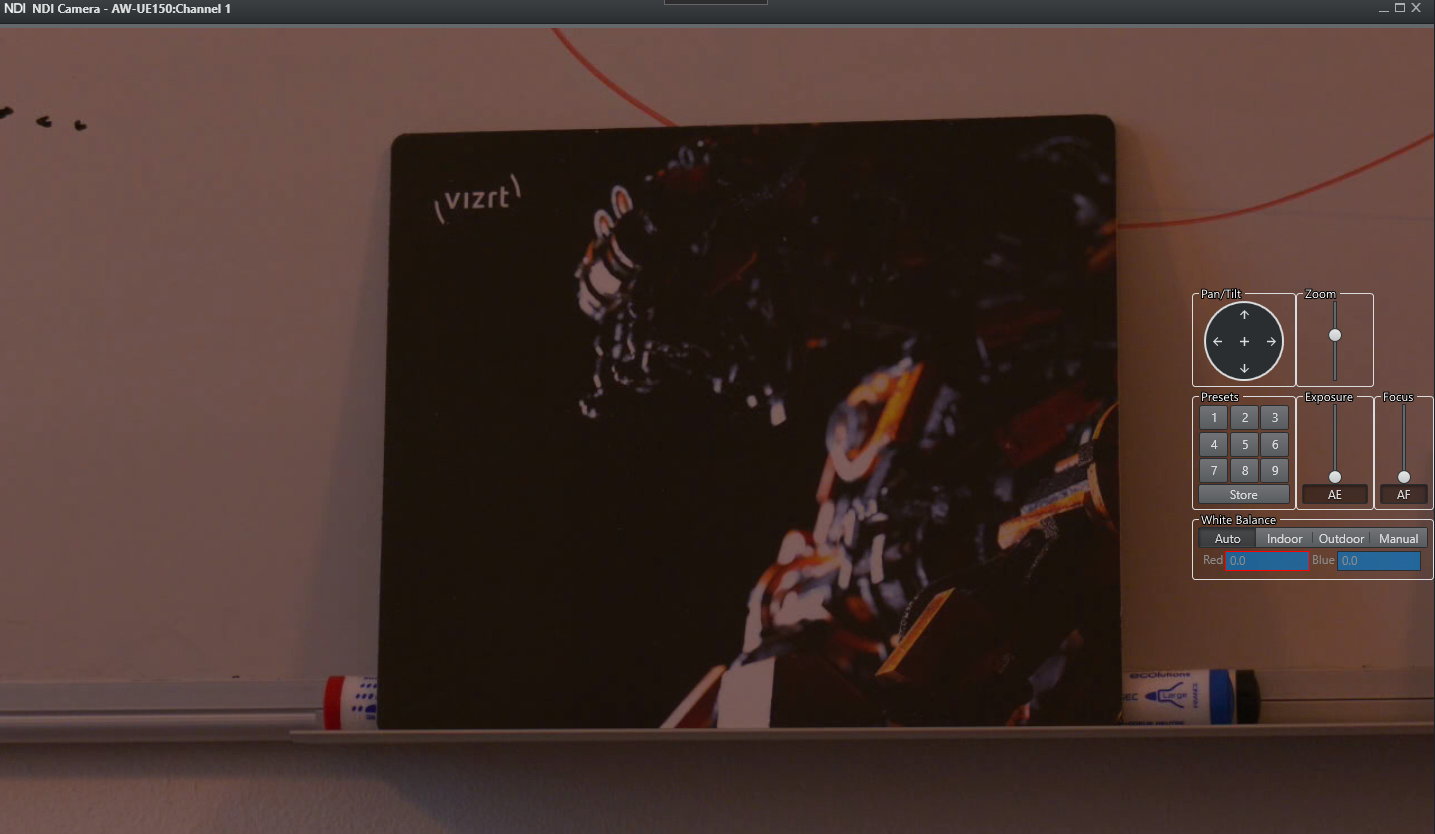
Clicking on the Cogwheel button next to the connected NDI Source opens up a new Window with the NDI Source output and controls that can be used to interact with the camera.
Move the camera (Pan/Tilt), change zoom, exposure (Manual or Automatic), Focus (Manual or Automatic) and white balance, and set and store presets:
When used in conjunction with monogram's ORBITER module, the camera can be operated through the orbiter.
Scene Loader
The Scene Loader lets you load a scene into the FRONT_LAYER, MAIN_LAYER, BACK_LAYER and into one of the MATTE, GFX or SUPER channels (1 to 16), all at the same time. Enable RESET STAGE to load a scene initialized to frame 0.0 on the stage. To remove a single scene, press the X icon at the top-right of the selected scene, or enable CLEAR LAYER to explicitly clear a specific layer. Use the GUID / NAME switch to choose how scenes are referenced; in either mode you can also enter the Name or GUID manually.
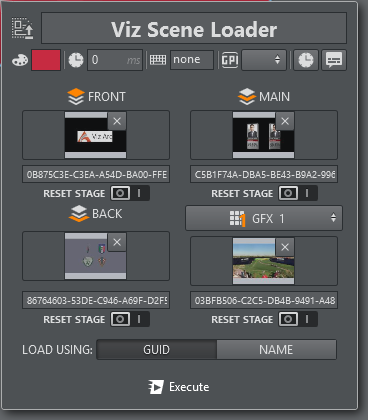
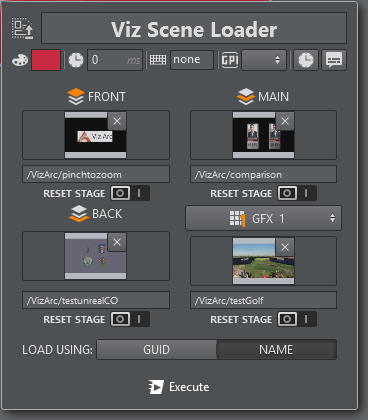
If the selected scene belongs to a Concept and an engine on the target channel is configured with a different Concept, the Scene Loader automatically loads the matching scene for that Concept.
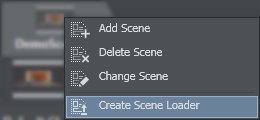
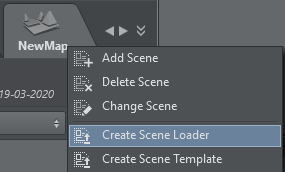
Create Scene Loader by right-clicking on the desired scene in the panel on the left:
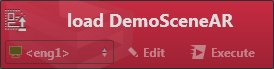
This adds the action to your active action area:
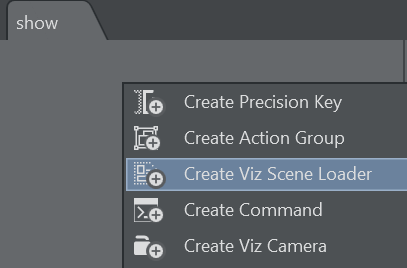
Alternatively, create an empty Scene Loader from the context menu on the action canvas:
Viz Engine 4 introduced SUBSCENES, where an entire scene can be loaded into a container in the scene tree. When you load a scene that contains a SUBSCENE plug-in, it appears in Viz Arc's tree view.
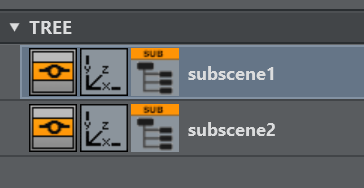
Drag and drop the subscene icon onto the action canvas to create a subscene loader action..
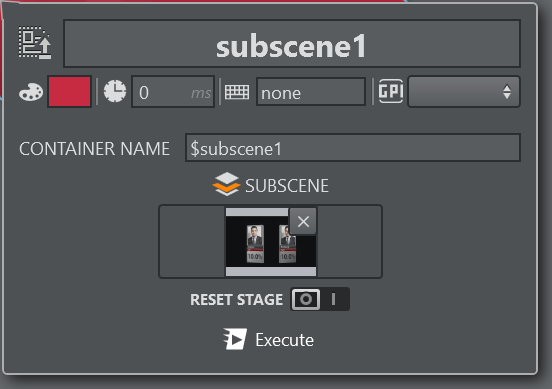
A subscene loader can load different scenes into the subscene, clear the scene, and reset the subscene's directors on load. Under CONTAINER NAME you can change the subscene's container path manually.
The scene loader can also set the Unreal File Collection associated to a Viz Engine scene
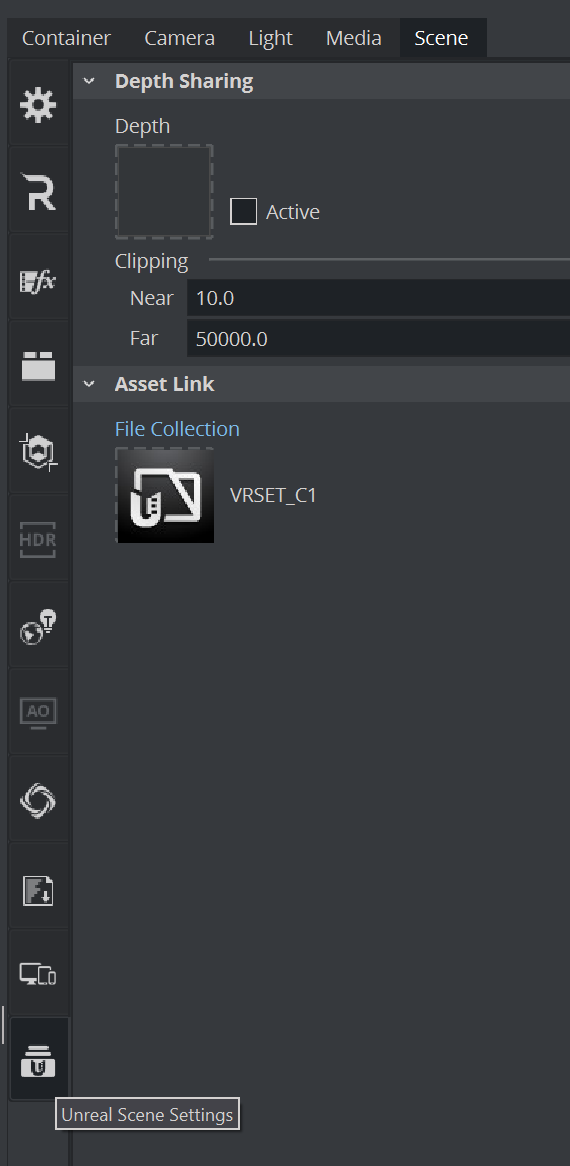
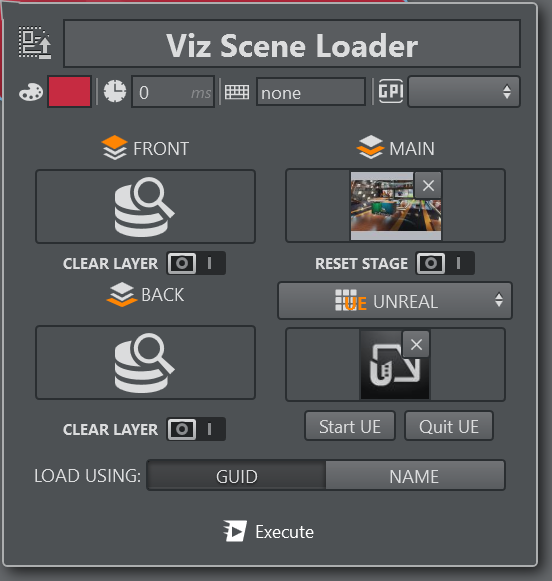
From the drop down menu select the UNREAL item and select a File Collection browsing the Graphic Hub. When changing the File Collection, make sure to close the Unreal Engine using the Quit UE button, start the new File Collection using the Start UE button.
Important: Please note that the Viz Engine automatically launches the File Collection that has been saved with the scene. Make sure you save the Viz Scene when you want to permanently change the File Collection within a Viz Scene.
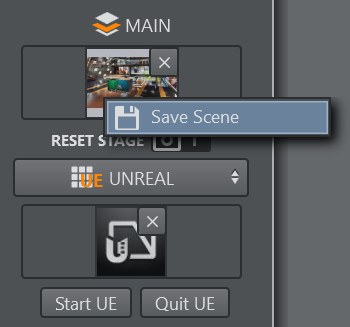
In case the respective scene has been loaded in the main layer and it is associated to the scene loader, you can use the context menu to save the scene.
Unreal Scene Loader
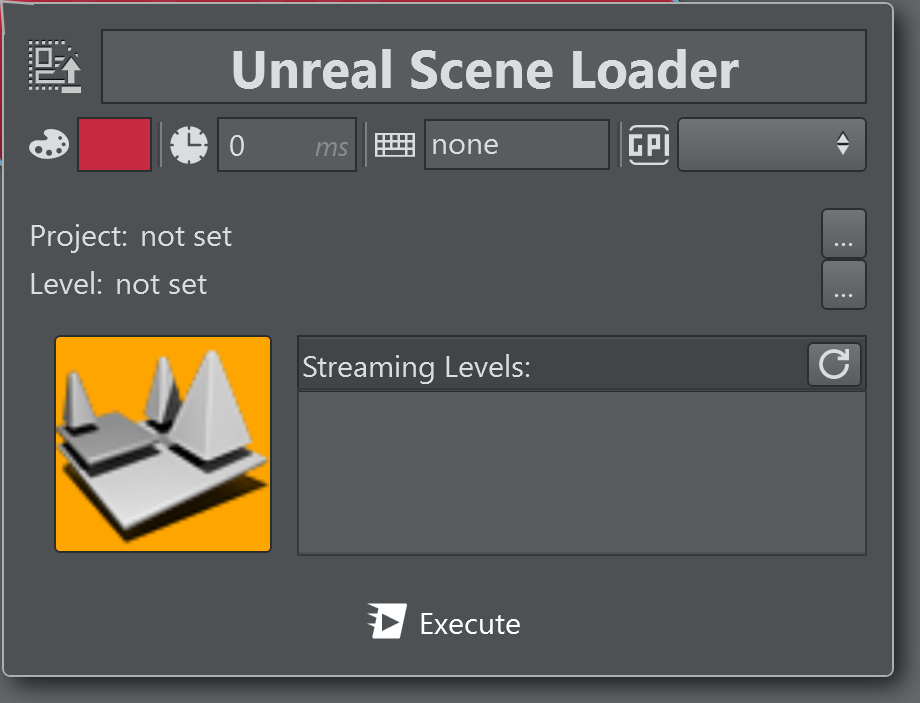
The Unreal Scene Loader allows you to load a specific unreal map in a given project. The loader can be created either by using the context menu on the action canvas or through the context menu on the scene tabs.
The Project indicates the Unreal project while the Level indicates the name of the level to be loaded.
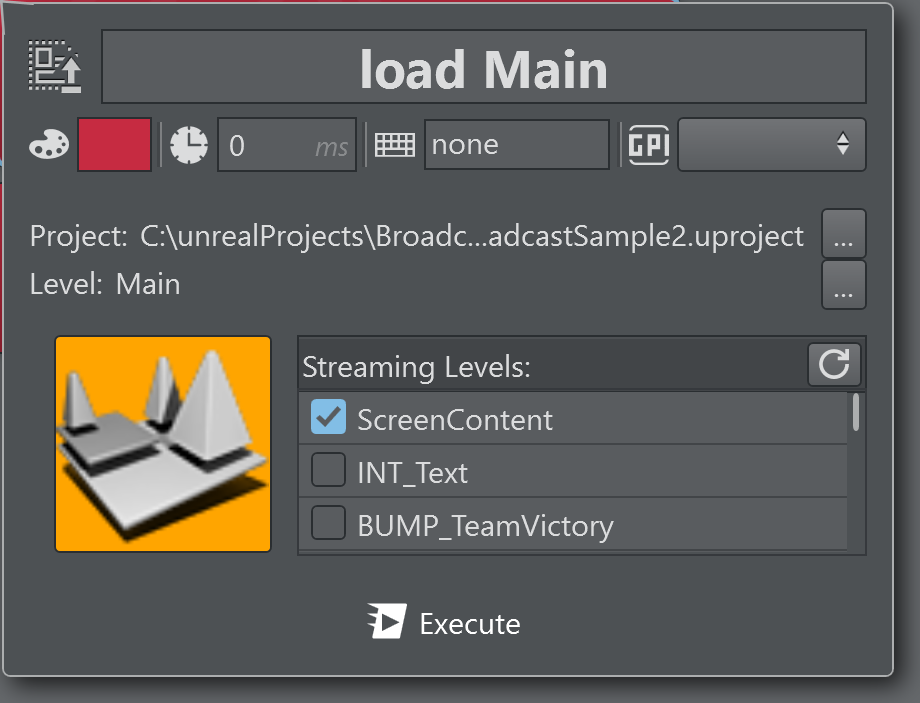
The Streaming Levels show a list of the streaming levels that are shown when the scene loader executes.
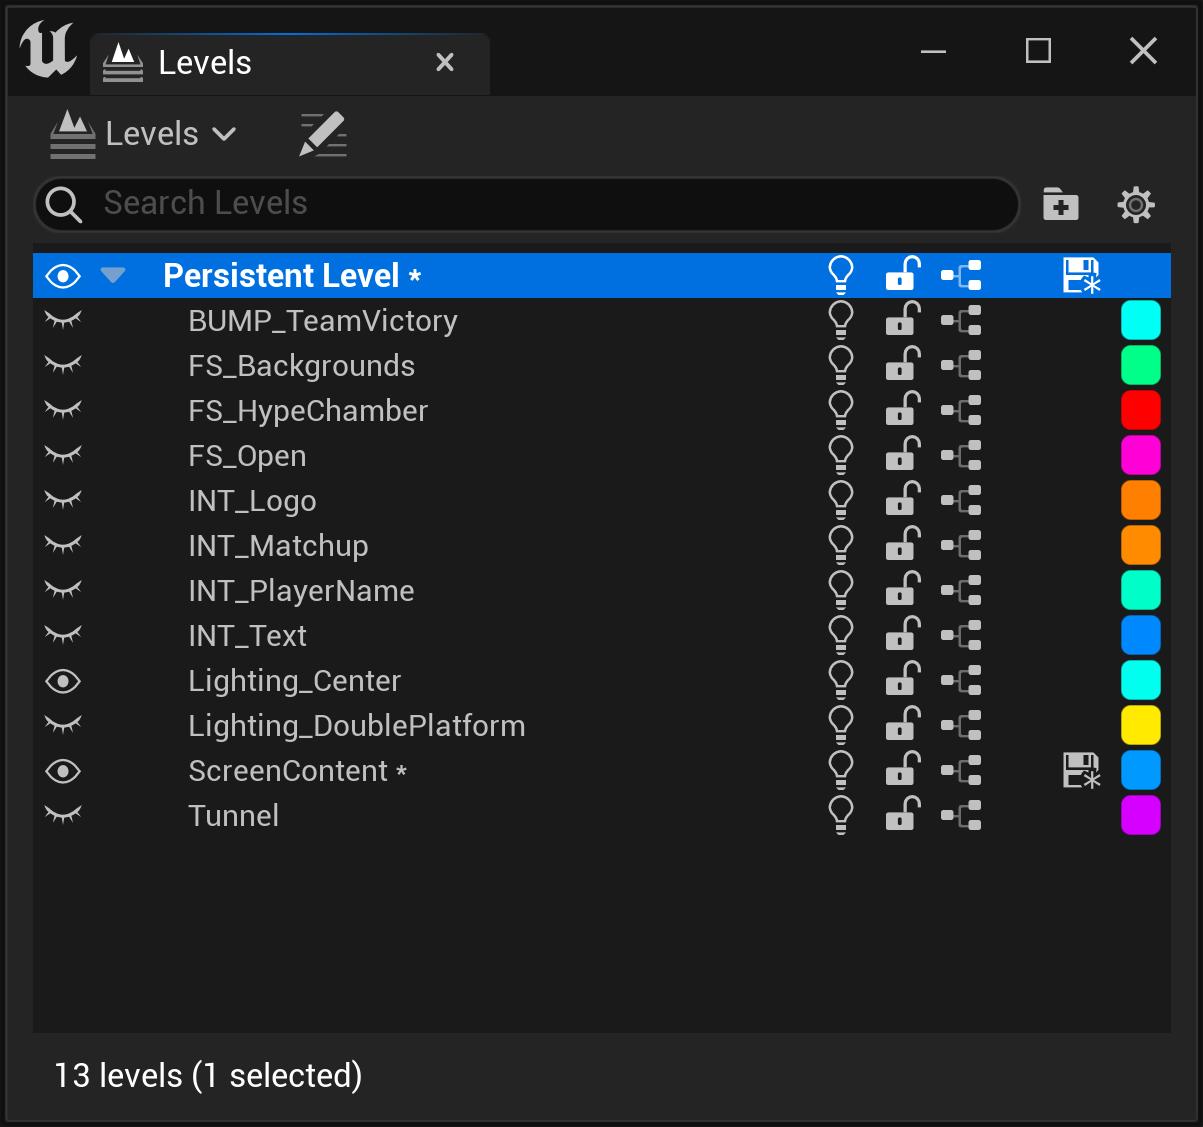
When creating a scene loader from the action canvas, click on Select Unreal Level to open the browser.
Either browse the unreal project and level browser to manually select the .uproj and .umap files or click the map icon use the Unreal browser as shown in the screenshot below. Make sure to select the project location before selecting the map level as the map is a location relative to the project.
Note: Manual selection of the project and map files implies that the project are stored on a file system that is reachable by the local machine.
The built in browser allows you to browse the content of of the Unreal editing engine which may run on a different machine.
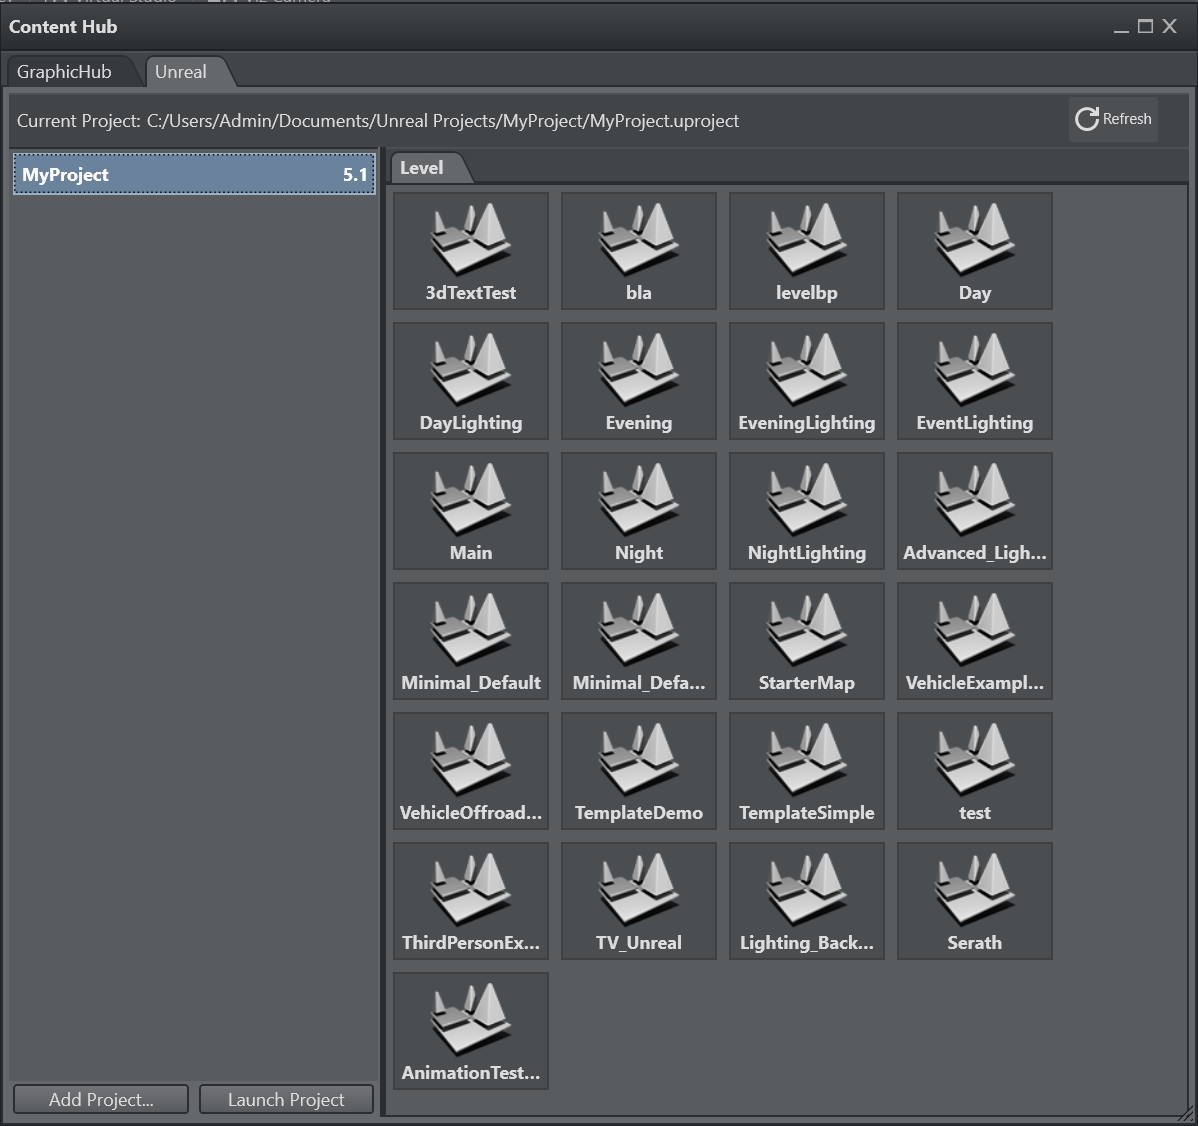
Use the Add Project... button to add a project browsing on the local filesystem. The selected project is added to the list of available projects.
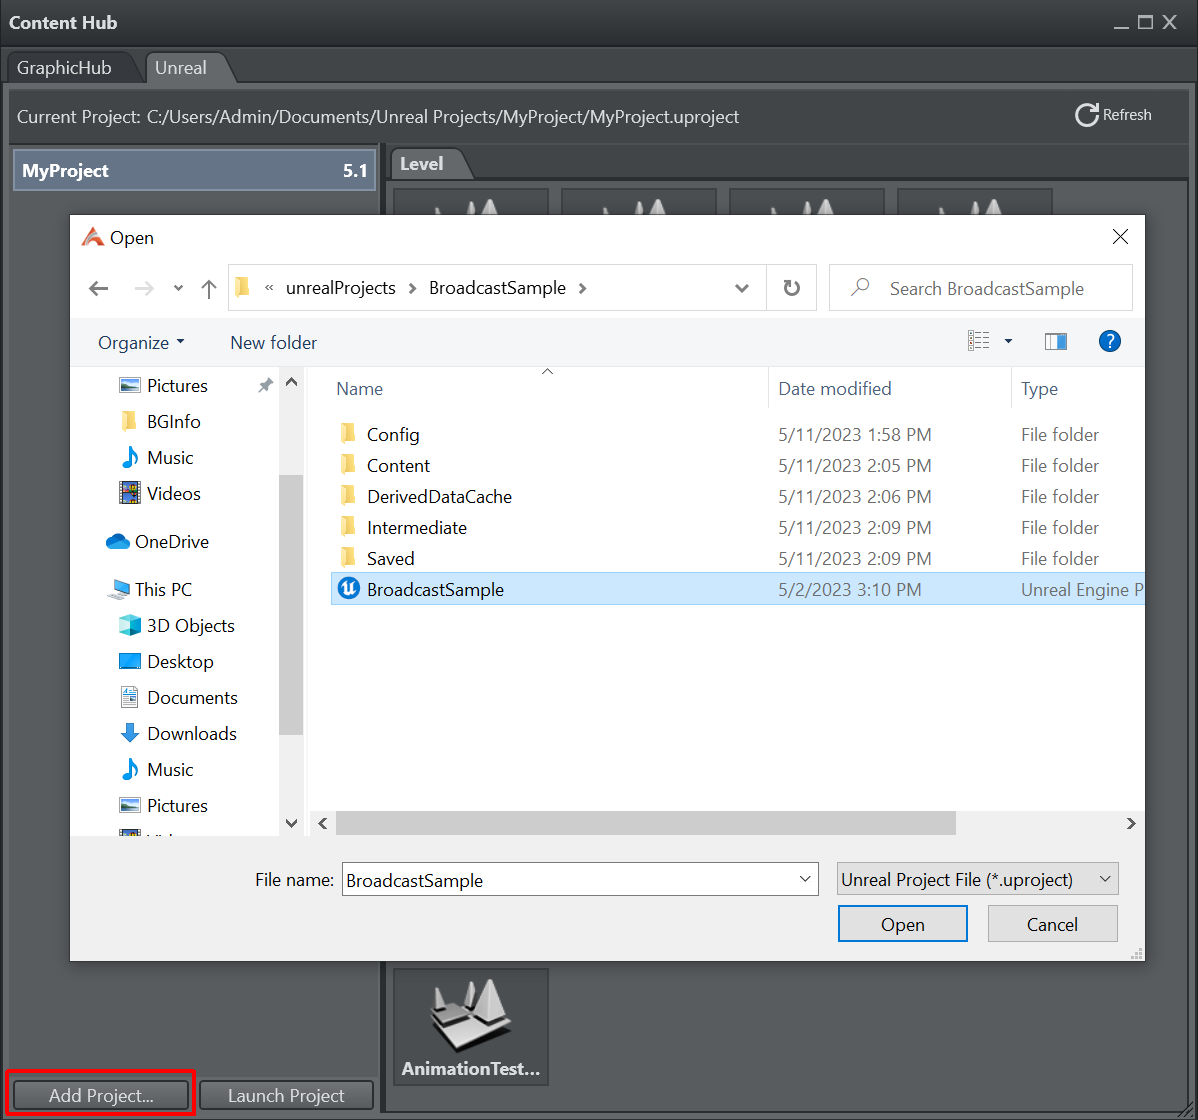
Selecting a new project loads it into the Unreal Engine and displays the available levels. This process may take some time depending on the complexity of the project.
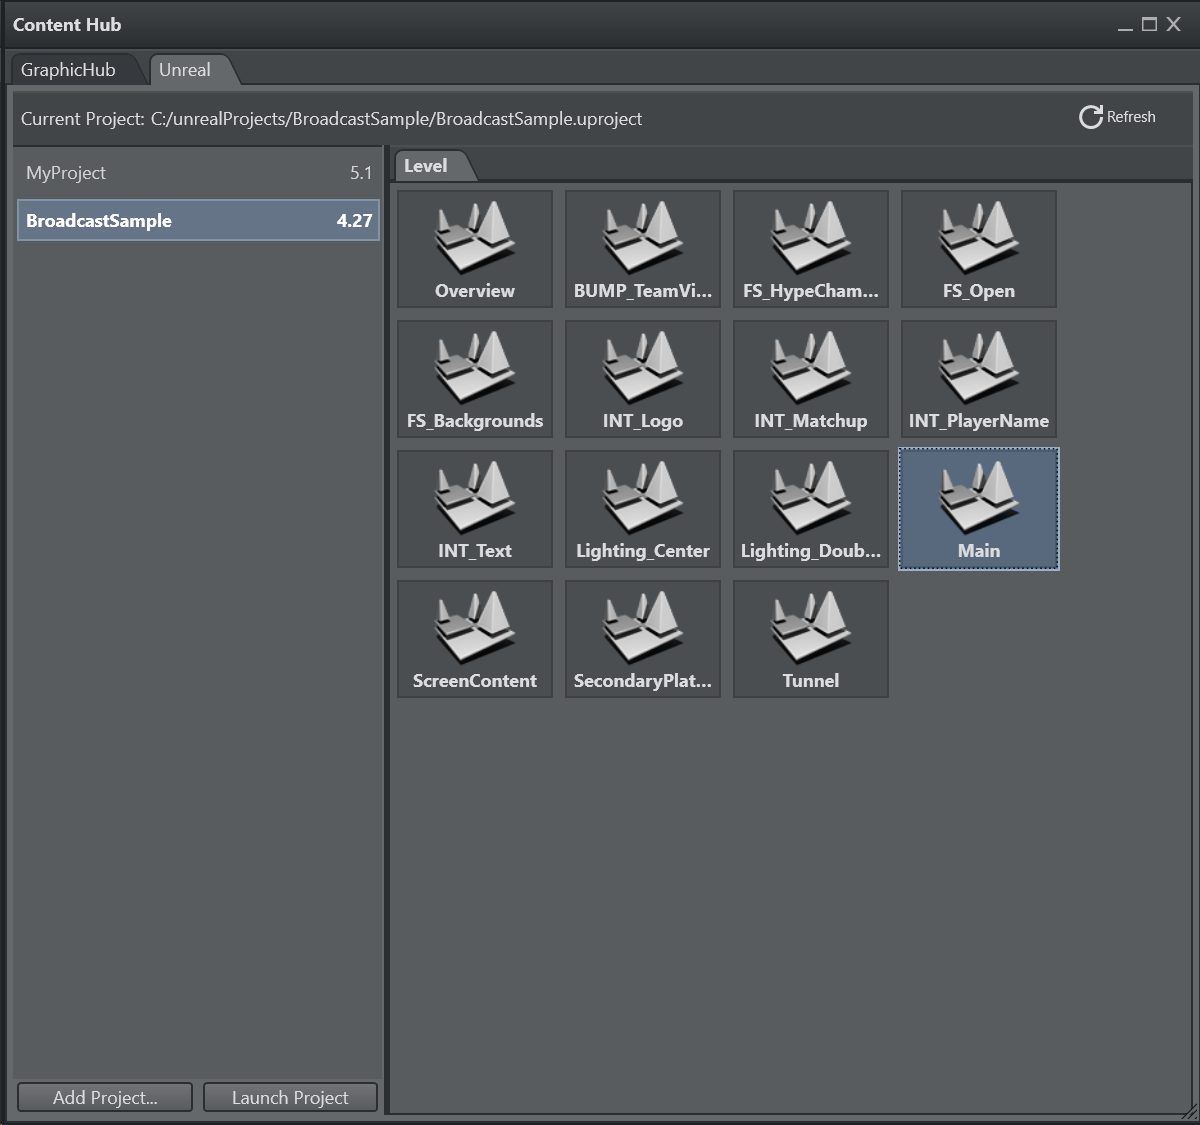
In case the editing Unreal Engine is not running when the browser is opened, you can launch it by clicking the Start Editing Engine, this launches the editing engine through the Viz Unreal Launcher. Once the engine is up and running it automatically displays the available projects and levels.
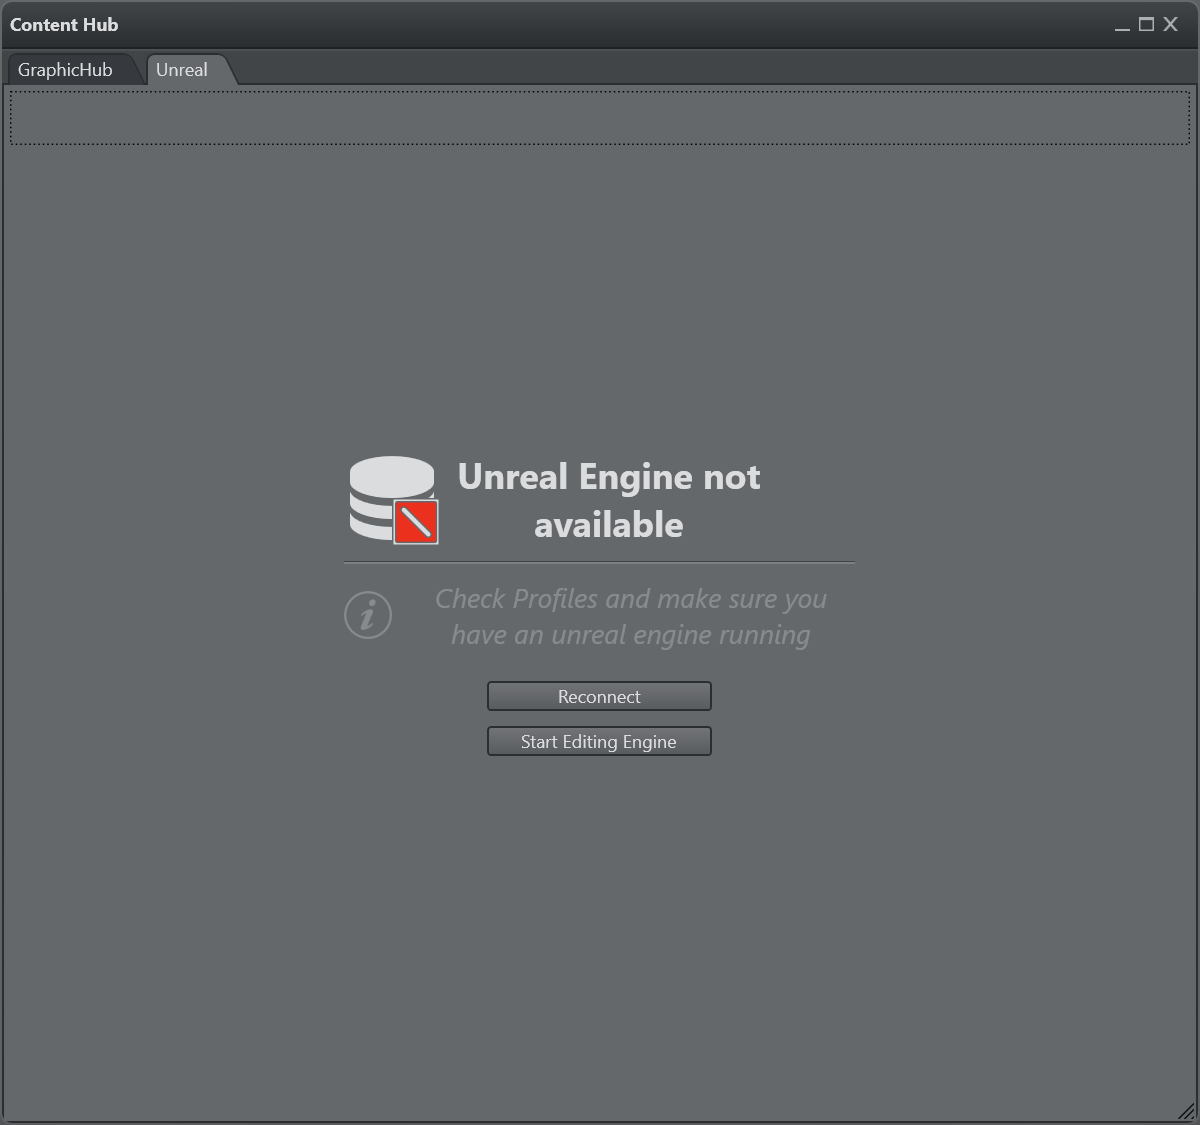
Info: The browser only works when the Unreal Editing Engine is in game mode.
Using the Browser to Select a Project
By double clicking a project, the Unreal Engine is restarted with the respective project. The browser only shows the levels of the currently loaded project.
Click Refresh to refresh the layers when the Unreal Engine has been restarted with a different project.
Double click on one of the layers to confirm the selection.
Note: The unreal scene loader requires the Unreal Loader Service to be properly installed and configured. Whenever a level is loaded that is not part of the current project, the Unreal Engine is restarted.
Tecnopoint
Tecnopoint lets you control a robotic camera using the Tecnopoint TuningS server.
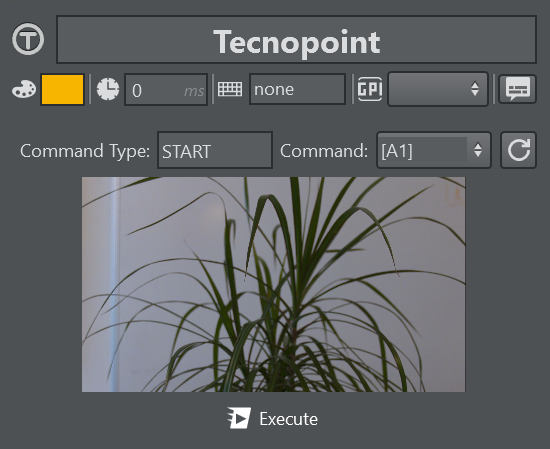
Command Type and Command determine the desired shot position of the robotic camera and shot type.
Telemetrics
Telemetrics lets you control a robotic camera using the Telemetrics protocol.
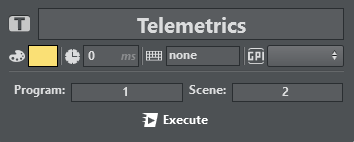
Program and Scene determine the desired shot position of the robotic camera.
Utah
Utah is used to route SDI video signals through a Utah Scientific router.
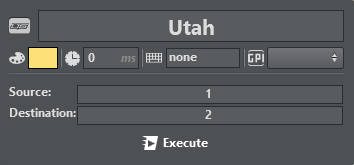
Source and Destination determine which source ID is to be mapped to which destination ID.
Viz Clip
Viz Clip is used for managing Viz Engine’s ClipIn channel; it has two working modes:
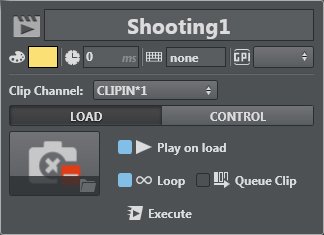 | In the LOAD menu, you can select which clip to play (Local file system or Media service) and play options (Play on load, Loop and Queue Clip). |
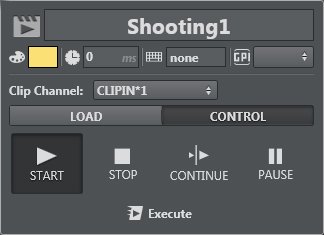 | Use the CONTROL menu to START, STOP, CONTINUE and PAUSE the clip. |
If a Viz One server has been configured, the Clip Action can also browse for clips on Viz One.
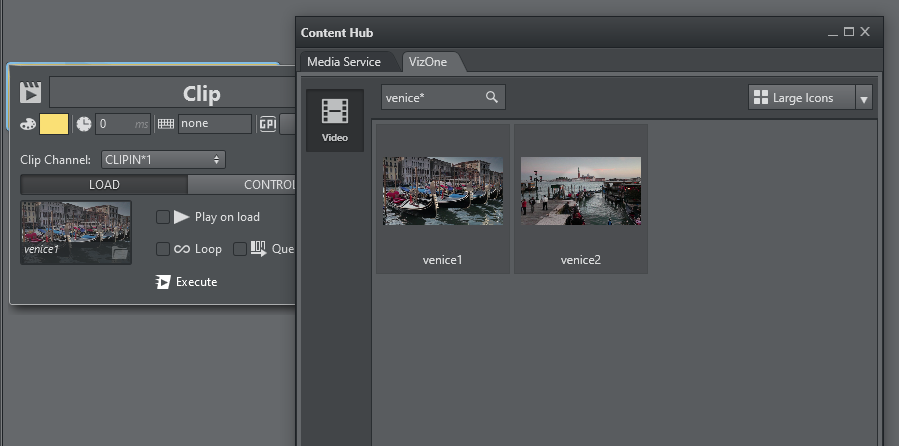
The Viz Engines inside the selected channel need to be configured as Engine endpoints in Viz One in order to transfer the clips on the Engines. A progress bar on top of the action indicates the transfer progress.
Vinten Control
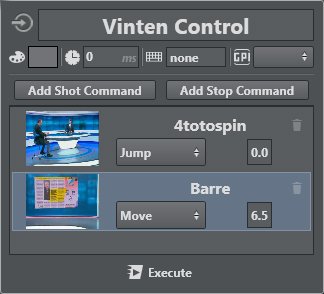
Vinten has it’s own software and service for controlling cameras. You can use the joystick to move cameras and save the shot. It's useful for broadcasters to have the same opening camera animation easily available on a TV program.
Shots are the saved camera movements in Vinten Automation Services software.
Once you have created and saved a shot in Vinten, it's possible to import it into Viz Arc using the Vinten Control menu. There are three timer controls:
JUMP TO: The quickest way to switch from the selected shot to the next shot.
MOVE TO: Configures a time in which it does the shot animation; if the time is too early, it does the animation in the minimum time requested.
STOP: Stops the selected shot.
To Import a Vinten Shot
A step-by-step procedure for importing a Vinten Shot into your Viz Arc project follows below:
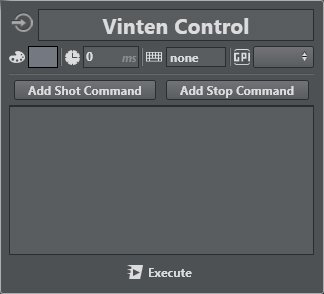 | Select Create Vinten Control Action from the context menu to make the panel on the left appear. The shot list is empty. |
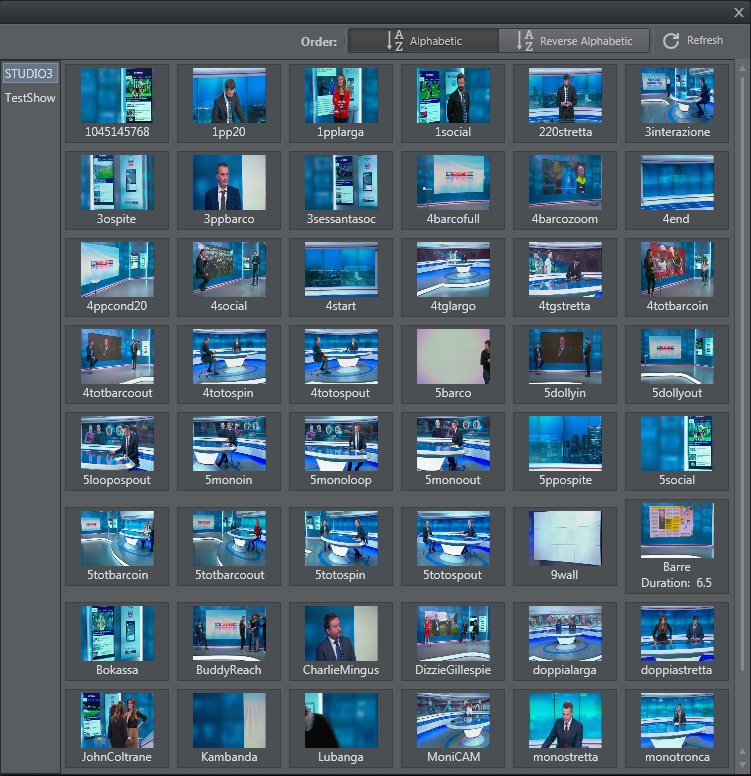 | To add a Vinten shot, press the Add Shot Command button |
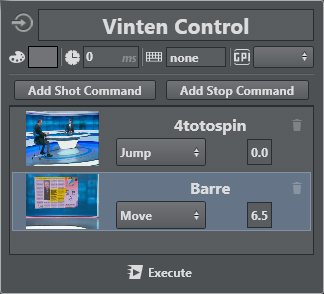 | Select your desired shot, and it is automatically added to the action box. It's possible to import multiple shots into the same action box and create a list or keep every shot in a single box. |
 | It's also possible to add a stop command by pressing the Add Stop Command button. To remove any shot or stop, press the Trash can icon |

