See the Sources Pane to find media for your show:
Media Tab: Search for assets in specified search providers.
Inbox Tab: Content that is always available, across all shows.
GFX Tab: Graphical elements to be used in your show.
Video Walls Tab: Presets for Superchannel-based video walls.
Dynamic Walls Tab: Presets for DynamicChannels based video walls.
Live Tab: Live source element to be used in your show.
Templates Tab: Viz Pilot templates and elements.
Note: The Show/Hide button on the Toolbar allows you to Hide Sources Pane and Show pane.
Media Tab
Note: Before using the Media Tab, make sure your search providers have been configured in Settings > Servers Tab.
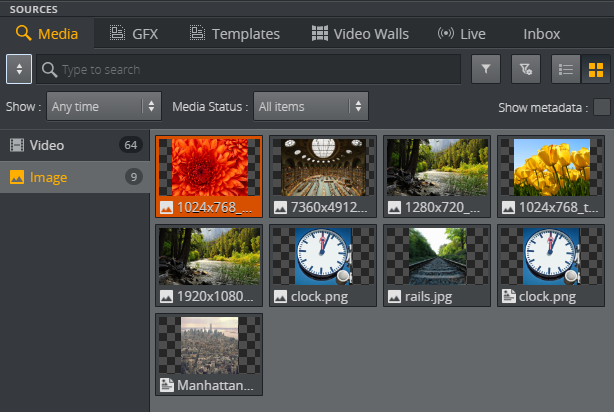
In the Media tab, you can search for video and images in any of the search providers you have connected to, including Viz One, Media Service and Graphic Hub.
Once the element is found, drag it from the Media Tab to your channels.
Add Items to Channels from the Media Tab
Drag individual items or groups of items into channels from the Media tab.
Click the Media tab.
Select a media type.
Drag an item into a channel.
Hold CTRL and click multiple items to drag them as a group into a channel.
Standard Media Search Filters
Note: Not all search criteria is supported to all search providers. Unsupported criteria is hidden if unavailable.
Keyword search: Search descriptions
Media type: Video or Image
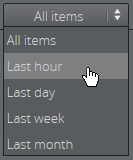
Date range: Filter by date. All items, Last hour, Last day, Last week, Last month. Works with media from Viz One, Media Service, Pilot Data Server, Graphic Hub, Graphic Hub default folder and Graphic Hub Image Library.
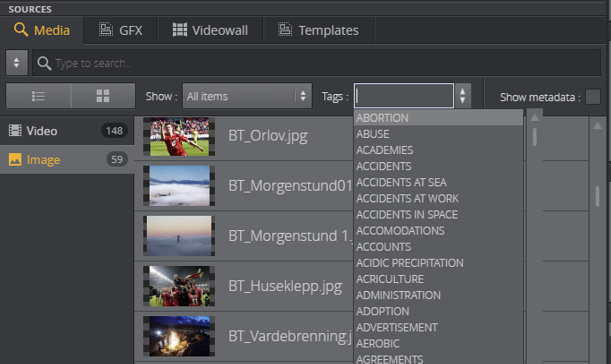
Tags: Works with media from Viz One. Only one tag can be selected at a time.
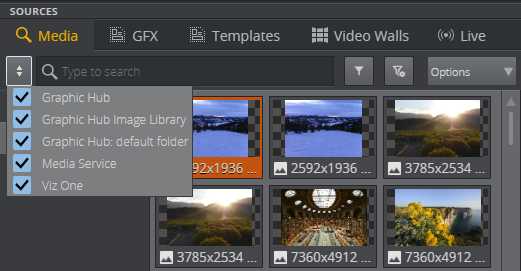
Search Provider: Select media sources for your search (Media Service, Viz One, Graphic Hub, Graphic Hub default folder and Graphic Hub Image Library).
Note: Graphic Hub REST versions higher than 2.0.1 support Graphic Hub: default folder as a search provider, in addition to Graphic Hub. The default folder only contains images ingested through the Graphic Hub REST API, while the Graphic Hub search provider exposes the full content of the Graphic Hub.
Note: Viz One items marked as Blocked in the MAM system appear in search results with a visual mark. They are not usable in Viz Multiplay until they are unblocked in Viz one.
Advanced Viz One Metadata Search
Viz One items can contain metadata specified on ingest. Viz One supports multiple metadata schemas in the same database. When searching for Viz One items, it is possible to search for items containing specific meta data. Any metadata field is searchable, and the advanced search filter can contain multiple metadata fields. If multiple fields are specified in the search, they act together with AND operator.
Click the Media tab.
Select Viz One as a search provider in the dropdown.
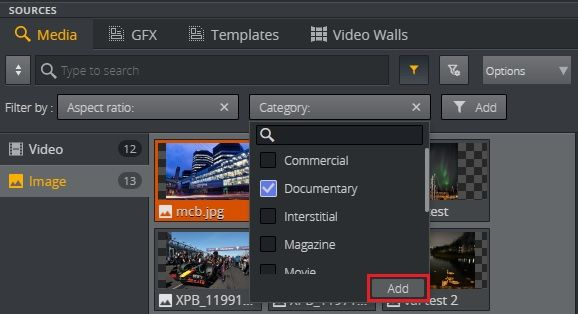
Click the filter icon to expose the metadata search filters:
Now, clicking the Add button exposes an aggregated list of metadata fields in all the metadata schemas configured on the Viz One server. Start typing to look up a specific field. For each field, add a search criteria and click Add or Update to apply the new filter to the current search.
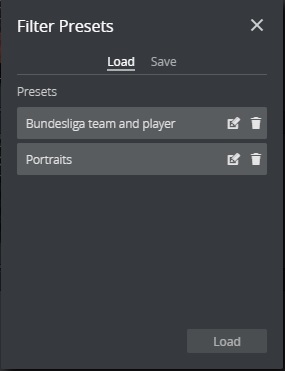
To load or save a specific set of metadata search fields, click the filter cogwheel button .
Video Preview
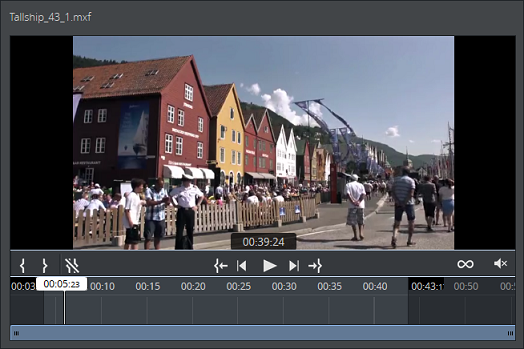
To preview a video, right-click an item and select Preview.
Videos can be edited once they have been added to channels, see Editing Videos.
Inbox Tab
Users can work together to find and collect elements that can be easily added to a story. An inbox is global, meaning that it is available regardless of what show is currently open. Mark a show as an inbox by selecting it in Settings > Inboxes Tab.
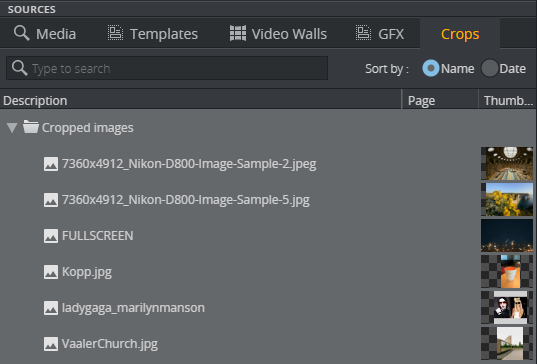
Any content added to the show (for example, Crops) is immediately available in the Inbox tab. Elements can be dragged from the Inbox tab to a channel.
Note: When an element is dragged from the inbox to a channel in a show, it is copied, not referenced. This creates two separate elements that can be modified independently of each other.
Note: There are several ways to ingest elements into an inbox dynamically, for instance through the Media Sequencer REST API.
GFX Tab
The GFX tab is a playlist within the show populated by importing Viz Artist scenes directly from the Graphic Hub or by using Viz Trio or the REST API of Media Sequencer. You can also drag or copy and paste elements from a channel into a group in the GFX tab.
Note: The content from the GFX playlist is only available within the show in which the playlist is created. A playlist is set as the GFX tab by selecting it in Settings > General Tab> Graphics.
The graphical elements can be empty templates or filled with content and can be edited once they have been added to a channel, see Editing Graphics. Any changes made inside an element are immediately visible.
The Context Menu
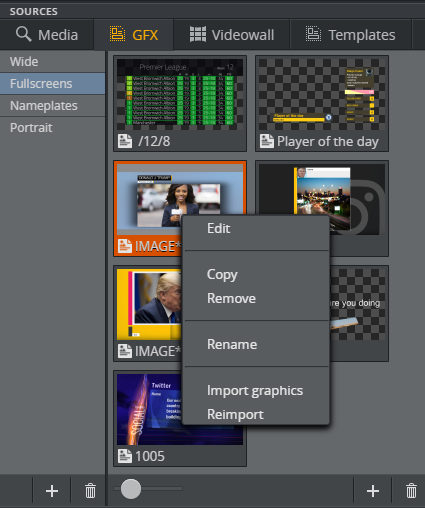
Right-clicking an element in the GFX tab open the menu, which includes the following option:
Reimport: Re-imports the graphics from Graphic Hub. This is useful if the graphics designer has added or removed control fields.
Changing Thumbnail Size and Aspect Ratio
Drag the slider right to view bigger thumbnails and left to view smaller thumbnails.
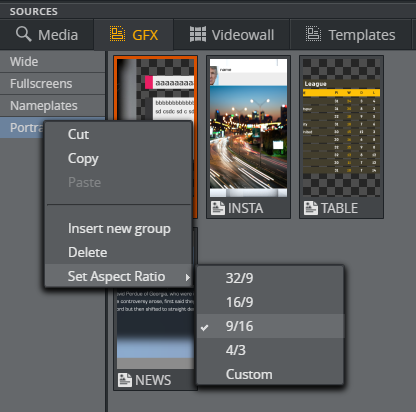
The thumbnails for each group in the GFX tab can have different aspect ratios. This is handy if you have wide scenes or portrait scenes meant for playout in GFX channels with the same aspect ratio.Right-click a group in the GFX tab.
Select Set Aspect Ratio.
Choose an aspect ratio or select Custom.
In the custom box, enter a numeric value (width divided by height).
Video Walls Tab
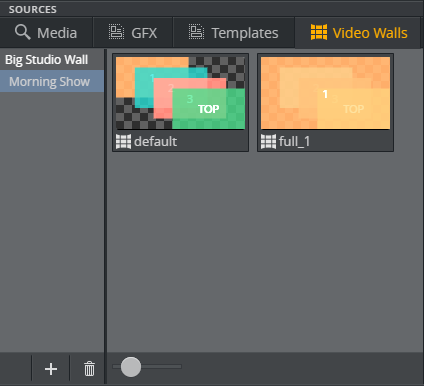
The Video Walls Tab contains the Superchannel based video walls imported from the profile.
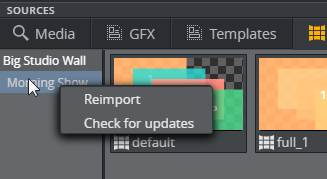
Click the Plus button to import new walls or new sets of presets (preset scenes) for a video wall into the current show. One video wall can have multiple sets of presets imported into the show. If a set of presets has a yellow triangle next to it, it indicates that the presets changed on Graphic Hub and they need to be reloaded. Right click and select Reimport to import the latest preset data from Graphic Hub. Check for updates checks whether the presets on Graphic Hub are updated since the last import, for instance if a designer has modified the preset scene in Viz Artist.
Dynamic Walls Tab
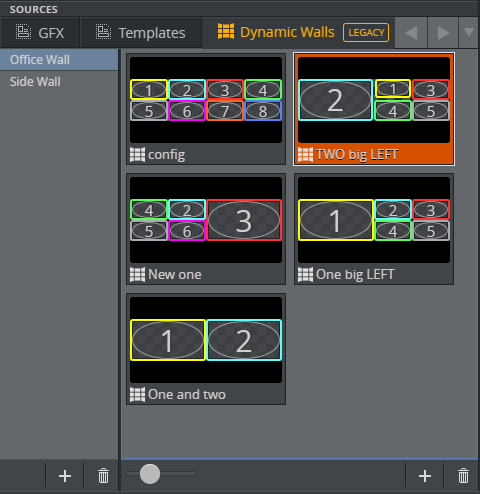
The Videowall tab contains the video walls created with the DynamicChannels solution in Viz Multiplay. The tab displays a regular playlist within the show that contains a set of Presets (video wall layouts). The content from this playlist is only available within the show in which the playlist is created. Set a playlist as the Videowall tab by selecting it in Settings > General Tab > Videowall.
The presets can be empty video wall layouts, or can be filled with content (media and scenes). The elements can be edited once they have been added to a channel (see Editing Presets). Any changes made inside an element are visible immediately.
Viewing Elements in the Videowall Tab
Drag the slider to adjust the size of presets:
Connect a Videowall Group to a Videowall
Playout all the presets in a group on a specific videowall.
Tip: Create one group for each videowall in a profile.
Right-click a group in the Videowall tab.
Select the desired videowall together with its main channel (the Viz output on which the videowall presets are run).
This group now only contains presets assigned to the selected videowall.
Live Tab
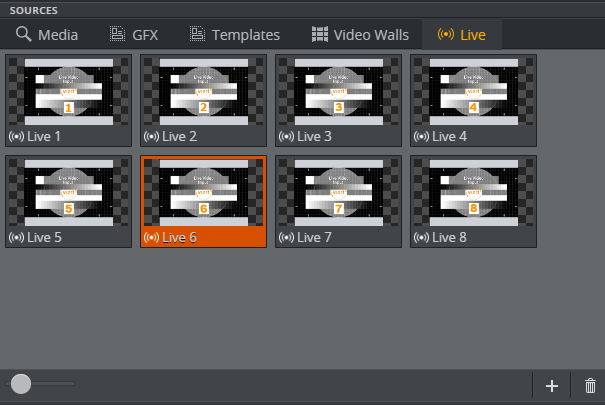
You can add live sources to a show from the Live Tab. The elements displayed in the tab are directly linked to live sources via their respective live channels, not to be confused with channels that are part of a show.
The Live Tab comes pre-loaded with some live source elements from the start.
To add or remove elements, use the buttons at the bottom right of the tab area. Alternatively, you can right-click to access these actions in the context menu.
Note: The Live Tab's element list is owned by Media Sequencer. Modifications also appear on other Viz Multiplay clients, using the same MSE.
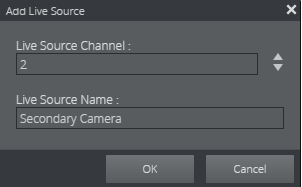
When adding an element, you are prompted to assign a live channel and a name (they can both be modified later via the context menu). However, the live channel for elements in a show cannot be changed. Note that any modifications made to live source elements, including their deletion, do not affect the actual live sources in Viz Engine.
Live source elements are only compatible with superchannels. Therefore, the Live Tab only appears when a superchannel video wall is configured for the profile of the open show. To permanently hide the Live Tab, disable the Show live tab option in the general settings. See the Working with Live Sources section for more information.
Templates Tab
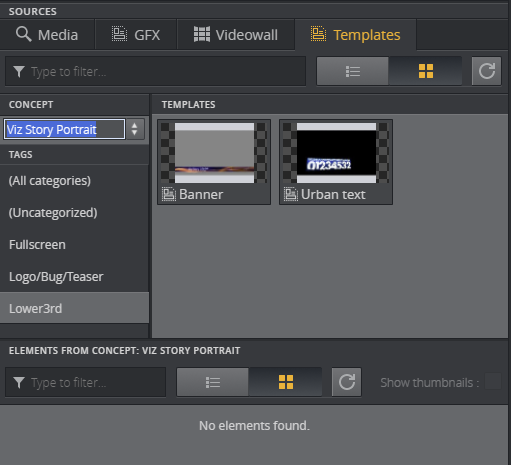
The Templates tab gives you access to Viz Pilot templates and elements.
Note: In order to access the Templates Tab, Viz Pilot must be configured as a search provider in Settings > Servers Tab.
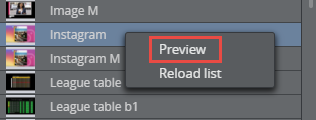
Browse for a Viz Pilot template or an element. Right-click and select Preview to preview the graphics in a higher resolution.
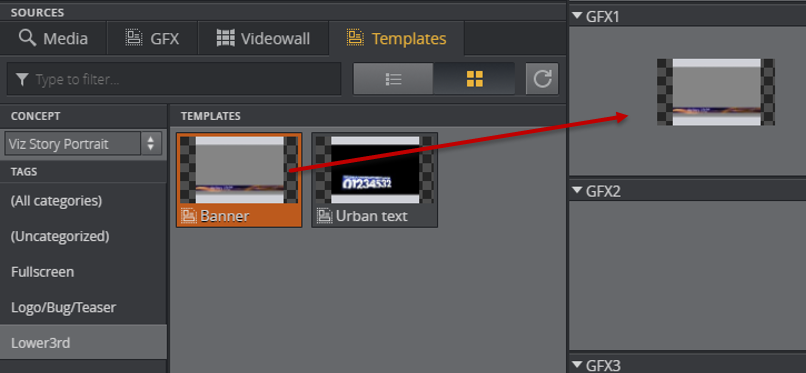
Drag templates directly into your channels. This automatically creates a new Viz Pilot element.
The templates can be edited once they have been added to a channel (see Editing Graphics). Any changes made inside an element are visible immediately.
Working with Data Elements
Drag data elements from the Templates Tab into channels in the Media Column.
This section covers:
What are Data Elements?
Data elements are variations of a template.
For example, the same lower third may be used in both the morning and evening shows. Two different elements are created from a single template, each containing styling specific to the show for which it is created. The morning show element has a green lower third, while the evening show element has a red lower third.
Where Can I Find Data Elements?
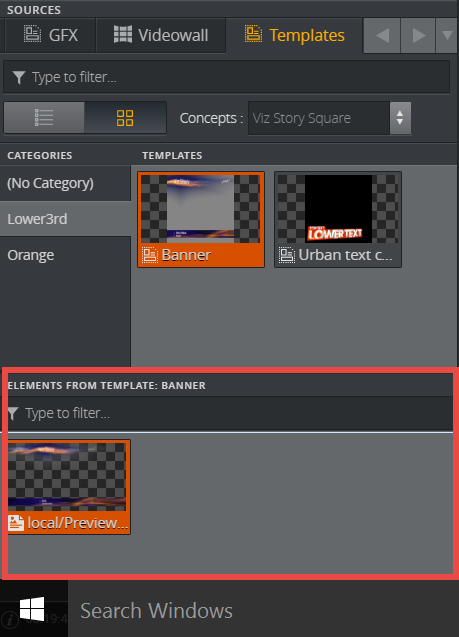
Elements are accessible at the bottom of the templates tab. Drag them into channels in the same way as templates.
Refreshing the Data Elements List
The data elements list is read out from the Pilot Data Server when a concept or a template is selected. This list does not change, even if someone is changing the list on the server. The list must therefore be refreshed manually.
Refresh the List
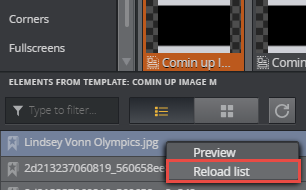
Right-click an element in the data elements list.
Click Reload list.
The current subset of data elements is reloaded from the server.
Filtering Data Elements
Viz Multiplay groups elements by concept and template.
Note: It is not possible to filter data elements by category.
View Elements by Concept
Show all data elements belonging to all templates in a concept.
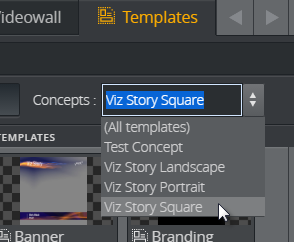
In the Templates Tab, click the Concepts menu and select a concept.
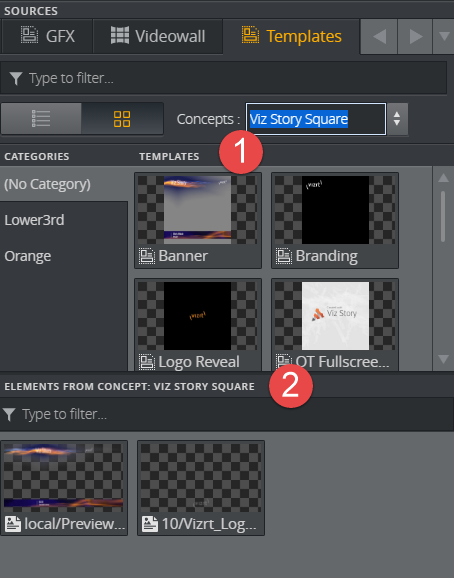
Both templates (1) and elements (2) for the selected concept are listed.
Tip: Elements from concept is displayed to remind you that you are viewing elements associated with a concept.
View Elements by Template
Show all data elements belonging to a specific template:
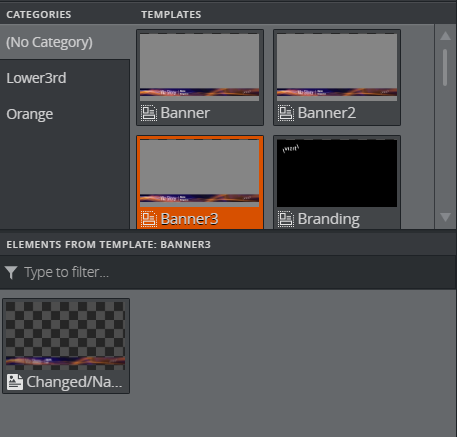
In the Templates Tab, click a template to view its elements.
Here, Banner3 contains a single element titled Changed/Na....
Note: Elements from template is displayed as a reminder that you are viewing elements associated with a single template.
List and Grid View
In the Templates Tab, click to view elements and templates in list or grid view.
