This section covers:
Media Pane
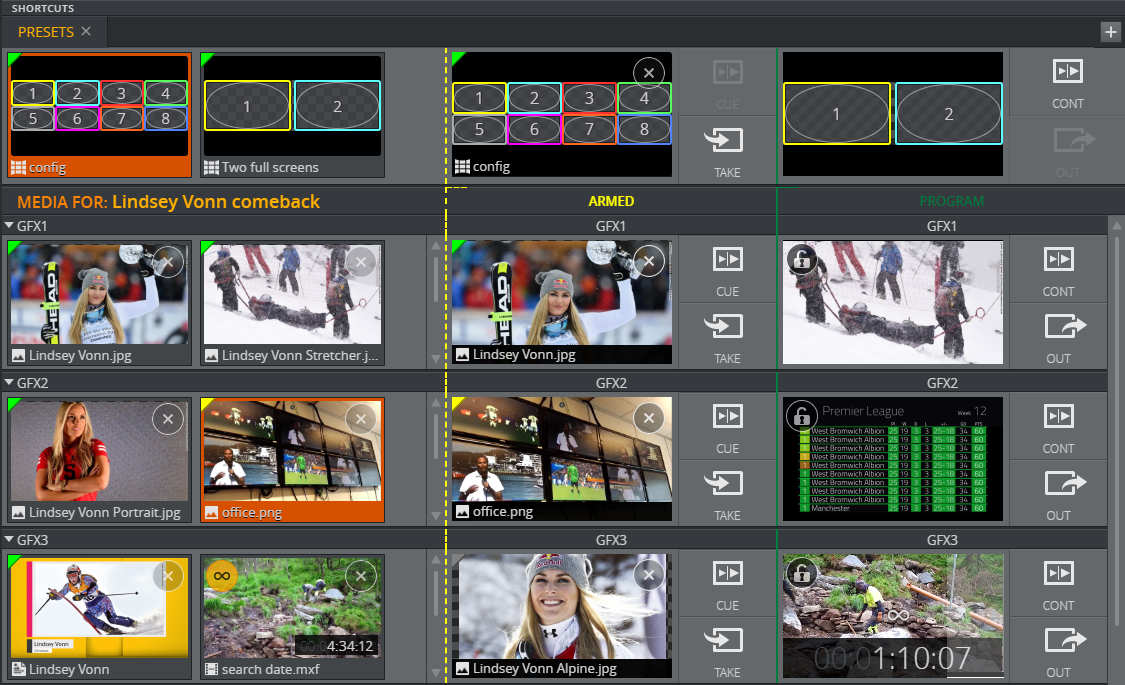
Elements that are ready are listed in the Media Column, while the Armed and Program columns display elements currently armed or on air.
Arm and Take Multiple Elements to manage multiple channels simultaneously.
The Using the Shortcuts Bar is used to arm and take presets and other shortcuts.
Note: Adding videos to a graphics-only channel or graphics to a video-only channel will result in the element not being played out correctly. Composite elements will only work on channels that support both graphics and video.
Media Column
Elements that are ready to be played out are on the left. These elements belong to a page list or a playlist, and are assigned to one channel in the active profile.
Note: All changes made to elements in this column are reflected in Viz Trio.
This section covers the following topics:
Options in On Air Mode
With On Air Mode enabled, you can prepare (arm) and play out elements. Either:
Right click an element to use the context menu.
Click an element to move it to Armed.
Drag an element to Armed or Program in another channel to make a copy there (the original remains in the source channel).
Drag an element to the Media Column in another channel (this removes the element from the source channel).
Turn Looping ON or OFF .
Note: You cannot change the looping setting once the clip is playing. Take out the clip to stop looping.
Delete an element with X button or Remove from the context menu.
Note: Show or hide the X button in the General tab in Settings.
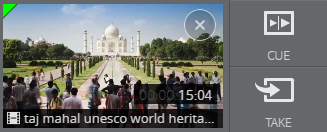
A thumbnail indicates that the element is still loading:
In 1-Tap Mode, you can click an element to move it directly to Program.
When elements have been selected in several channels (one element per channel):
Arm Selected: Send all selected elements to Armed.
Take Selected: Send all selected elements to Program.
Shortcut Menu in the Media Column
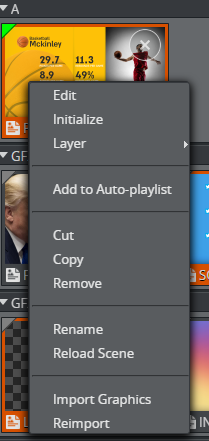
Right-click elements (videos, images and graphics) in channels in the Media Column to open the menu:
Initialize: Loads the resources of this element into the memory of the renderer. Initialize is available for images and graphics and ensures instant Take playout.
Important: Initialize may disrupt animations or clips playing on the renderer. It is recommended to initialize before the broadcast starts, or when there is low activity on the renderer.
The colored triangle in the top left corner of the element shows whether the resources are loaded on the renderer. Green is loaded, yellow is loading, and gray is unloaded.
Note: If the element is not loaded, there may be a delay before the renderer plays the graphics when a Take is executed.
Layer (non-GFX channels only): Set the Viz layer (FRONT, MAIN or BACK).
Add to Auto-playlist: Only media elements from the same group can be included on an Auto-playlist.
Reload Scene: From Graphic Hub.
Note: Reload Scene is only visible when right-clicking graphics in the media, armed and program columns. See Reload Scene.
Import Graphics: Import graphics directly from Viz Graphics Hub into the channel.
Reimport (only for graphics): Reimport the graphics from Graphic Hub. Does not affect the renderer. Useful if the scene designer has added or removed control fields.
Armed
When armed in Arm and Fire video wall configuration, elements get prepared on Viz Engine for playout. The green triangle shows that the renderer is ready and the element can be played out instantly.
In legacy video wall configurations only clips are prepared on Viz Engine.
The following actions are available in the Armed column:
Click an element to take it to Program.
Click the TAKE button to take the element to Program.
Click the CUE button (enable this in Settings) to send the element to Program in the first frame in the renderer ready to be played out.
Click the CONTINUE button (enable this in Settings) to continue the graphics or video on the external preview engine. Only available if external preview is used.
Click the SWAP button (enable this in Settings) to swap the content in the Armed column and the Program column.
Drag an element to Armed or Program in another channel to make a copy there (this does not affect or take the original armed element).
Take All: Send all armed elements, for all channels, to Program.
Cue All: Send all armed elements, for all channels, to Program in the first frame in the renderer ready to be played out.
Swap All: Swap all elements in the armed column with the elements in the Program column.
See the Looping status of the video.
Note: The looping setting cannot be changed in the Armed column. Use the looping button in the Media column.
Remove an element from the Armed column by clicking X.
Video wall main channel:
In Arm and Fire configuration, if a preset is armed on the main channel ("A") the preset thumbnail will show every armed element on that video wall. Clicking TAKE on the main channel in this case will play out all armed element on this video wall.
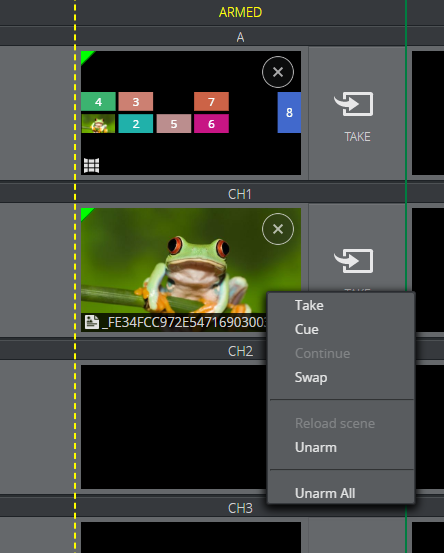
Armed Shortcut Menu
Take: Takes the Armed element to Program.
Cue: Sends the element to Program in the first frame.
Continue: Continues on the external Preview renderer. Only enabled if an external preview is configured for a video wall.
Swap: Swaps the content in the Armed column and the Program column.
Reload scene: Shows the new updated scene.
Unarm: Removes element from Armed.
Unarm All: Removes all elements from Armed.
Program
Elements shown in the Program column are currently playing on air in the channel.
Note: With Media Sequencer version 5.0 or higher, the Program column does not only show the last taken element, but snapshots of all the layers that are in the renderer at a given moment. This means that when a Transition Logic layer is taken in (for instance a banner), and another layer is taken in (for instance a clock or a side panel), the Program column will actually show both of these layers, and not only the last taken element.
Click CONT to continue a graphic element or Cued elements.
Click OUT to take out the element.
Note: With Media Sequencer version 5.0 or higher, OUT takes out content on all layers in the renderer, including Transition Logic layers, and not only the last taken element.
Important: OUT is not enabled for a main or shortcut channel that has a video wall preset on air. A preset should always be on air when operating a video wall, even if the channels are empty. The preset ensures that content can always be played out directly in the channels on the wall.
Drag an element to Armed or Program in another channel to make a copy there (this does not affect the original program element).
Continue All: program elements in all channels, including cued elements.
Important: Continue All does not continue elements in the Shortcuts Bar. Only elements in regular channels visible in the interface (including collapsed channels) are affected. Channels hidden by the active Workspace are not affected.
Out All: Take Out all program elements in all channels.
Important: Out All does not take out elements in the Shortcuts Bar. Only elements in regular channels that are visible in the GUI (also collapsed channels) are affected. Channels hidden by the active Workspace are not affected. Out All has a fail-safe that provides an extra confirmation step when clicked.
See the Looping status of the video.
Note: The looping setting cannot be changed when the clip is playing. To stop looping, take out the clip and toggle the looping OFF in the Media column.
Display a snapshot of the clip/graphic (clips can also play depending on the setting Play videos locally in Program in Settings).
Note: The preview shown in the Program column is an indication only and may not be completely in sync with the actual output.
Video wall main channel:
If channel state is enabled, the main channel ("A") will show the preset thumbnail with every element being played out on that video wall.
Visualizing Stop Points
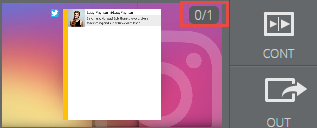
If a graphics imported with Viz Multiplay in the GFX playlist has stop points, this is visualized in the Program column on the thumbnail:
The number indicates the current stop points and how many stop points the graphics has.
Locking a Channel
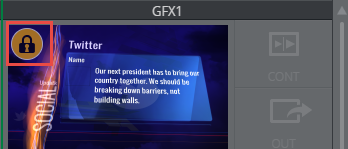
Each Program channel has a lock symbol (enabled in settings) to hinder any changes being made to it.
You can lock a channel if its content is to stay on air, Viz Multiplay blocks most operations that would change the output on Program. An example use case can be to lock some channels, and click Continue All, only the unlocked channels receive the Continue command.
Note: Commands executed on the Shortcut row, ignore Channel locks.
Note: Locking Channels is a Viz Multiplay concept. No other playout client adheres the setting.
Time Remaining
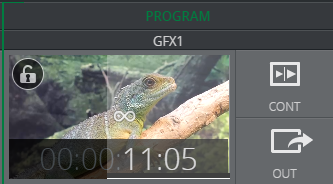
The time remaining for a clip is indicated with a gray progress bar. Orange shading indicates <20 seconds remaining, and red indicates <10 seconds remaining. Only the gray progress bar is shown on looping clips.
Arm and Take Multiple Elements
Action Bar
Note: The Action Bar is hidden in Off Air Mode.
Arm Selected: Send all selected elements in the Media Column to Armed.
Take Selected: Send all selected elements in the Media Column directly to Program.
Take All: Send all Armed elements, for all channels and shortcuts, to Program.
Continue All: Continue all Program elements, in all channels.
Out All: Take Out all Program elements, in all channels.
Note: The Using the Shortcuts Bar is unaffected by Continue All and Out All.
Reload Scene
Update On Air graphics with the reload scene option. This feature is useful when changing scenes on the fly in Viz Artist and quickly taking them to air.
Activating Reload Scene
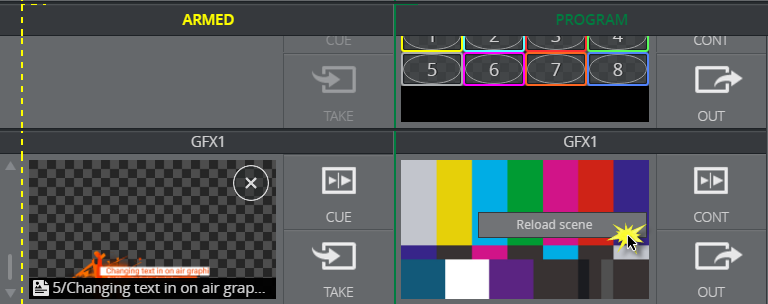
Right-click a graphic in the media pane (shown below) or in the armed or program columns.
Using Reload Scene
A graphic is showing live on a video wall. As the graphic is in use, a scene designer changes it in Viz Artist.
Bring the changes to air:
Send a graphic to air in the program column.
The scene, which is now in use on a video wall, is opened in Viz Artist and changed by a scene designer. The new scene is saved in Graphic Hub.
Right-click the graphic in the program column of the channel where the graphic is playing out and click Reload Scene to show the new, updated scene.
Tips to Use Reload Scene
Scenario | Solution |
|---|---|
Default data is inserted into an On Air graphic’s editable field after clicking Reload Scene. This only applies for graphics with a payload editor, not for, for example, graphics such as a bug. | Once a graphic is ready to be reloaded, take it out from the program column. Locate it again in the relevant channel in the media pane and click Reload Scene. You can now send it to air with the new changes. |
