Recording
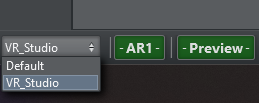
To start a recording, select the previously created profile from the bottom-left corner of Viz Arc.
Select the PREVIEW STUDIO tab on the right sidebar.
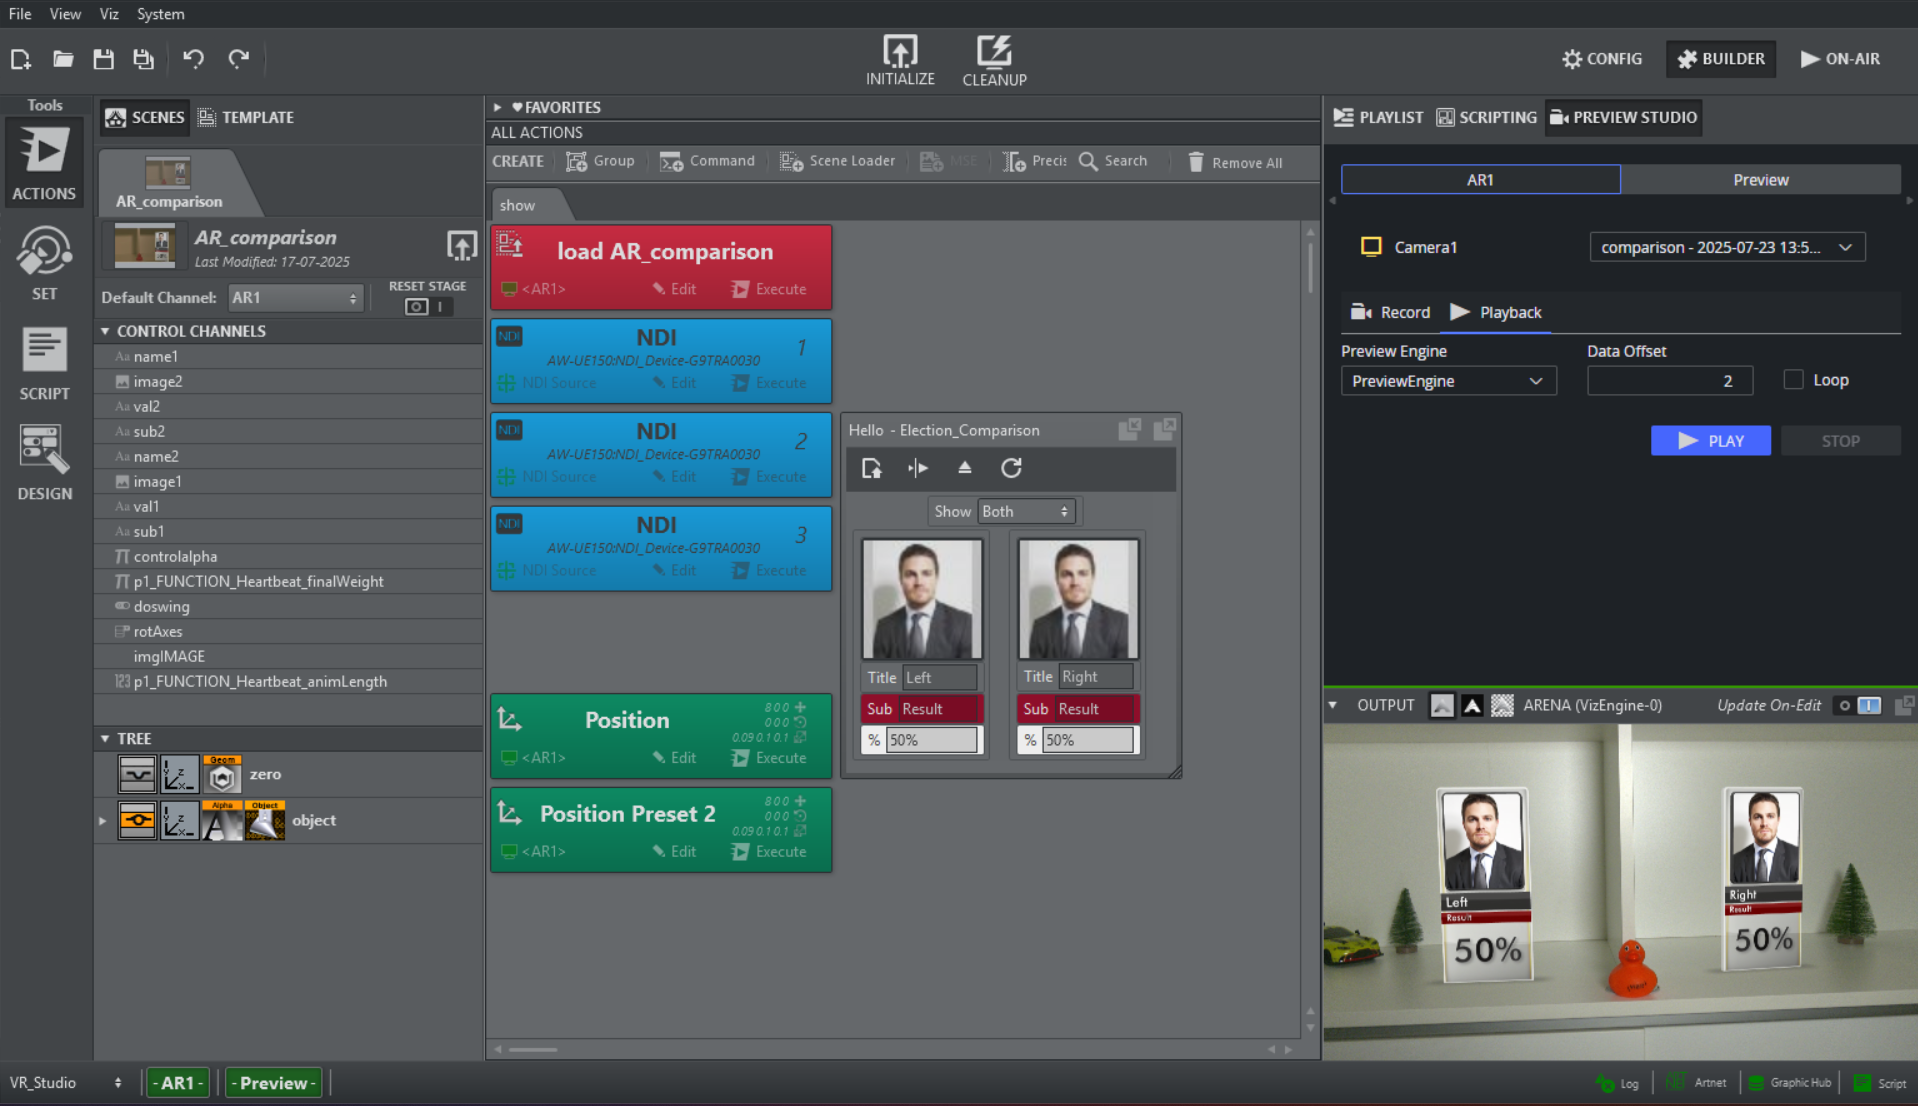
In the Studio Preview UI, the status of the remote Engine Services and their status can be seen. For each Engine Service instance, the status on the remote machine and the available disk space, is shown. When the icon is yellow, the Engine Service is available and idle, when grey, it is not reachable, installed or running.
It is possible to switch between the different channels of the Profile, if more then one is available.
By hovering on an Engine Service instance the edit button appears  .
.
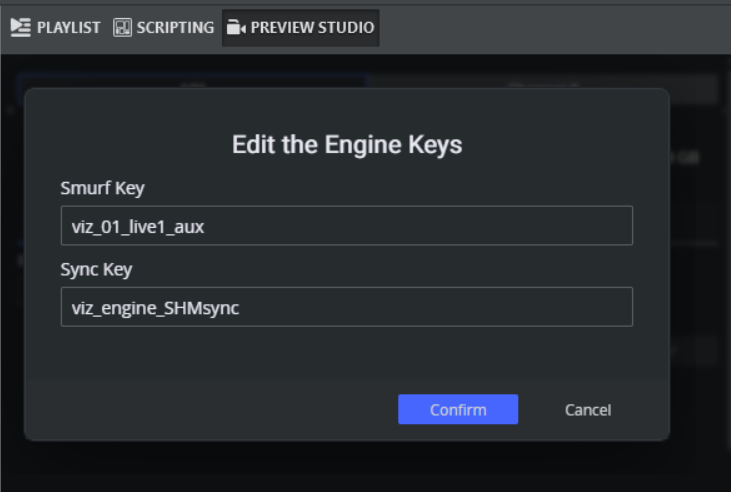
By clicking on it, the Smurf Key and Sync Key can be modified. The keys indicate the input source from which the Engine service should record the video stream of the engine. The default values are set to grab the video from the live input 1 of the Viz Engine.
If the keys are correctly configured, enter a filename for the new recording and press REC. Make sure there is a valid scene loaded with a live input in texture mode, and configured with SHM Aux Mode as Send. Also make sure the preview engine is configured to receive and interpret the embedded tracking data of the incoming NDI stream.
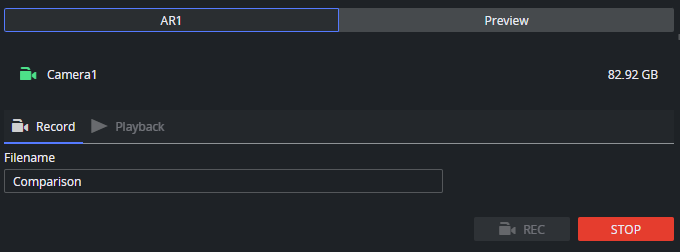
Once the recording has started, the icon(s) of the Engine Service(s) turn green and the available disk space updates accordingly.
During the recording, it is not possible to switch to the Playback tab.
Playback
During the Playback, each remote instance of the Engine Service creates an NDI stream that carries both the video and the tracking data. This stream can be set as a Video Input into the Viz Engine that is going to act as Preview Server.
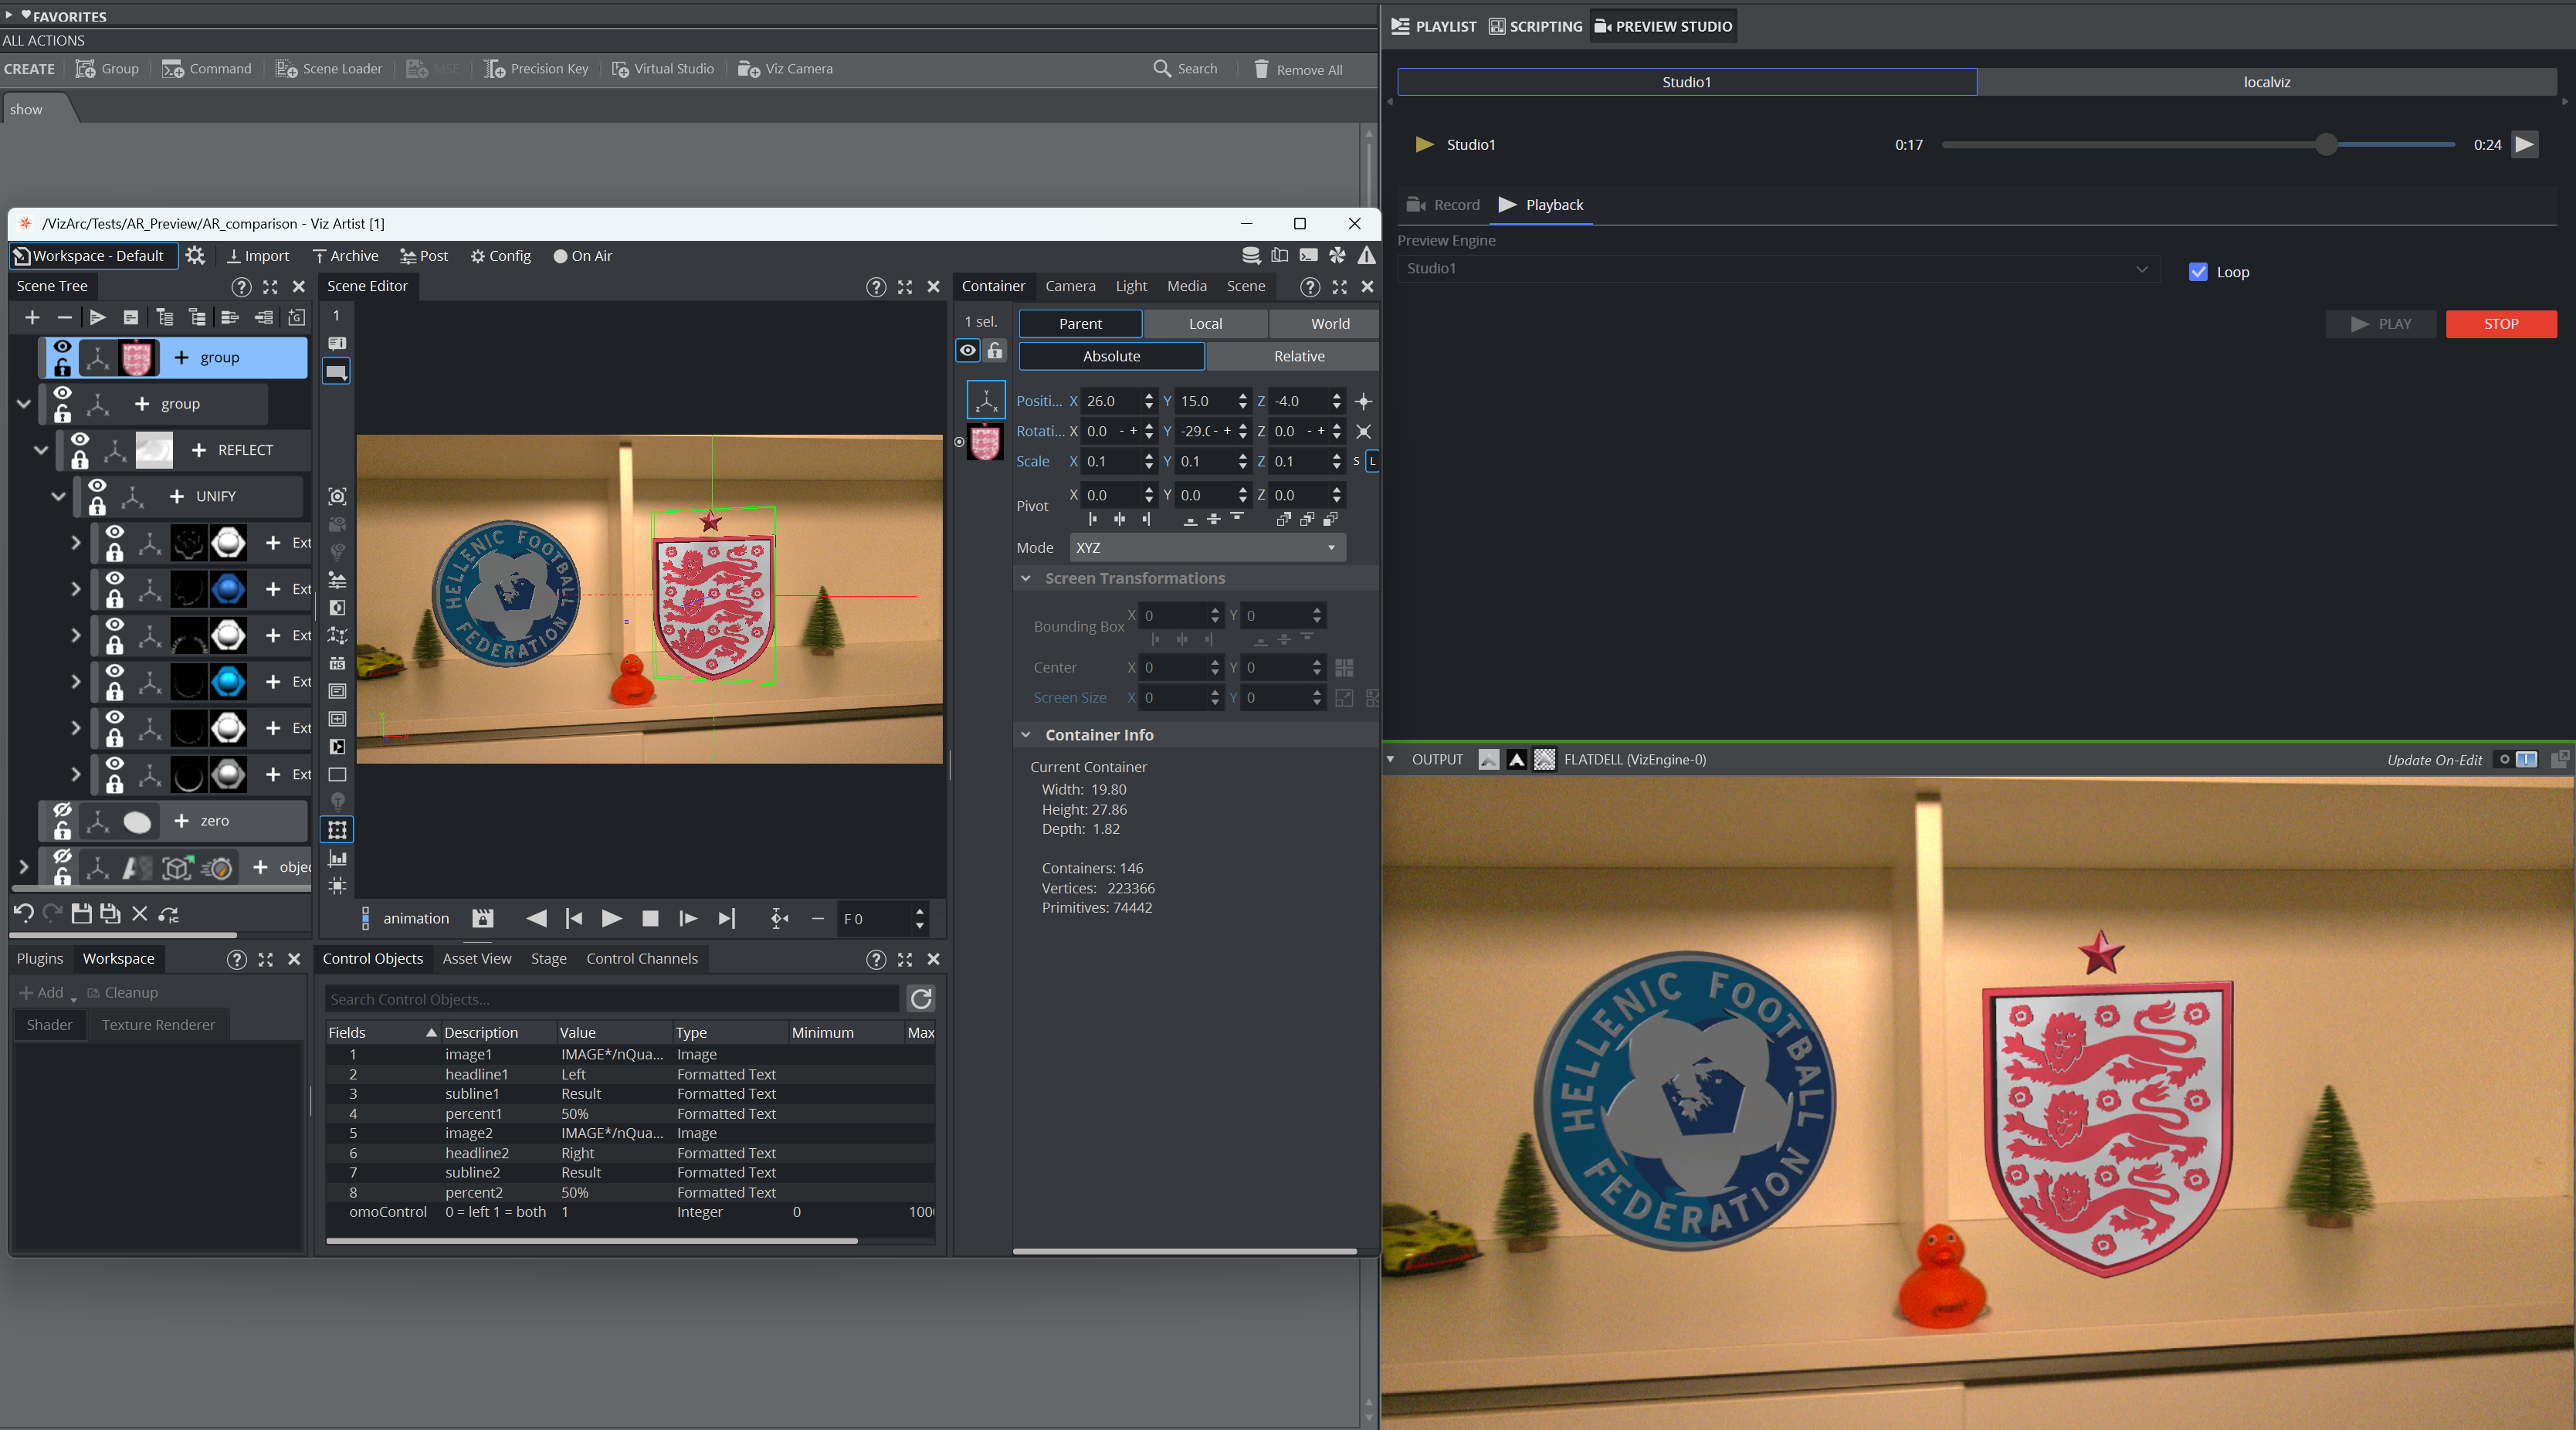
To start a Playback, click on the Playback tab and select the desired recording from the dropdown list. Each instance of the Engine Service can stream a different recording. It is also possible to choose which engine is used as the Preview from the Preview Engine dropdown list.
If Loop checkbox is ticked, once the playback is over, it starts back from the beginning.

By clicking on the Play button, the NDI streams are created and set as the input source of the specified Preview Engine. A slider shows the current position of the clip and can be used to seek to a certain position. The play/pause button can be used to stop and resume the player. The Data Offset parameter represents a offset (in fields), between camera tracking data and video during playback towards the preview engine.
An artist can now work on the preview engine in Artist mode using the same scene that is used during recording, or any other scene where he can fine tune and test graphics without having to rely on a fully started and set-up studio environment.
Change colors, adjust geometry that causes z-fighting, or test a completely different graphics:
Limitations
Once the tracking is recorded, it cannot be modified (for example, it is not possible to add a pan offset or change lens distortion parameters of the recorded tracking).
Using the playback feature might impact the performance of the engines playing out the NDI stream. It is not recommended to use this feature while the Viz Engines are on-air during a live production.