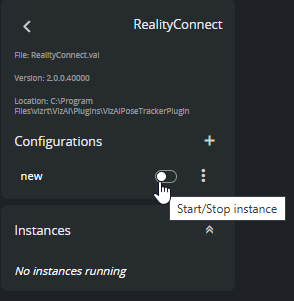
Create Instance
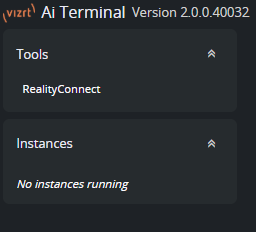
After installation, Reality Connect is automatically discovered by the AI Terminal. Select the Reality Connect tool.
And:
Create a configuration with the
 button.
Launch an instance with the power on/off
 switch.
Input/Output Configuration
Create and configure the following input/output modules.
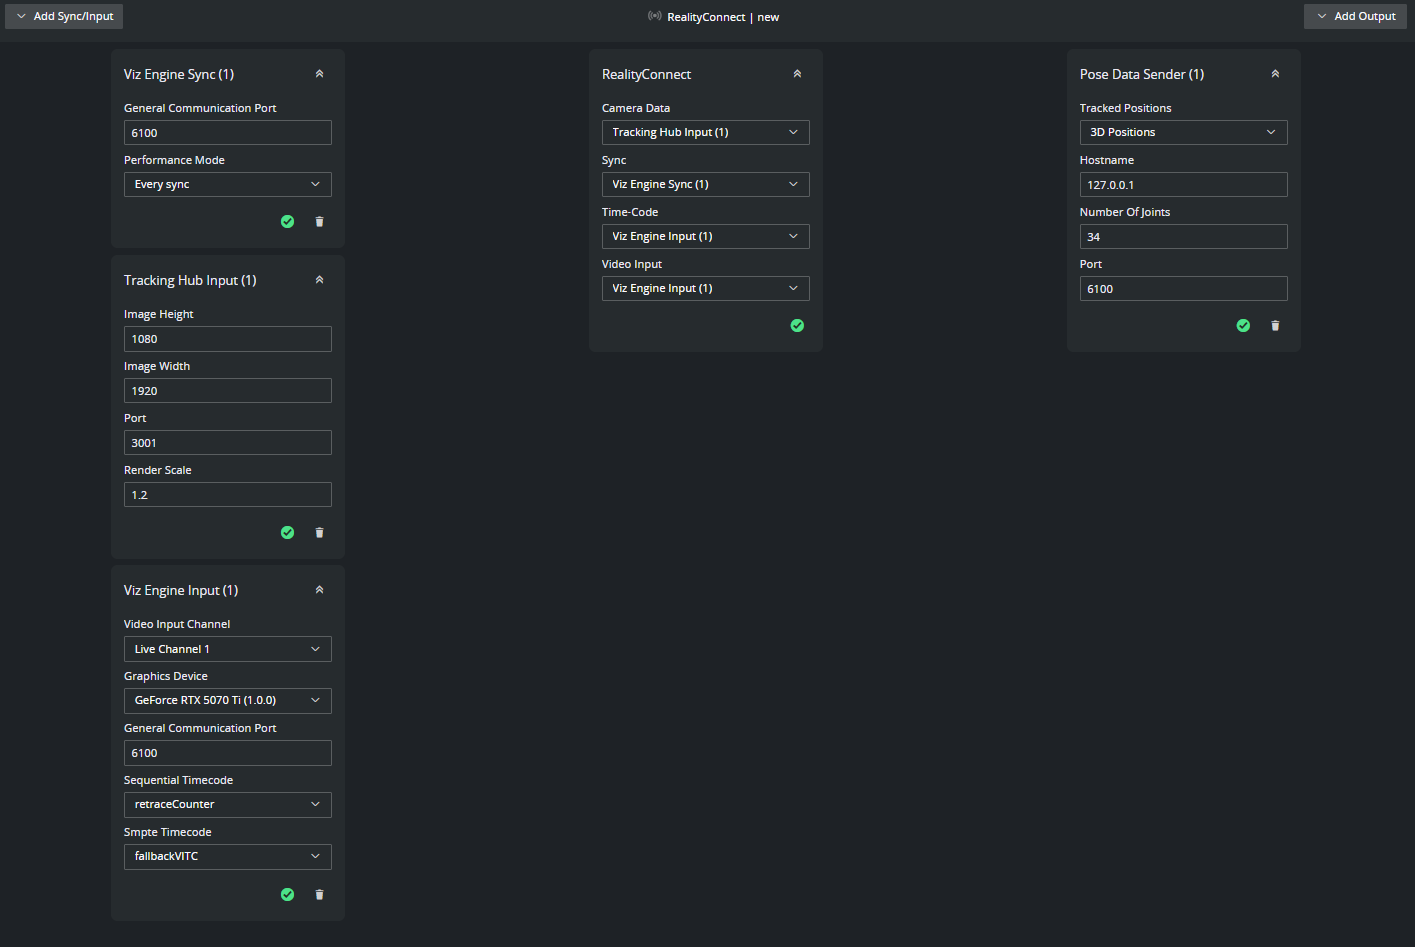
Viz Engine Sync
Specify the same value for Port as the General Communication Port configured earlier in Viz Engine Configuration.
Choose a Performance mode. If performance problems appear later when starting the tool, this mode can be changed to improve performance.
Select this sync as Sync in the Reality Connect box.
Tracking Hub Input
Specify the same value for Port as the Tracking Port configured earlier in Tracking Hub Configuration for the camera service sending to Reality Connect.
Specify the Image Width, Image Height and Render Scale, as configured in Viz Engine.
Select this input as Camera Data in the Reality Connect box.
Viz Engine Input
Select the input channel from the drop box.
Set Graphics device to the device Viz Engine is running on.
Specify the same value for Port as the General Communication Port configured earlier in Viz Engine Configuration.
Choose any timecodes (only required to fetch the video frequency).
Select this input as Time-Code in the Reality Connect box.
Select this input as Video Input in the Reality Connect box.
Pose Data Sender
Select Joint Positions as the 3D Positions.
Set the Hostname to 127.0.0.1 (if the output Engine is run in same machine). Otherwise enter the IP of the machine that produced the Viz Engine output.
Set the Number of joints to 34.
Specify the same value for Port as the General Communication Port configured earlier in Viz Engine Configuration.
Tool Configuration
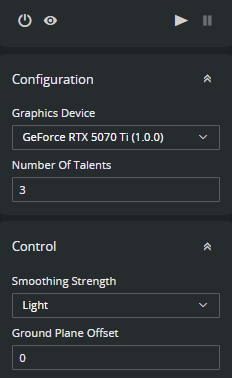
Configuration
Select the Graphics device that is used by Reality Connect.
Specify the maximum number of talents to be tracked. This must match the number of models imported earlier in Viz Engine Scene Design.
Note: Despite multiple talents being tracked, this version of Reality Connect does not contain a control mechanism to assign talent models to the actual talents.
Control
Choose the desired Smoothing Strength mode. This affects the quality of the tracked data and the overall system delay (check Delay Configuration for more information).
Specify the Z-Position in cm of the virtual ground plane as Ground Plane Offset. This controls on which height the tracked talents are projected to.
Info: The control parameters can be changed dynamically during runtime.
Verify Configuration
Start the tool and verify that no errors are shown. Check the AI Terminal User Guide for proposed actions in case of errors.
If all applications are setup as instructed, the models imported as described in Viz Engine Scene Design, should be animated by the tracked talent motion.