Reality Connect data can be used directly in Unreal Engine. This part of the guide assumes a working Reality Connect setup with Viz Engine already. For the guide on that please follow this page: Reality Connect User Guide.
To Setup Reality Connect in Unreal Engine
Reality Connect sends 34 transforms to the Unreal Engine that receives that data via LiveLink. Those transforms can then be assigned to bones on a skeleton to match the pose. There are two example scenes in the SampleScenes folder that use the base Unreal Engine skeleton and character (SKM_Manny - has to be added manually and belongs to the Third Person pack from base Unreal Engine or can be downloaded here - X ) that can be used as a reference for other characters - if they use the same skeleton, the pose will match as well - for different skeletons, adjustments will have to be made.
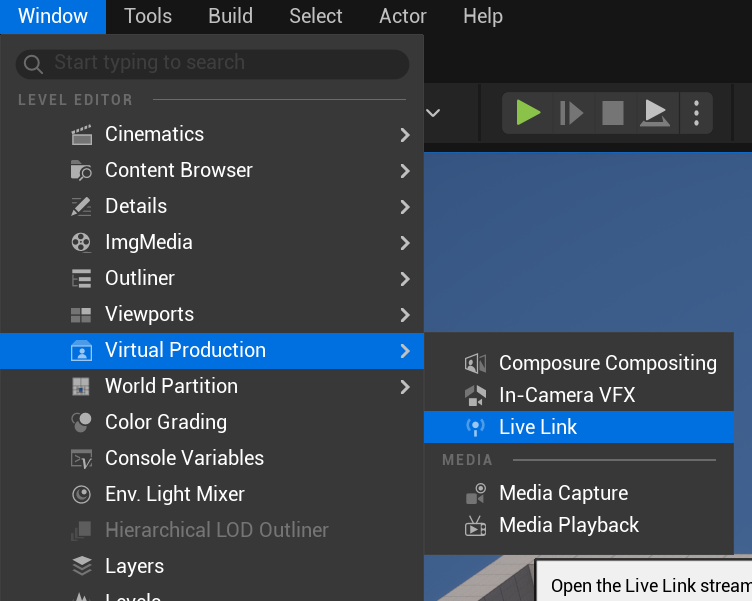
To receive the data, go to the top menu and select Window > Virtual Production > LiveLink.
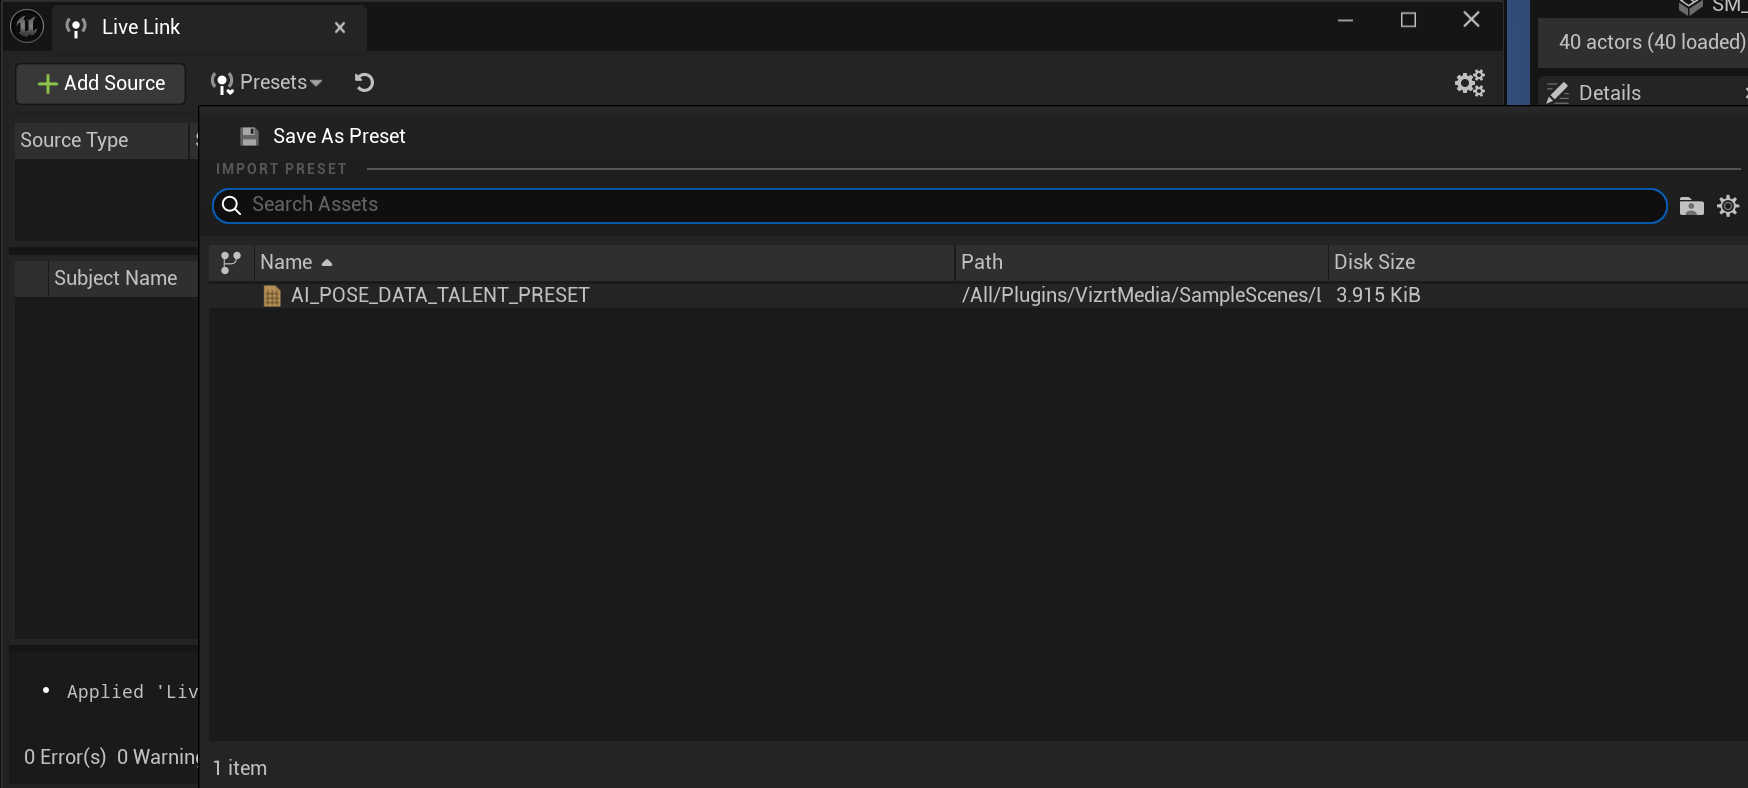
From there, go to the Presets and select the already available VIZRT preset (AI_POSE_DATA_TALENT_PRESET).
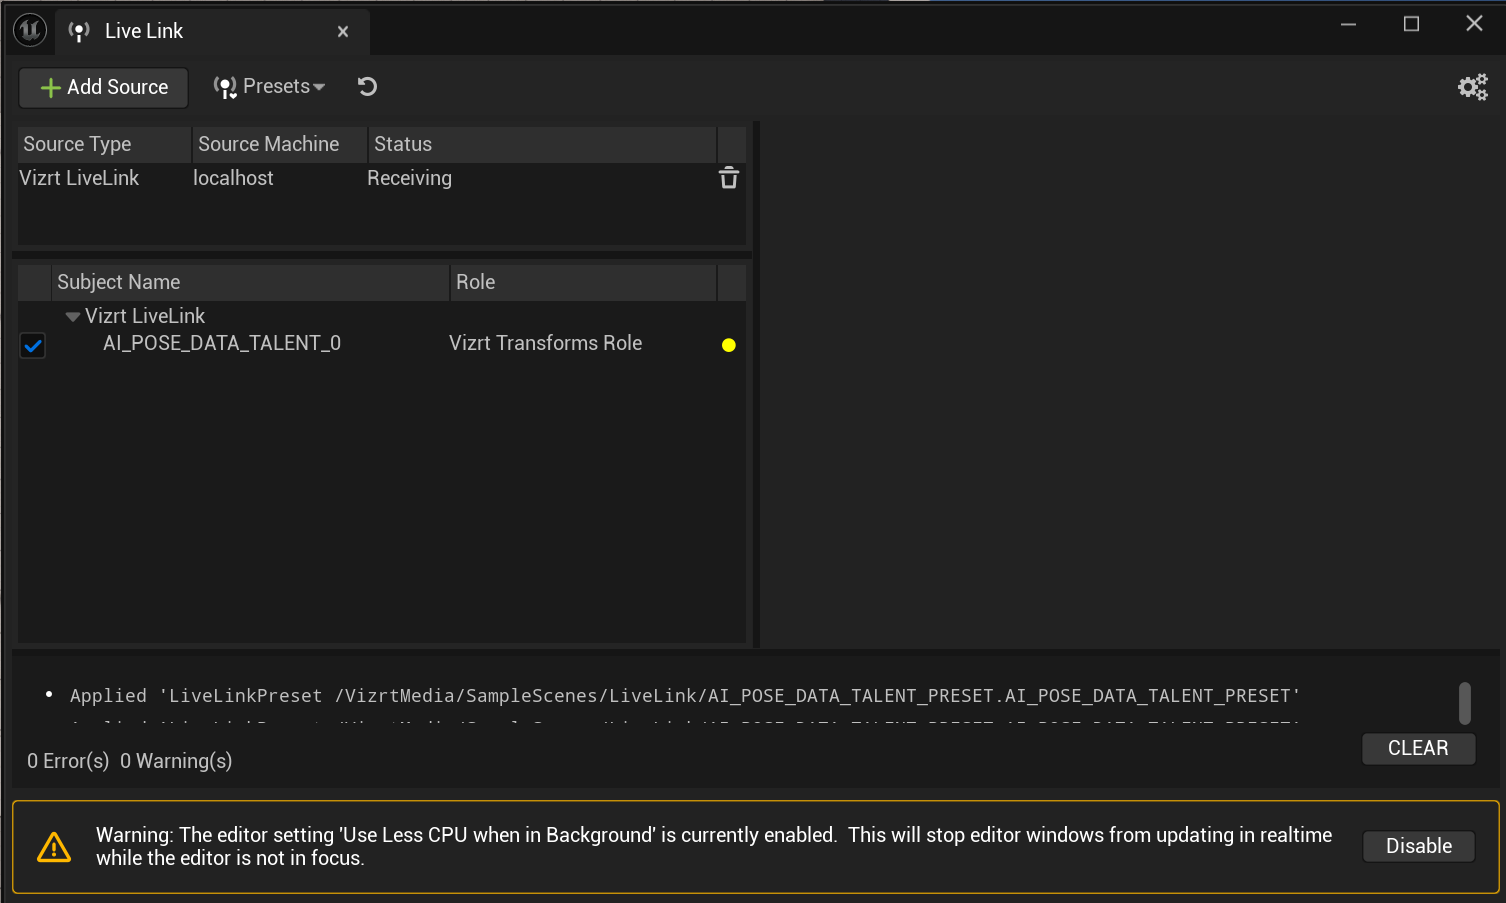
If the Use Less CPU when in Background setting is enabled, make sure to disable it in the Disable button or in Editor Preferences > General > Performance.

Inside your level, you need to have an Actor with a LiveLinkComponentController component. Inside the component, The Subject Representation needs to be set to the same preset as what exists in the LiveLink window and the Vizrt Transforms Role should be set to Vizrt Live Link Transforms Controller.
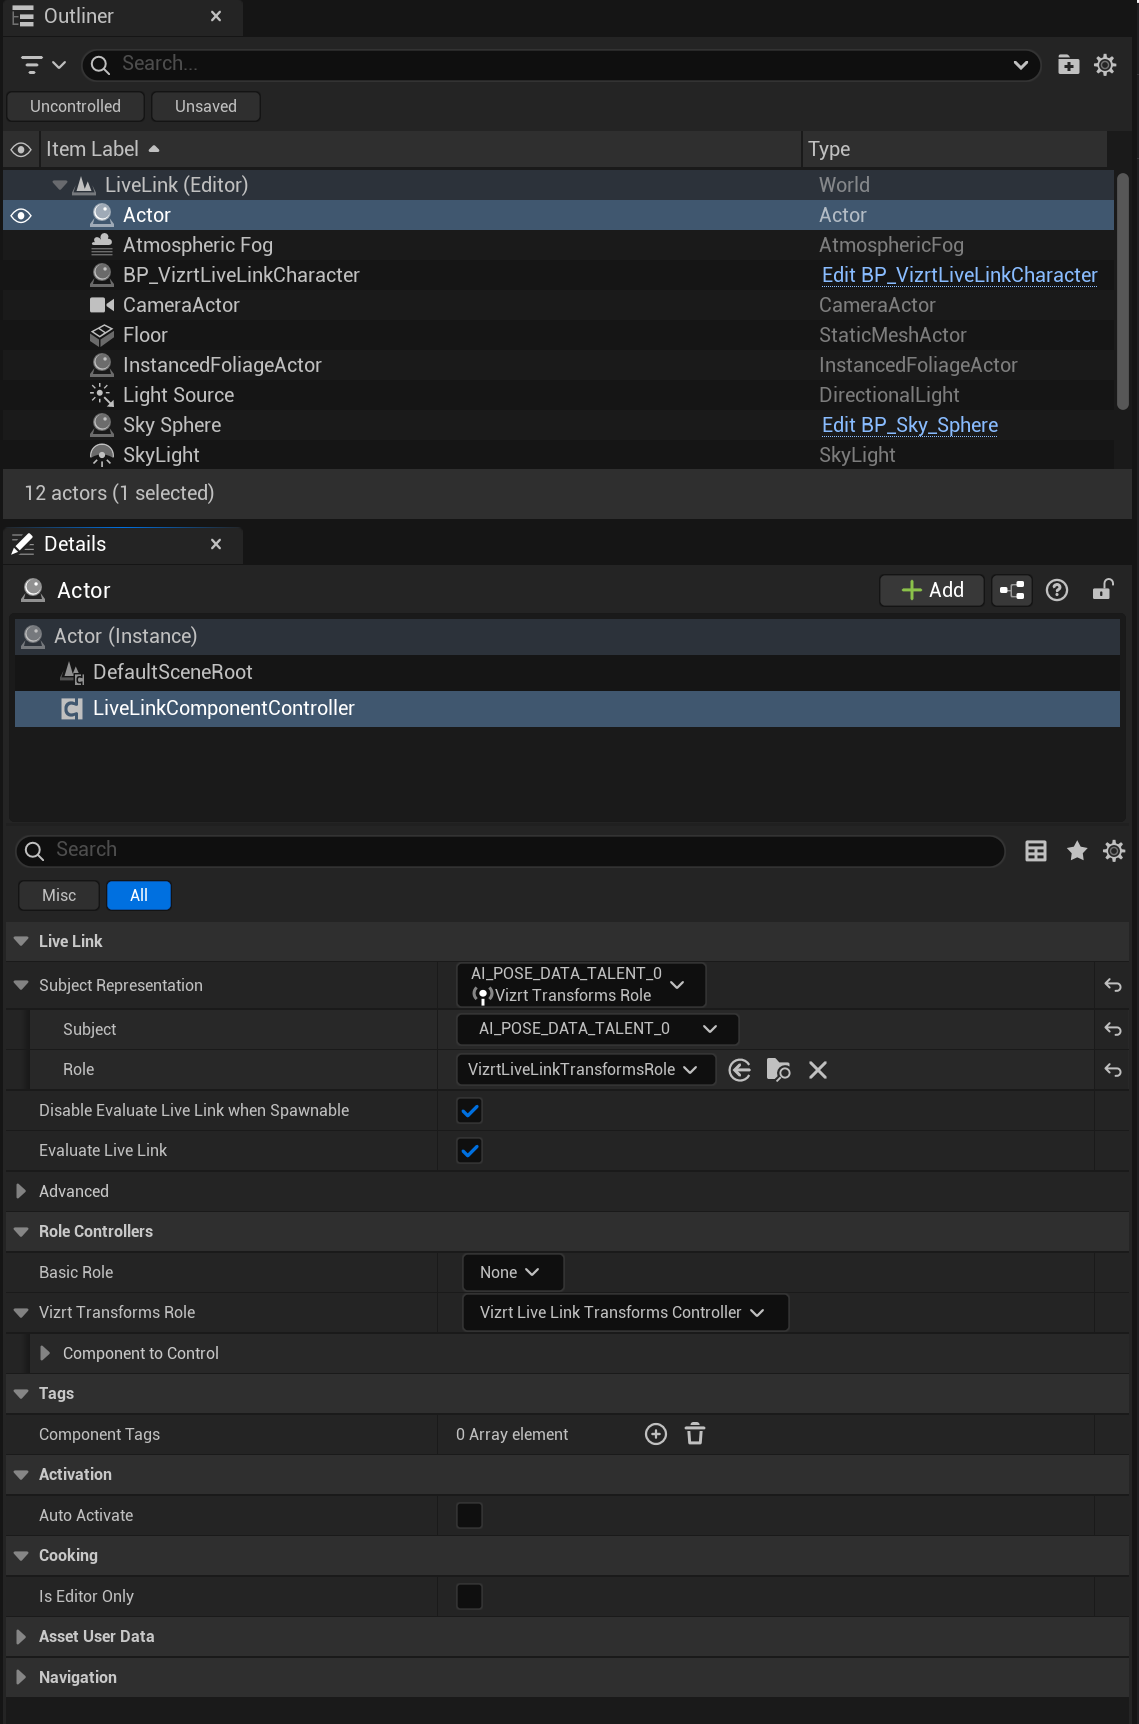
There also needs to be a Character with a LiveLink component attached (in our example case, that is the BP_VizrtLiveLinkCharacter present on the plugin).
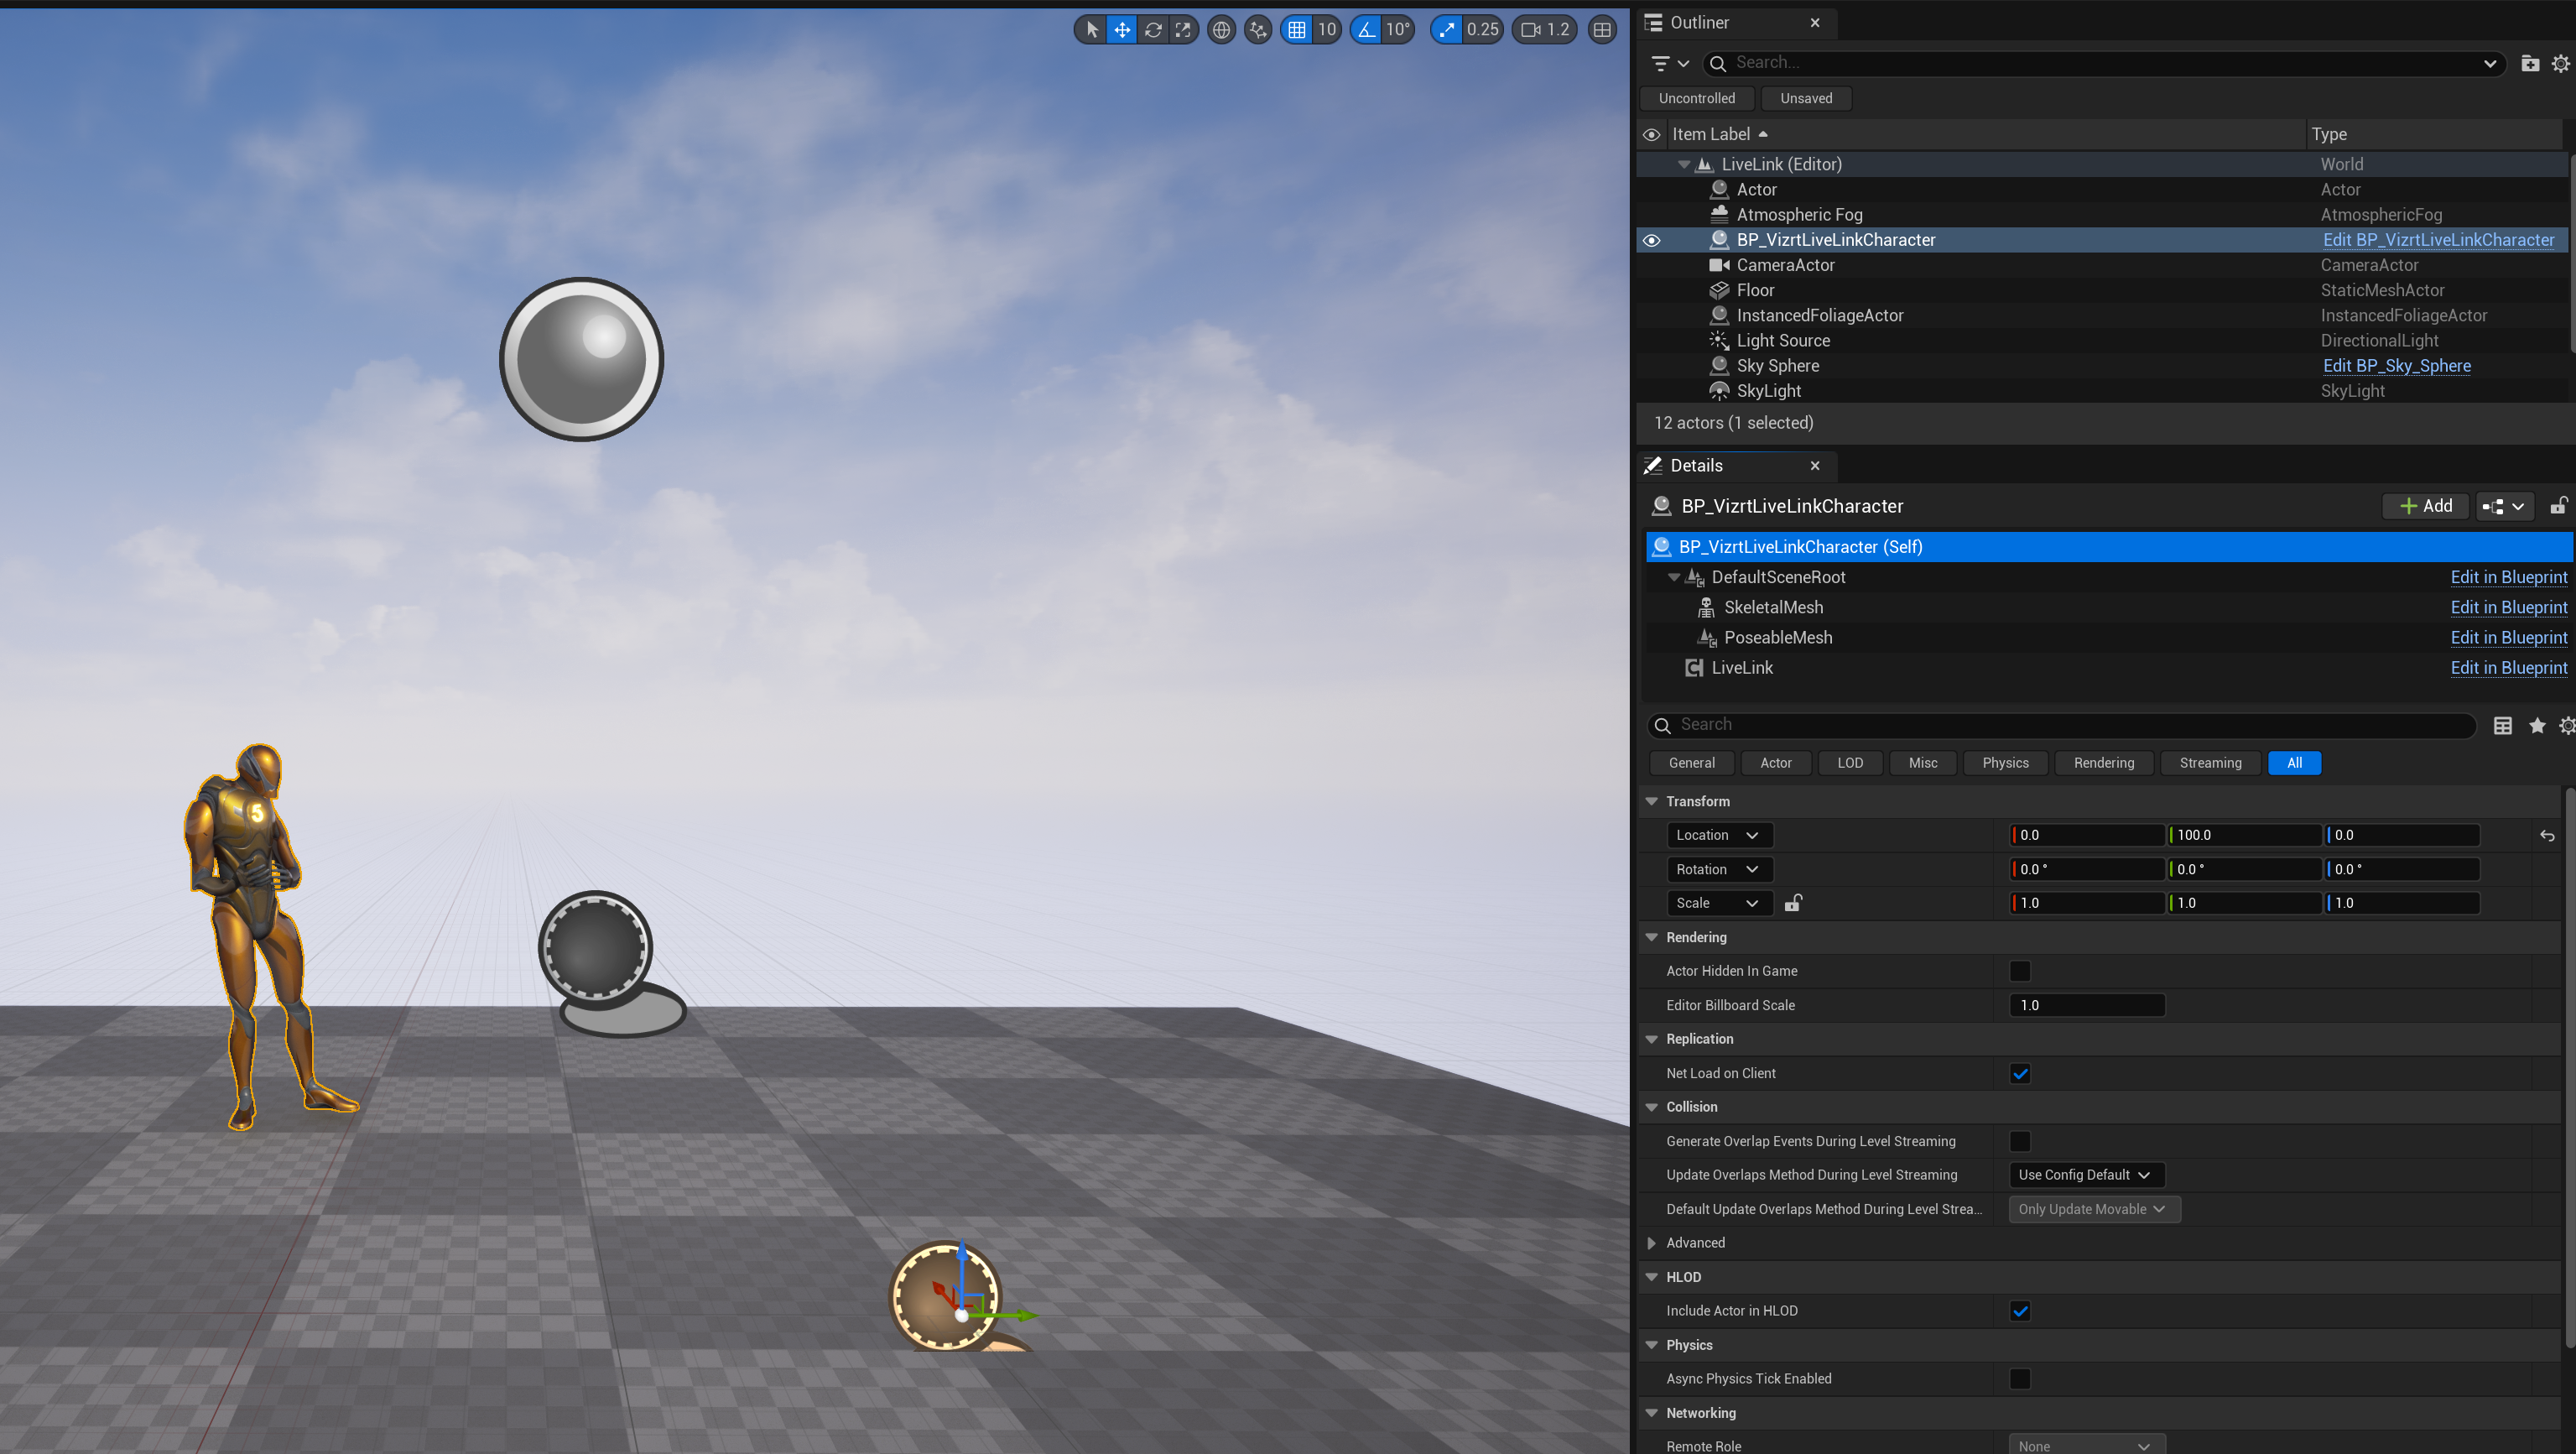
When pressing play, this should be enough to receive the data, check if there is a green circle where the yellow circle was no warnings on the LiveLink window.
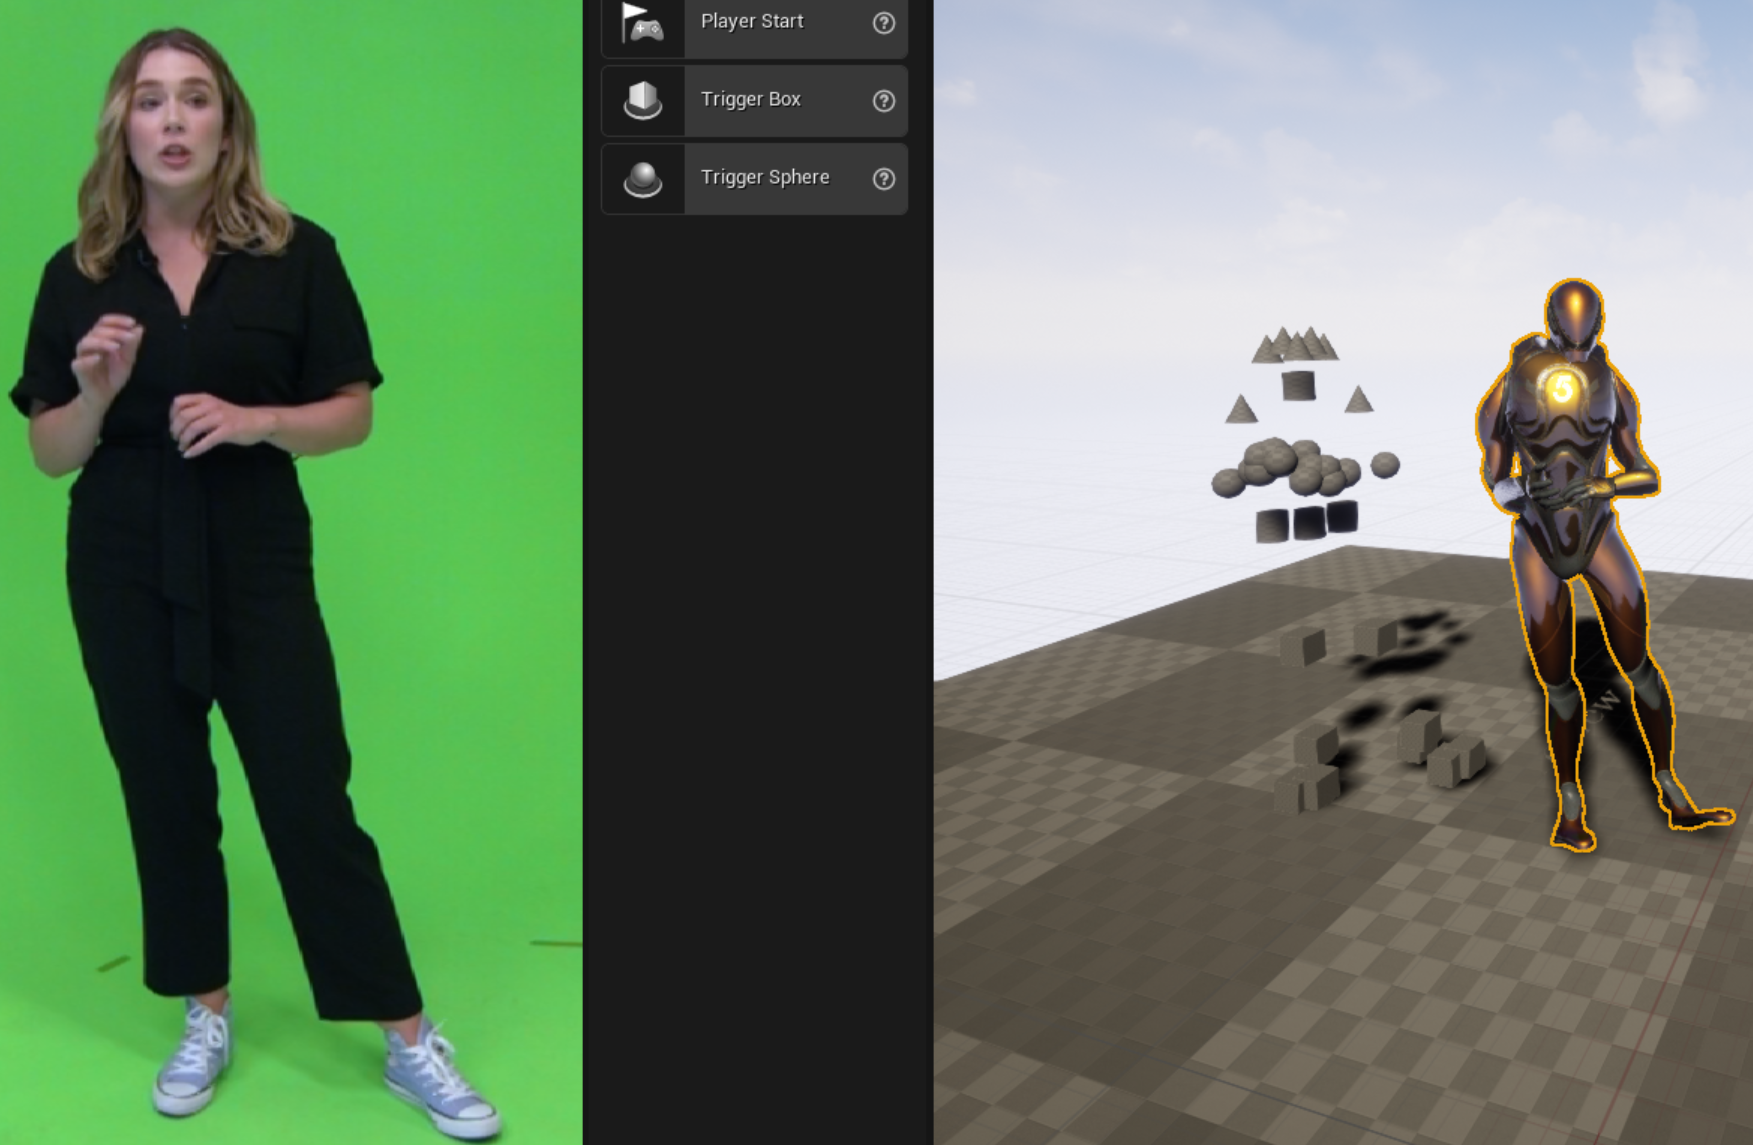
If the data is received correctly, the character should have a similar pose to the reference video or live feed (incoherence in position normally means the wrong transform is assigned to the bone):
On the default skeleton, the current transform index to bone number on the Animation Graph is:
Bone name | Transform # |
|---|---|
pelvis | 0 |
spine_03 | 3 |
thigh_l | 1 |
calf_l | 4 |
foot_l | 13 |
ball_l | 9 |
thigh_r | 2 |
calf_r | 5 |
foot_r | 14 |
ball_r | 10 |
neck_01 | 6 |
upperarm_l | 20 |
lowerarm_l | 22 |
hand_l | 24 |
upperarm_r | 21 |
lowerarm_r | 23 |
hand_r | 25 |
head | 16 |
More transforms and bones are available but these are the base ones for the example skeleton to work. Different models require different bone combinations but this reference should give a clear picture of what to look for.
To add a specific character with a different model, the advised method would be to copy the current BP_VizrtLiveLinkCharacter and AnimBP_LiveLink assets and modify those copies to suit the needed layout. Refer to the above table for references in terms of hands, feet, legs, arms and so on. To change the bone specific to each transform, select the Transform (Modify) Bone nodes on the Animation Graph and put it in the desired bone.

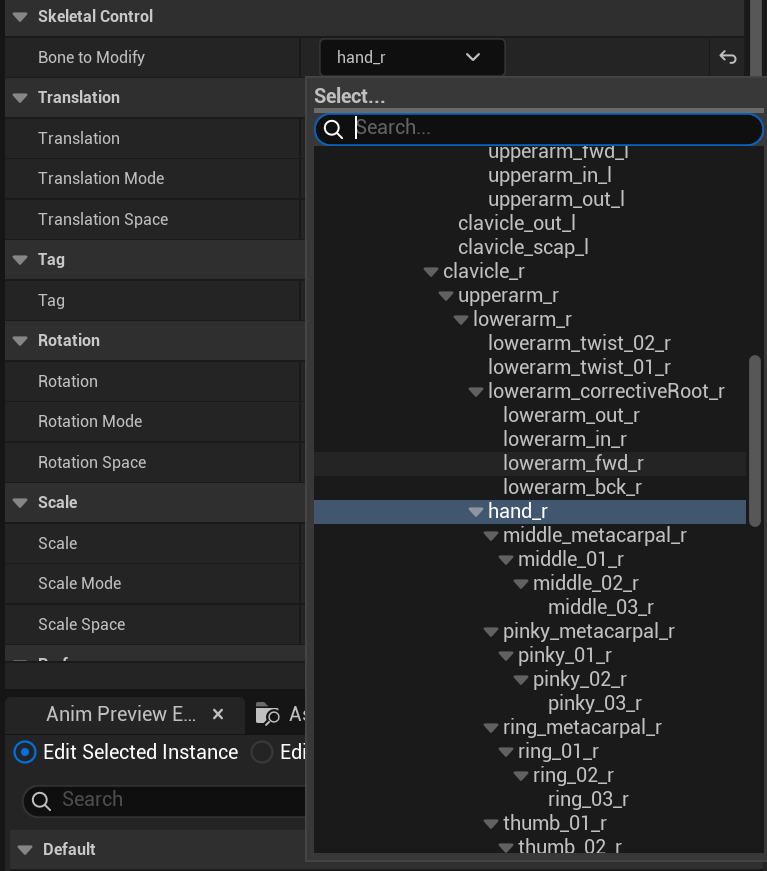
Some rotation offsets can be applied on the same node if the pose is not quite correct.
For an example on possible interactions, check the LiveLink_Interaction level which has a sphere that changes color when the transform animated character collides with the Interaction Sphere.