This section explains how to create and use Quick Presets in Viz Multiplay.
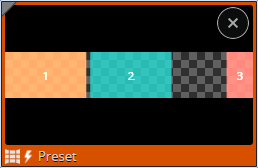
Quick Presets are a type of Superchannel Preset that provides a different, possibly more flexible, workflow. They can be distinguished from standard Superchannel Presets by a lightning bolt icon.
Creating Quick Presets
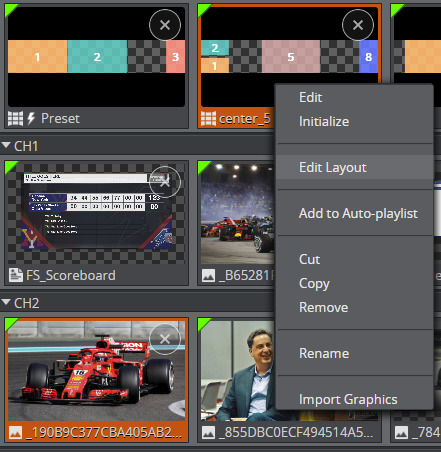
Quick Presets are created by converting from existing Superchannel Presets. This can be done by simply right-clicking a Superchannel Preset element in a playlist and selecting Edit Layout. This should open the Preset Layout Editor with the chosen element's layout.
Note: To enable the Quick Presets functionality with a scene that was created with a previous Viz Engine version, the scene has to be re-saved and the video wall re-imported to the show.
Make any required changes to the layout, and save the layout by either pressing Save in the top-left corner, or by using the Ctrl + S keyboard shortcut. This saves the layout information directly in the playlist element, converting it to a Quick Preset.
Note: Quick Presets cannot be converted back to standard Superchannel Presets.
The layout of a Quick Preset element can be changed subsequently as many times as needed.
Adding Content and Playing Out
Filling a Quick Preset with content or playing it out in the Viz Multiplay user interface, works the same way as with a normal Superchannel Preset.
During playout, as Viz Engine needs to create the transition on the fly, switching to or from a Quick Preset always uses a default transition between the two presets.
Note: Quick Presets cannot use custom preset transitions.
Note: Quick Presets still rely on the original preset (and the scene) for playout.

