Using the Image Editor
Images can be added to a template or data element that contains an image field, which can be set in Template Builder. The image can be cropped using the Image Editor. If image constraints (minimum size of the image and aspect ratio) are added to the image field in Template Builder, the frame in the graphics Fill in Editor reflects those constraints.
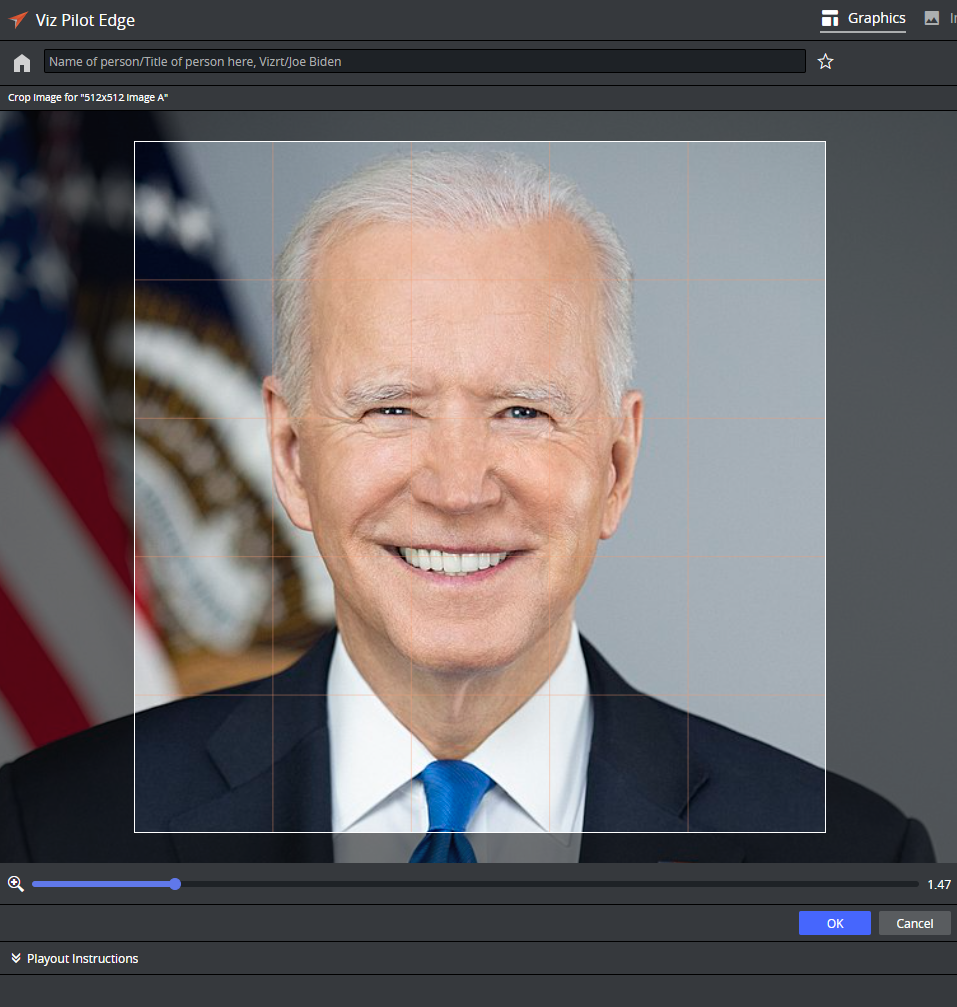
Note: To crop images, the Crop Service must be installed, and the URL must be configured in the crop_service_uri setting in Pilot Data Server. If this URL is not configured, the Crop button does not appear on images.
Images Without Constraints
When hovering the mouse over the image inside a fill-in form, three buttons appear:

Browse for images.
Crop (if crop service is configured).
Remove image.
When browsing for images, click an image in the browser and preview the image inside the graphics in the Graphics Preview.
Double click the image or Click OK to add the image to the image field in the graphics.
Click Cancel to cancel the operation and revert to the original image.
Images With Constraints
In Template Builder it is possible to force a specific aspect ratio for an image to be filled into graphics:
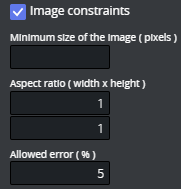
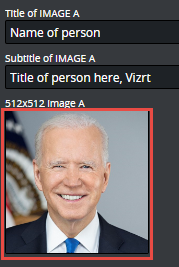
In the case above, the images filled into this image field need to have a 1:1 aspect. In Viz Pilot Edge, this aspect ratio is used when displaying the image frame:
When image constrains are applied to the image in Template Builder, three outcomes are possible when an image is selected:
The image matches the aspect constraints and is selected.
A warning appears if the image does not match the constraints. This can occur if Crop Service is not configured, or the image provider is Graphic Hub, which does not support cropping with Crop Service.
The image is selected but does not match constraints, then the crop editor pops up with the crop frame, forcing the given aspect ratio.