Timecode can be ingested to Viz Arc in two ways. Either through a Plura PCI board, or through a NDI Stream containing Timecode metadata.
Specific timecode can be used to trigger actions, on templates they can execute or continue a template graphics.
Configuration
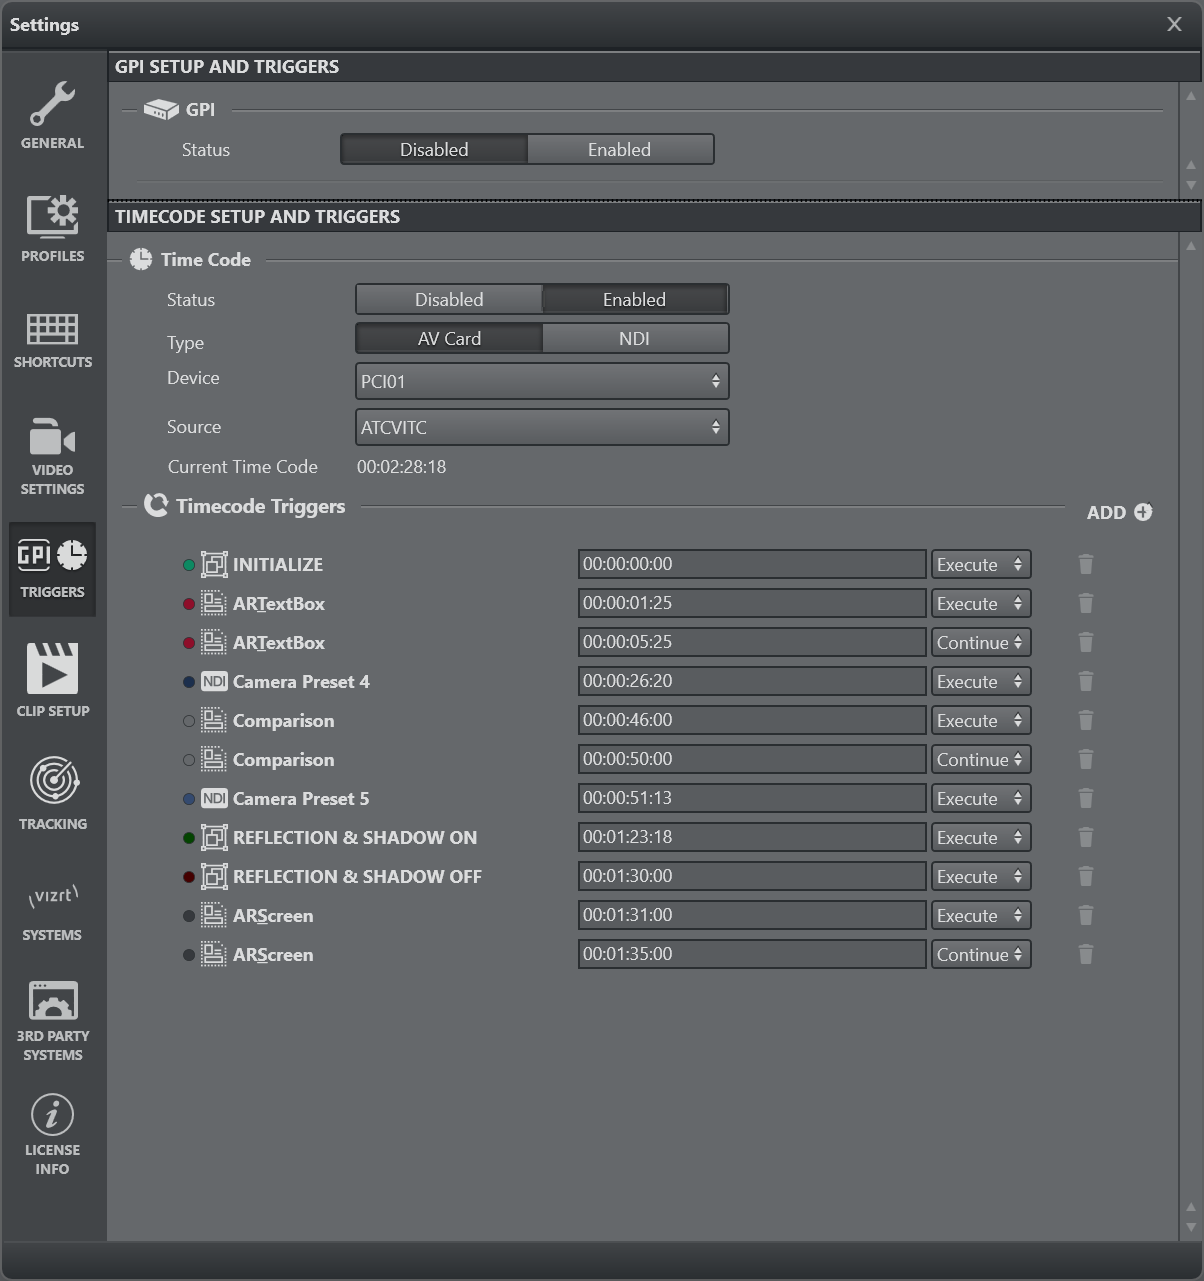
On the Configuration window, select the TRIGGER configuration page.
Under the Time Code section, set the Status to Enabled.
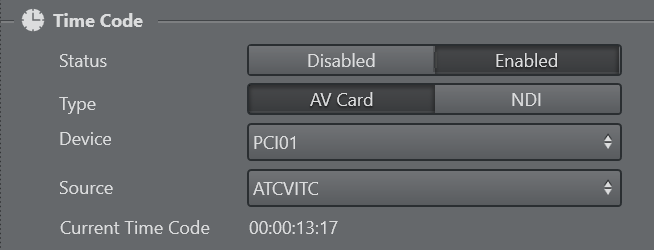
Select which Type of timecode is going to be used. Use an AV Card if the system has a Plura timecode reader card installed, and a valid signal carrying a Timecode.
If multiple cards are installed in the system, select the device from the Device list. The dropdown only shows the available boards in the system.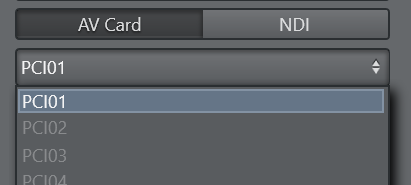
Select the Source where the timecode is embedded within the connected signal.
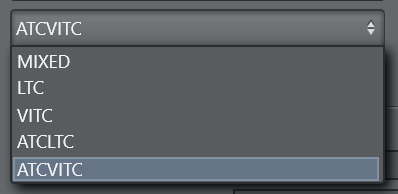
Choose between one of MIXED, LTC, VITC, ATCLTC or ATCVITC.
If NDI is selected, select source carrying the Timecode.

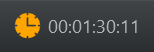
Once a valid Timecode is read, it is displayed and updated under Current Timecode
 , as well as in the bottom status bar
 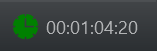 .
.
Adding Actions to a Timecode
There are different ways to associate a Timecode to the execution of an action. One is on the action editor, and the other on the configuration panel.
Using the Configuration Panel
Click the ADD button to choose among one of the actions present in the project. The action is added with the current Timecode.
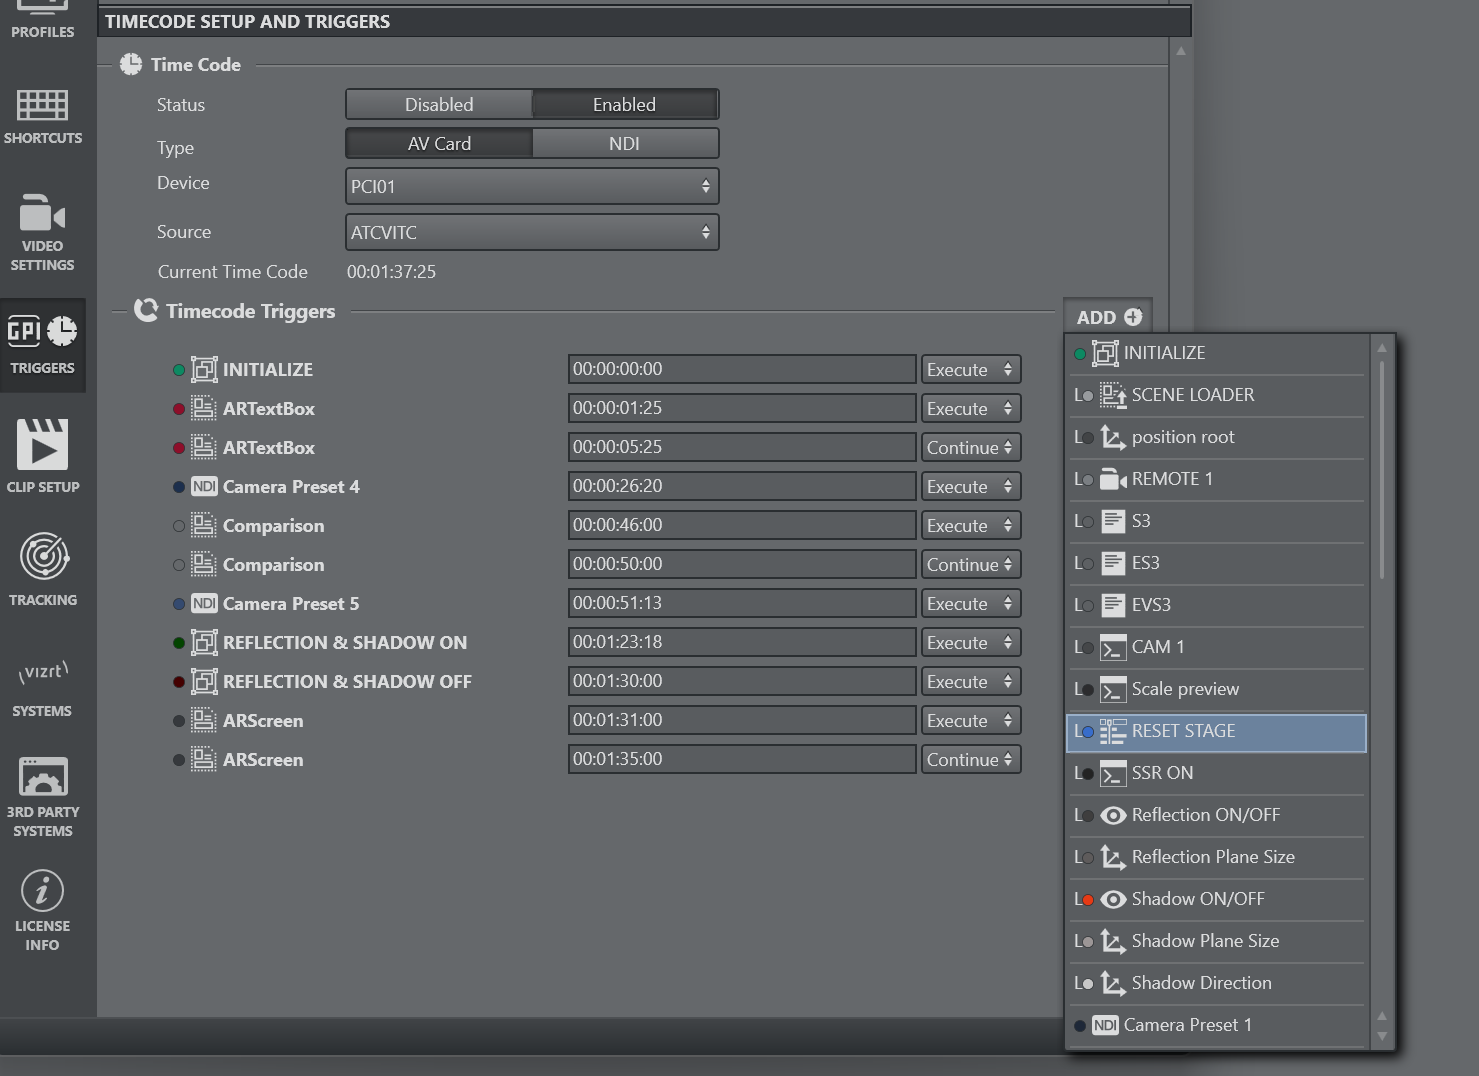
The action is added to the trigger list with the new Timecode.

The execution type is Execute by default. It can be set to Continue and used for template actions, in which case, the continue animation is triggered.
The timecode can be modified manually afterwards, the format is HH:MM:SS:FF. FF represents frames or fields, and it can be between 0 and 24, or in other cases, between 0 and 59 representing field or frames of a 60Hz stream.
Using the Action Editor
Edit the action and click on the Time Code Trigger button to open the Timecode editor.
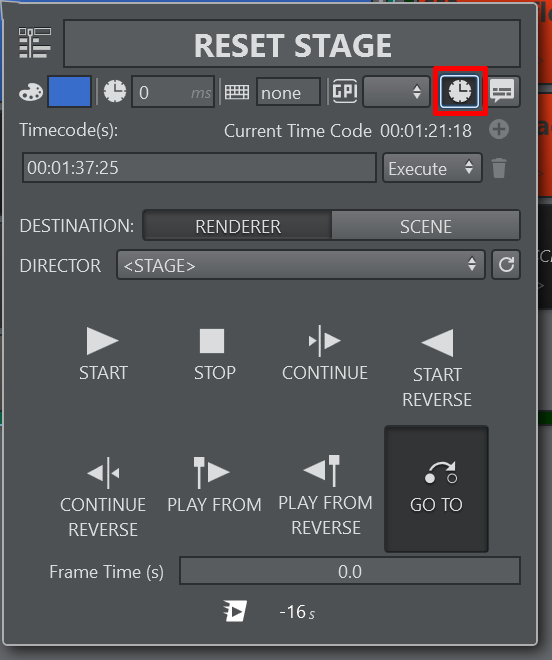
Press the + button to add a trigger using the current Timecode.
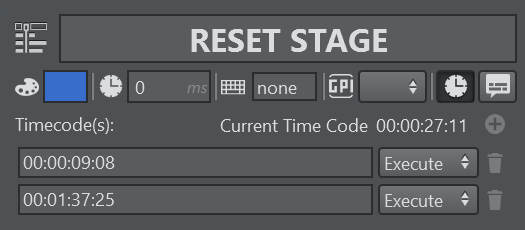
The Timecode is inserted in an ordered list.
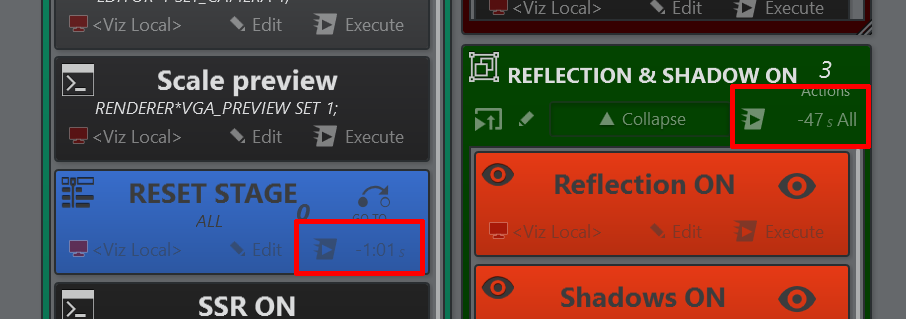
A countdown on the execution buttons shows the time remaining, until the respective action is triggered.
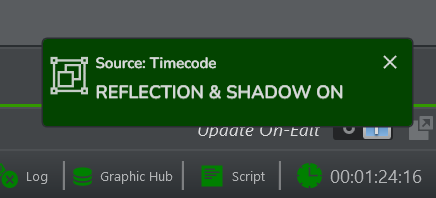
If the Toast Notifications are enabled, a notification is show on the bottom right, showing that an action was triggered by Timecode.
The trigger mechanism can be disabled by clicking the timecode icon on the profiles bar, changing to yellow when disabled
 .
.
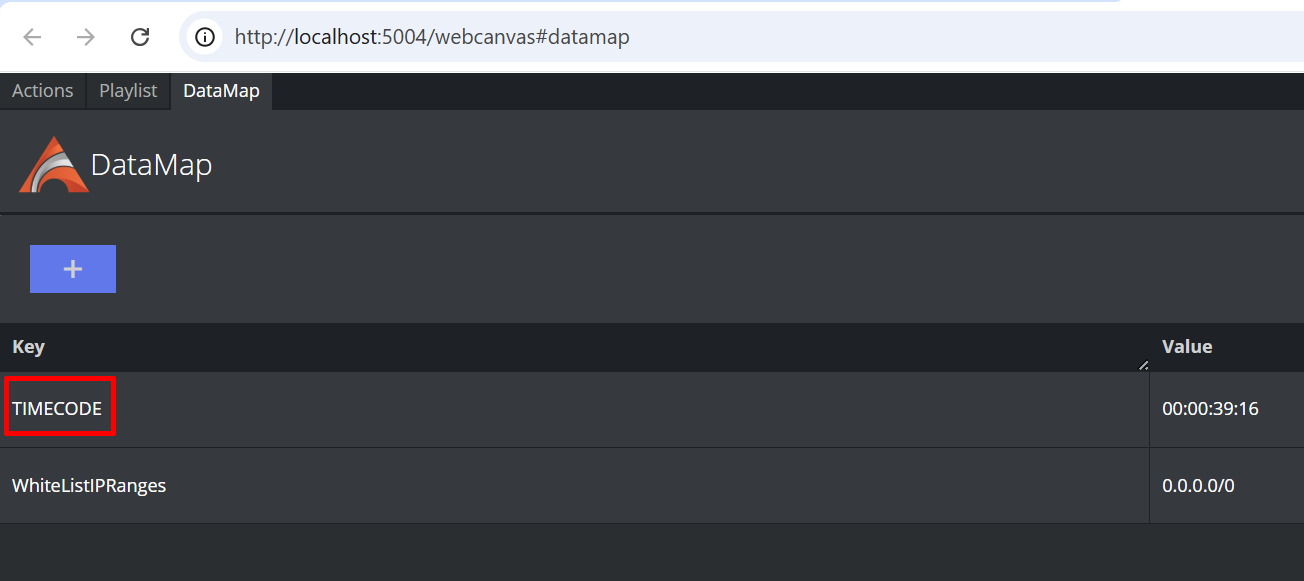
DataMap
The current timecode is stored as a TIMECODE key in the DataMap, and can thus be used in templates if necessary.