
Graphics Plugin User Guide
Version 2.2 | Published September 14, 2023 ©
Using the Graphics Plugin with EDIUS
This section explains the required steps on how to add Vizrt graphics to the timeline in EDIUS.
Accessing the Configuration Tool
To open the Graphics Plugin Configuration Tool in EDIUS, go to Tools > Vizrt Graphics Plugin:
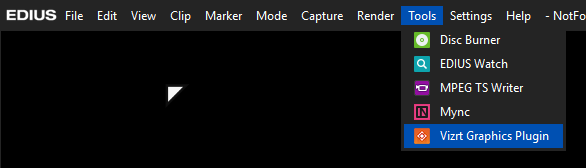
The Configuration Tool opens in a separate window where you can among other things select your preferred Graphics Plugin User Interface. Go to the Configuration Tool for more details.
Adding the Graphics Plugin
Before you can use Vizrt graphics, you have to add the Graphics Plugin to your project:
-
Create a new project or open an existing project in EDIUS.
-
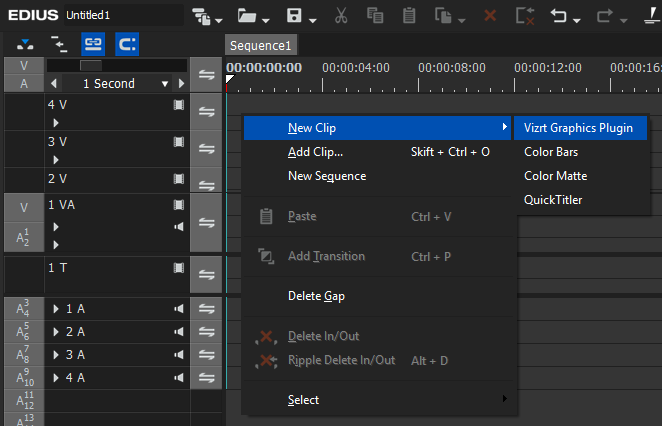
Right-click on a video track on the timeline and select New Clip > Vizrt Graphics Plugin:
-
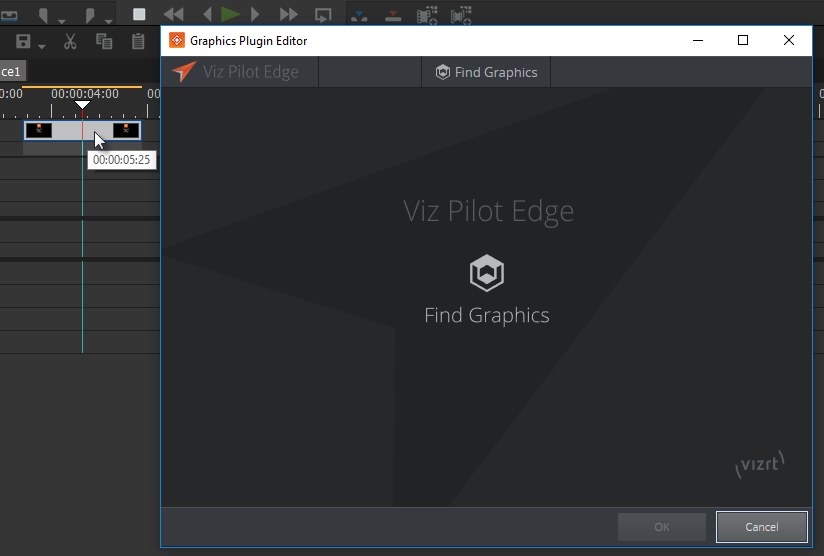
A graphics element appears on the timeline at the same time as the Graphics Plugin Editor opens in another window.
-
After closing the Graphics Plugin Editor, you can double-click the graphics element on the timeline to open it again to change or edit the graphics.
Note:
For information about the graphics, right-click it on the timeline and select Properties....