The first time you run your application on your Windows system, you need to run through the steps listed under Prerequisites below.
This is a one-off task. Afterwards, you only need to click on your Viz Now desktop shortcut to get your production ready for your audience.
Prerequisites
Windows 10 or Later
The Viz Now LaunchPad runs on Windows 10 or later only. Currently Viz Now LaunchPad only supports Windows OS.
Windows Updates: On your PC, in the Start menu type Updates then click Check for updates.
Hardware for Client
Intel i7 2.8 GHz or similar
16GB RAM or superior
Graphics integrated into a processor 1GB RAM or similar
NIC (Network Interface Card) 1Gbps or superior
Firewall Ports
Tricaster Now mandates that the computer operating both Launchpad and NDI Bridge (Join) must have access to specific network ports. It is essential to ensure these ports are open and available for seamless functionality.
Source | Destination | Protocol | Port | Service |
|---|---|---|---|---|
<client network> For example: 192.168.0.0/24 |
| TCP | 443 | Live Panel |
TCP | 8443 | Remote Access (Amazon DCV) | ||
UDP | 8443 | |||
TCP | 5990 | NDI Bridge | ||
UDP | 5990 | |||
TCP | 9001-9020 | SRT feeds | ||
UDP | 9001-9020 | |||
TCP | 49152 - 65535 | Ephemeral Ports for SRT and NDI Bridge | ||
UDP | 49152 - 65535 |
For detailed information about Network and Connection, access the session Network Best Practices.
Authentication App
To securely protect your working space, Viz Now employs multi-factor authentication (MFA). This authentication method, also known as two-factor authentication (2FA) requires that you download an app, usually to your mobile device.
Viz Now is compatible with all widely recognized authentication apps available on the Play Store and Apple Store, including industry leaders like Google or Microsoft Authenticator.
For optimal security, choose an authenticator that is well-known and validated. To find the best option for you, search online for "best authentication app" and follow the installation instructions of your selected provider.
Software Installation and Subscription Activation
Welcome
As a new user you will receive a welcome email which includes your username (email) and a link for you to set your password to access the service. After your initial log-in, you will also be asked to set up the authentication app mentioned above.
Subscription Activation
In your welcome email, click the account setup link.
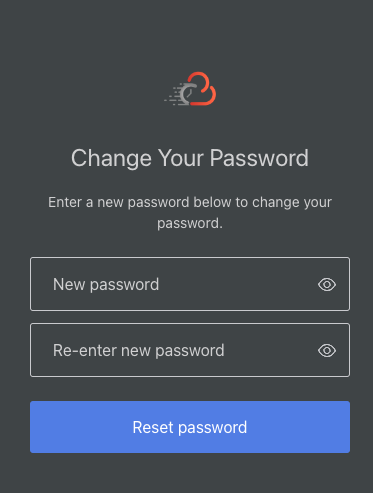
You are prompted to enter credentials and a new password.
Note: For security reasons, you must complete this action within 3 minutes. After 3 minutes, you will no longer be able to enter a new password.
Instead, please go through the sequence 'Forgotten Password'.
Note: Please make a note of your credentials, are they are not saved in your browser (even if your are prompted to save them).
Click Reset password.
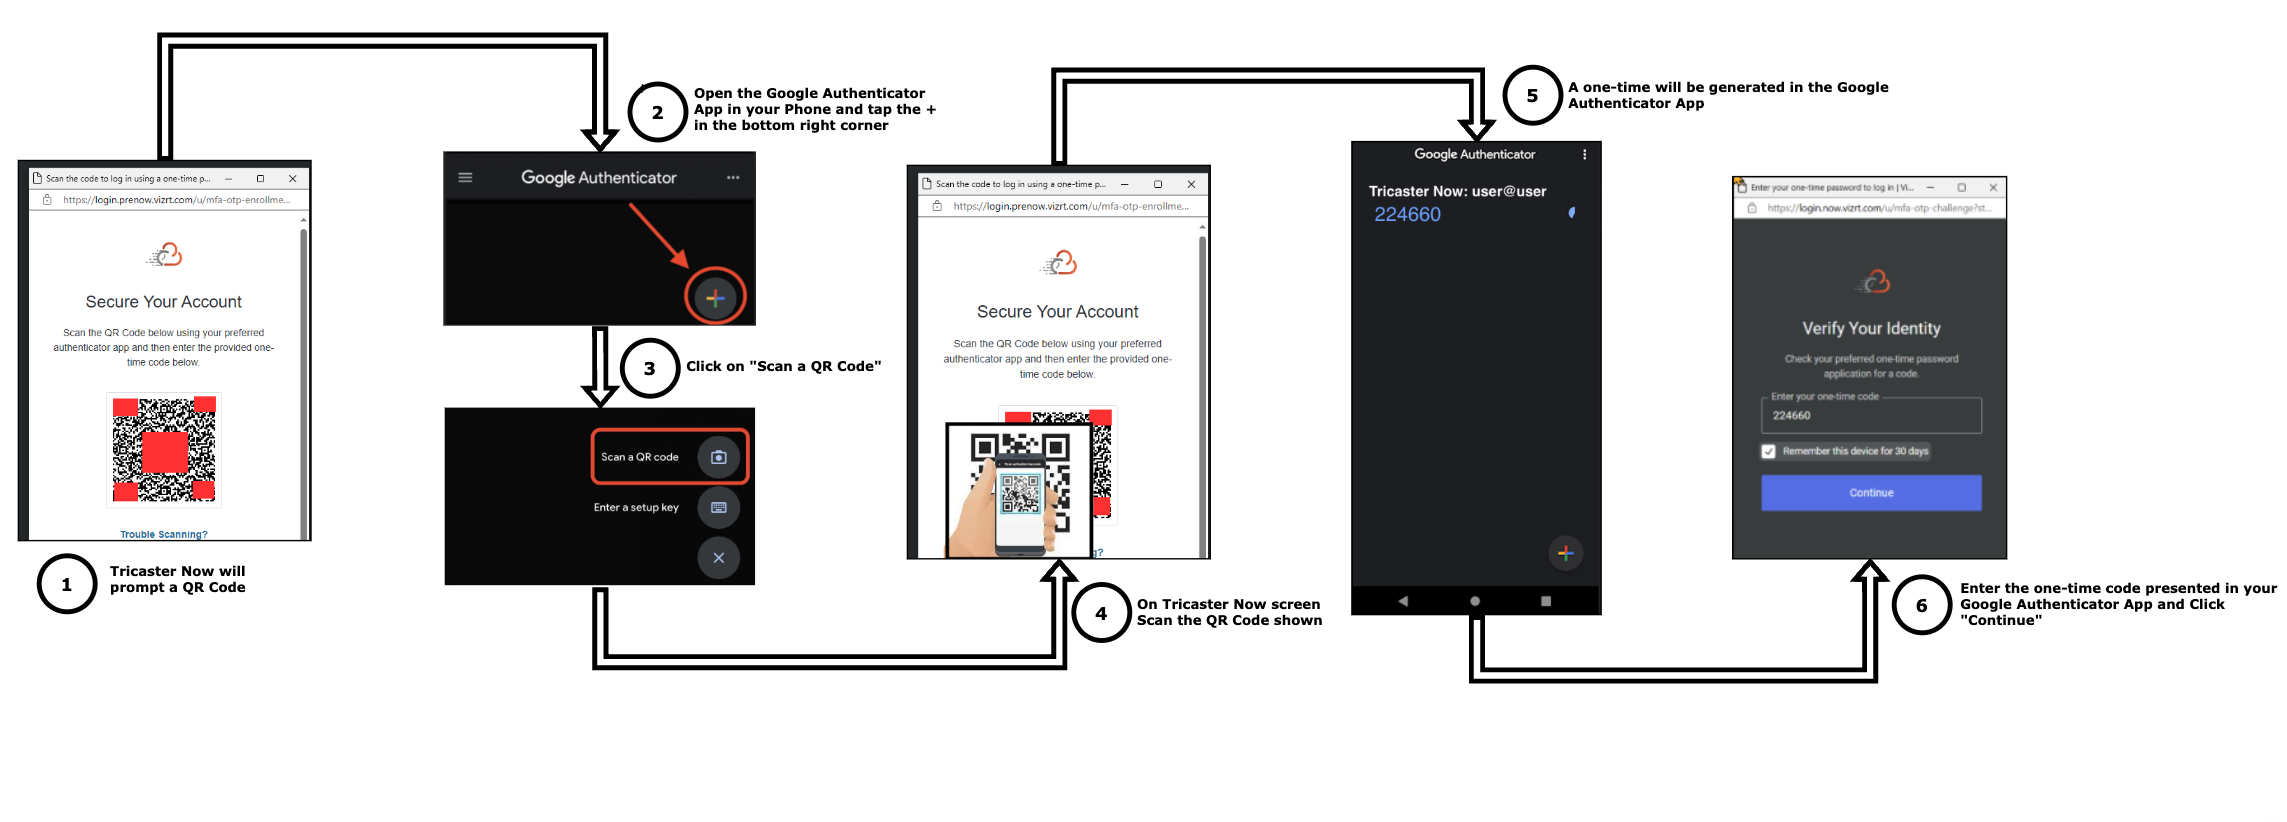
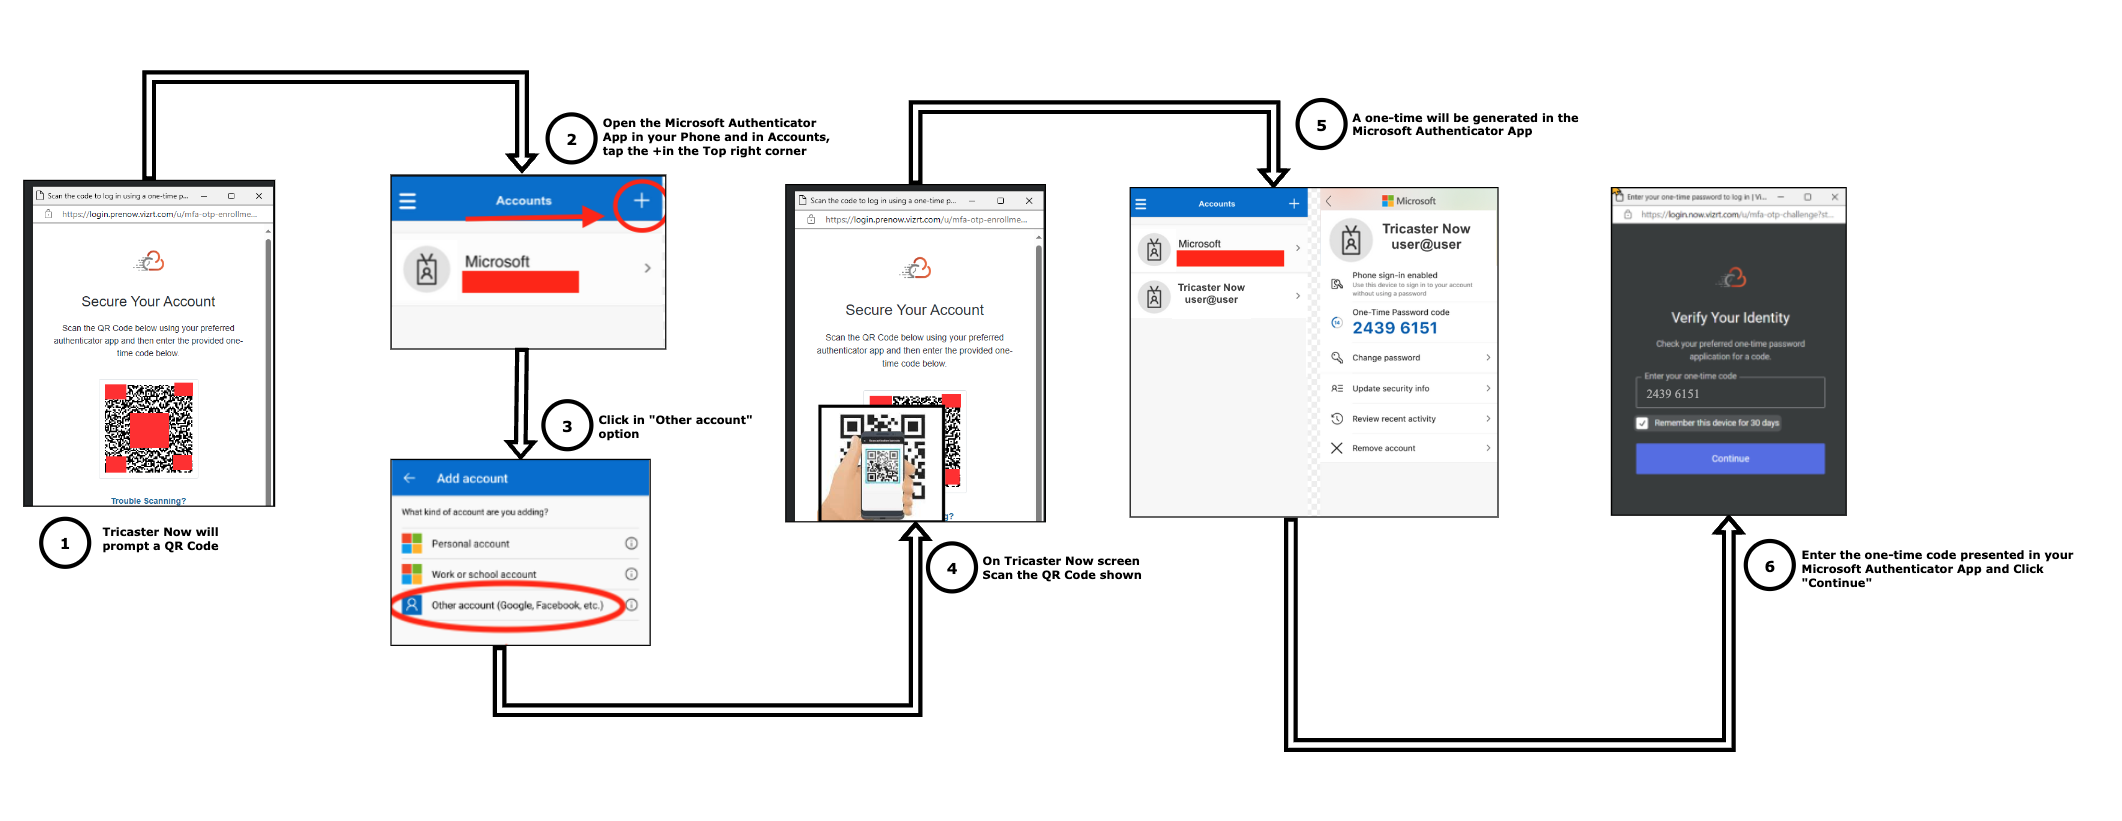
A confirmation message is displayed.You will now activate your preferred multi-factor authentication method (MFA). Authenticator apps are similar, the examples below use Google Authenticator and Microsoft Authenticator.
Begin by logging-in to Viz Now, using the new password you chose in step 3 above.Using Google Authenticator App
Using Microsoft Authenticator App
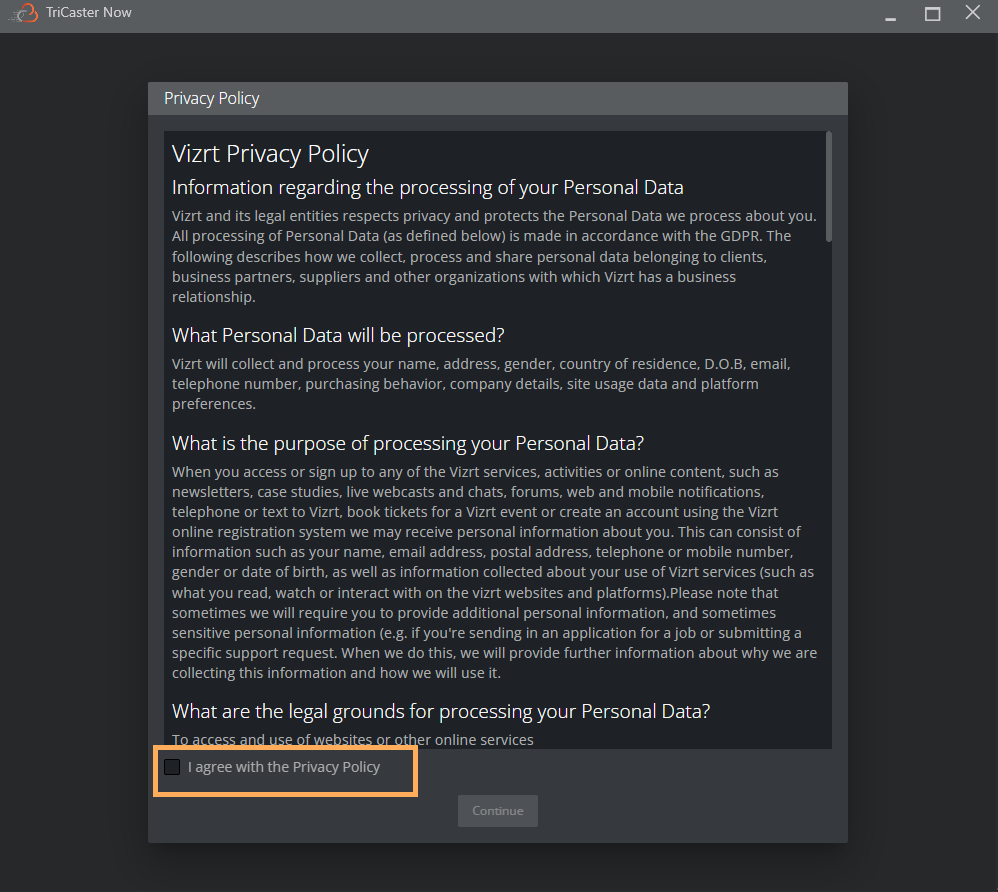
Accept the Vizrt Privacy Policy
You have now completed your onboarding and will be asked to download the Viz Now LaunchPad to use the service.
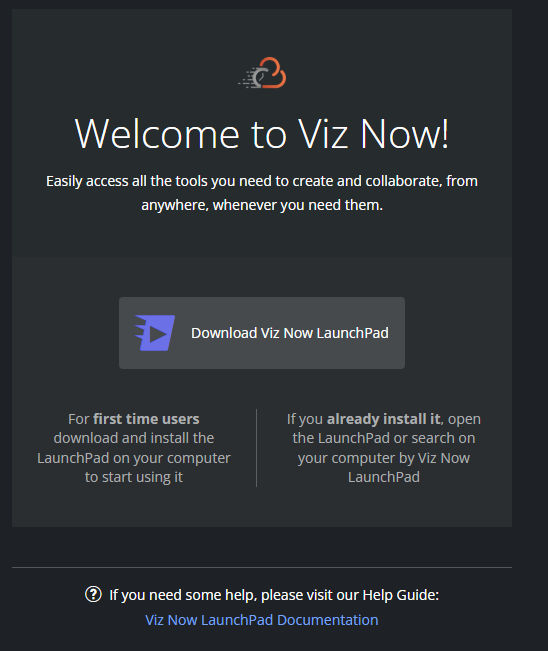
Click Download Viz Now LaunchPad to download the installer, copy it to any machine you prefer to use for your live production and launch it.
Locate the installed file in your Downloads folder (or wherever you save your downloads).
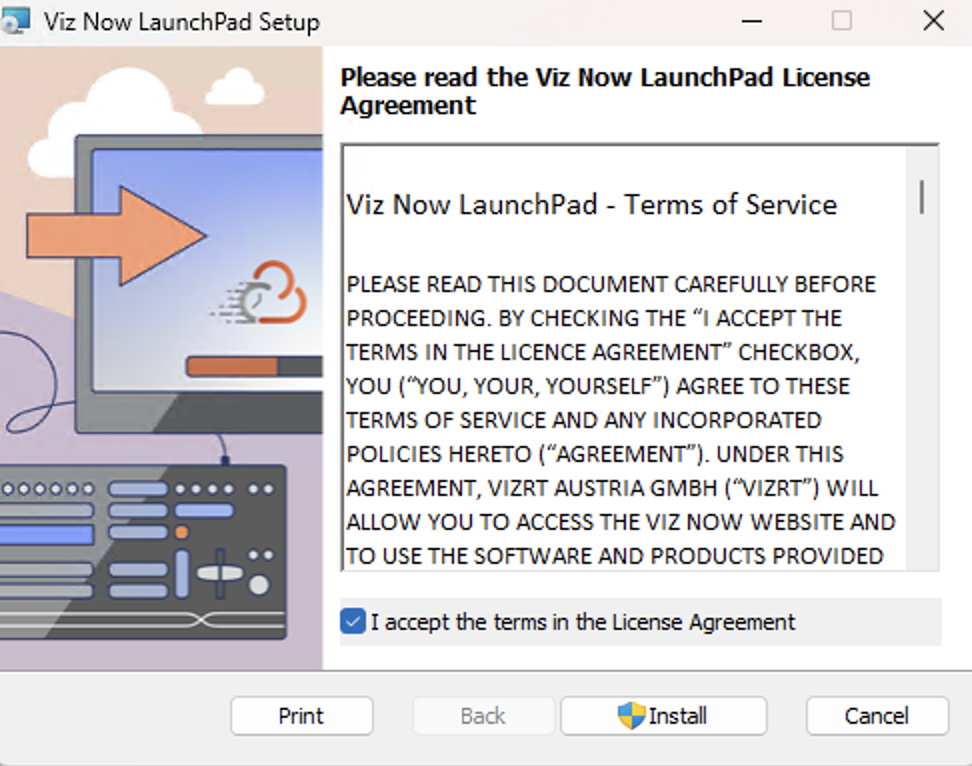
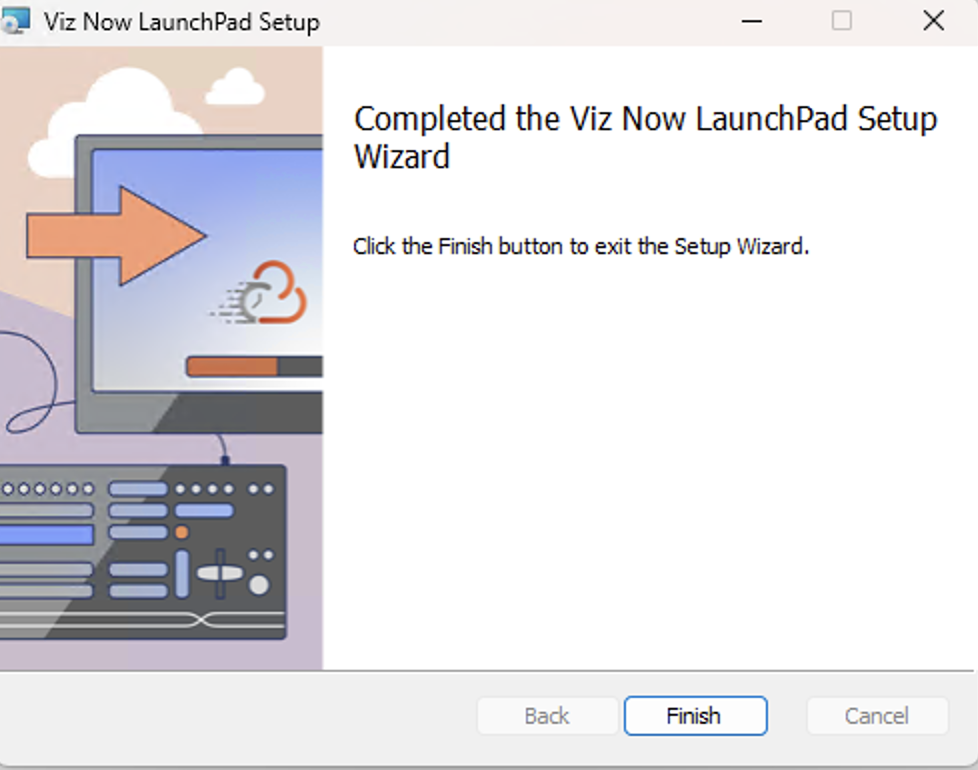
Double-click the file VizNowLaunchPad-<version number>.msi to start the installer.
The Viz Now LaunchPad is a desktop tool that quickly kicks off your live production application.After you install the LaunchPad, it checks that two essential utilities
(i) NDI Tools and
(ii) Amazon DCV client
are installed on your local machine.
If these two utilities are not currently installed, they are automatically downloaded and installed.Select I accept terms in the License Agreement and click Install.
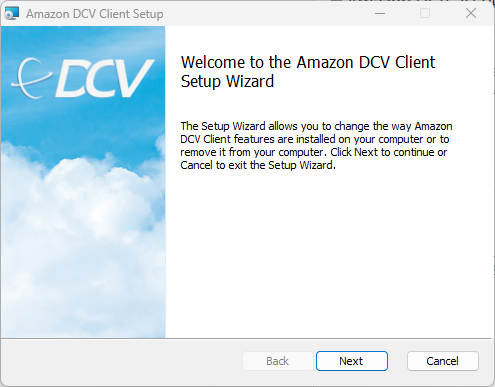
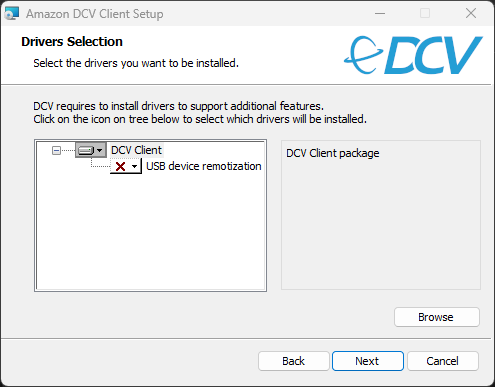
Amazon DCV Client Setup.
If this software is not already available on your machine, it will be automatically installed as part of this initial LaunchPad setup.
Alternatively it can be downloaded from Amazon DCV > Download.
This client software provides optimal remote access features for low-latency, high performance control of your online production.In the Welcome view, choose Next.
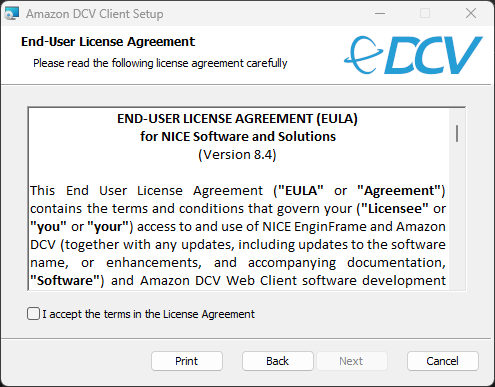
Read and select I accept the terms in the License Agreement and click Next.
In the Driver Selection menu, click Next (no selections needed).
At Ready to install Amazon DCV Client, click Install.
When the installer completes, click Finish.
NDI Tools is an essential package of helper utilities to enable your online production.
If this software is not already available on your machine, it is automatically installed as part of this initial LaunchPad setup.
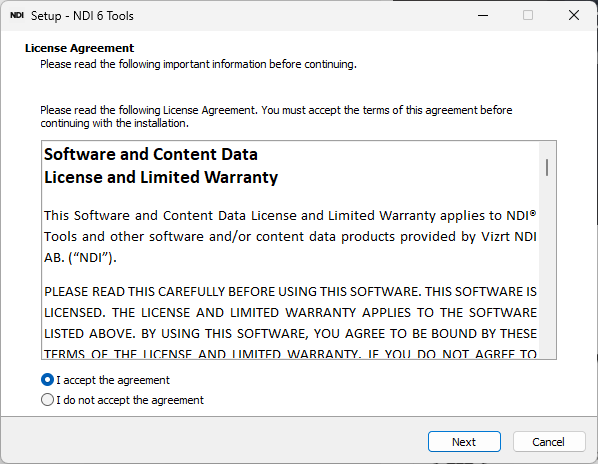
Alternatively it can be downloaded from NDI – Take Control Of Your Connections.Select I accept the agreement and click Next.
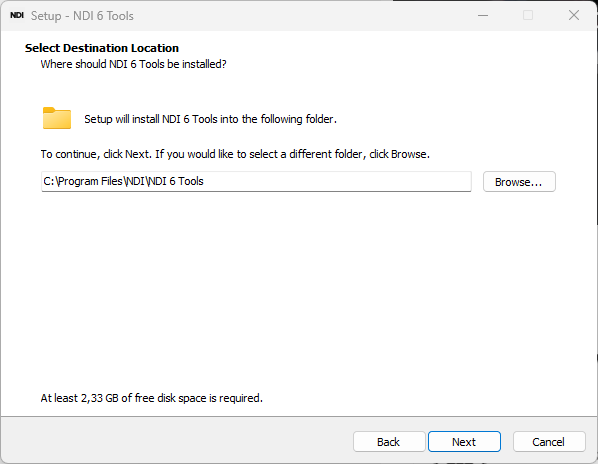
In the Select Destination Location menu, leave the default location and click Next.
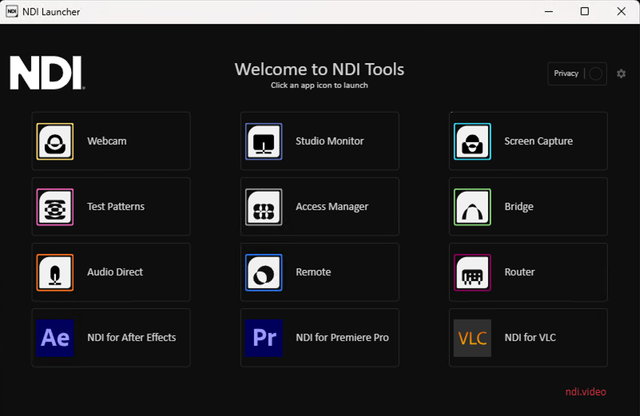
After installation, the NDI Tools portal opens as shown below.
Complete the installation by clicking Finish.
Run the LaunchPad by clicking the shortcut displayed on your desktop.
Note: The first startup might take a few seconds to initialize.
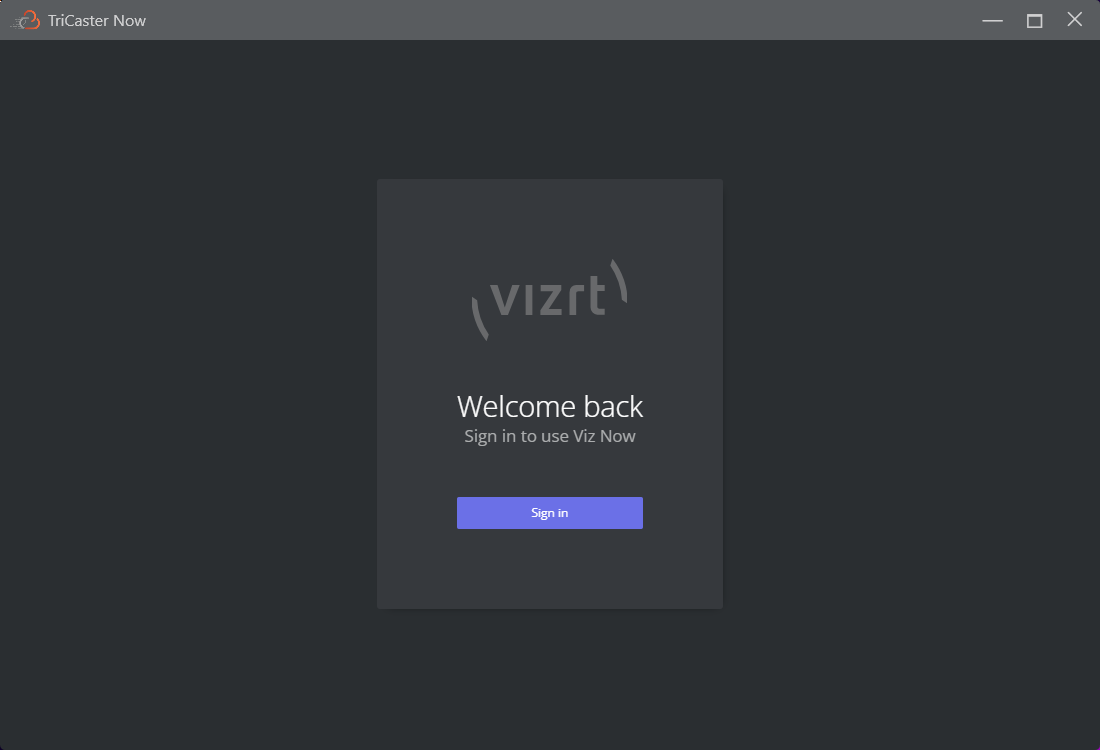
Click Sign in and enter username+password and provide your authentication code when requested to do so.
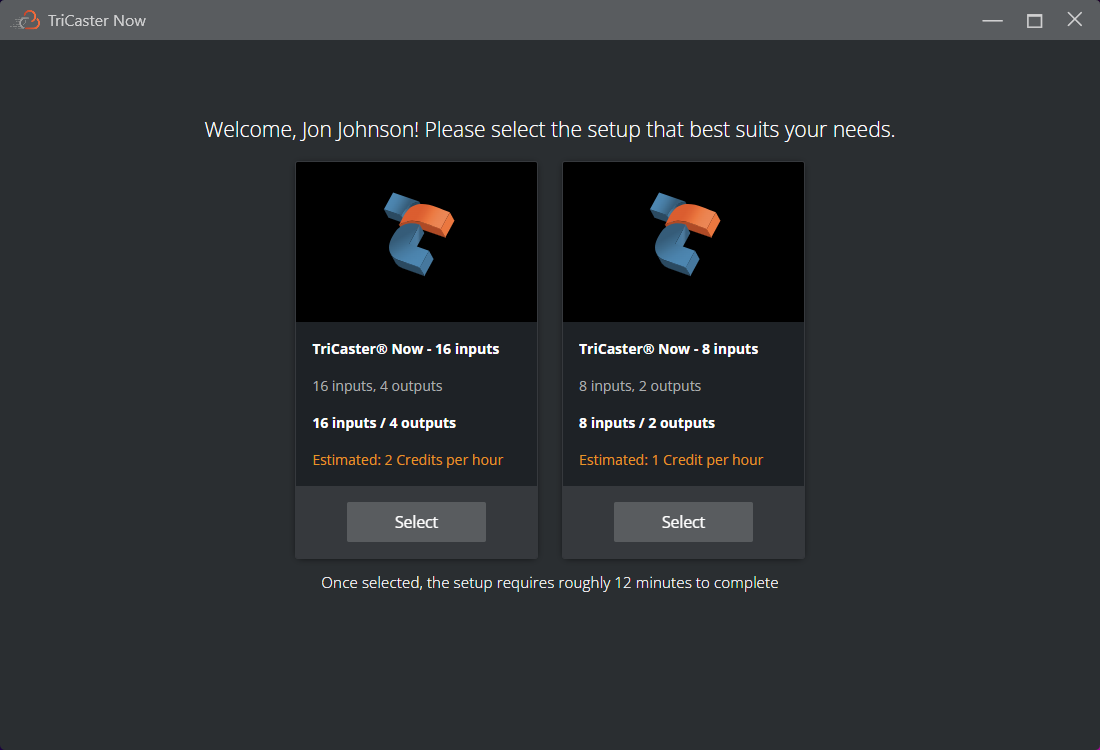
When logged in, you may be asked to select your preferred setup if more than one app type is available. If not ignore this step and go to the next one.
Click Select on the app you want to proceed with to the launch page.
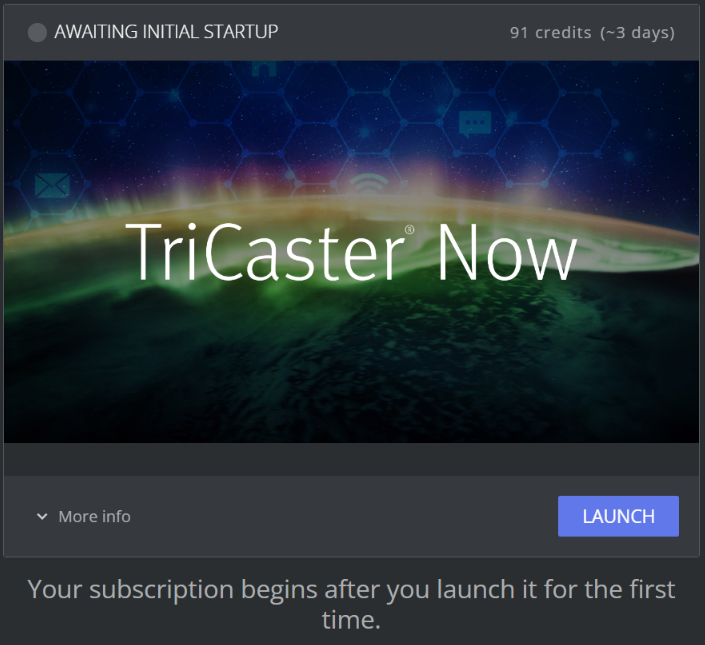
When you are ready to start your production, click LAUNCH, as further described in section Launching Your Viz Now Application.
Note: By default, after this installation
Vizrt .now files always open the Viz Now LaunchPad.
Similarly, .dcv files always open the Amazon DCV client.
If you encounter any issues during initial setup, please refer to the Support section of this guide for assistance.
Uninstalling the Viz Now LaunchPad
You uninstall the Viz Now LaunchPad from your Windows PC in the same way as any standard program.
To uninstall the Viz Now LaunchPad
Click the Windows icon on the left of your taskbar, or hit the Windows symbol on your keyboard.
Start typing Add or remove programs and then select Add or remove programs. The Windows Settings page opens with Apps & features.
Scroll down the list of installed applications and click on Viz Now LaunchPad. This application name may appear as Vizrt Application Launcher or a similar name depending, on installed version.
Click Uninstall.
If a confirmation prompt appears, or you are requested to provide administrator permissions, agree to the on-screen instructions and click Yes to proceed. The uninstaller begins removing the Vizrt Application Launcher and a confirmation message indicates that the Viz Now LaunchPad has been successfully uninstalled.
Note: You may also wish to uninstall the associated apps Amazon DCV and NDI Tools.

