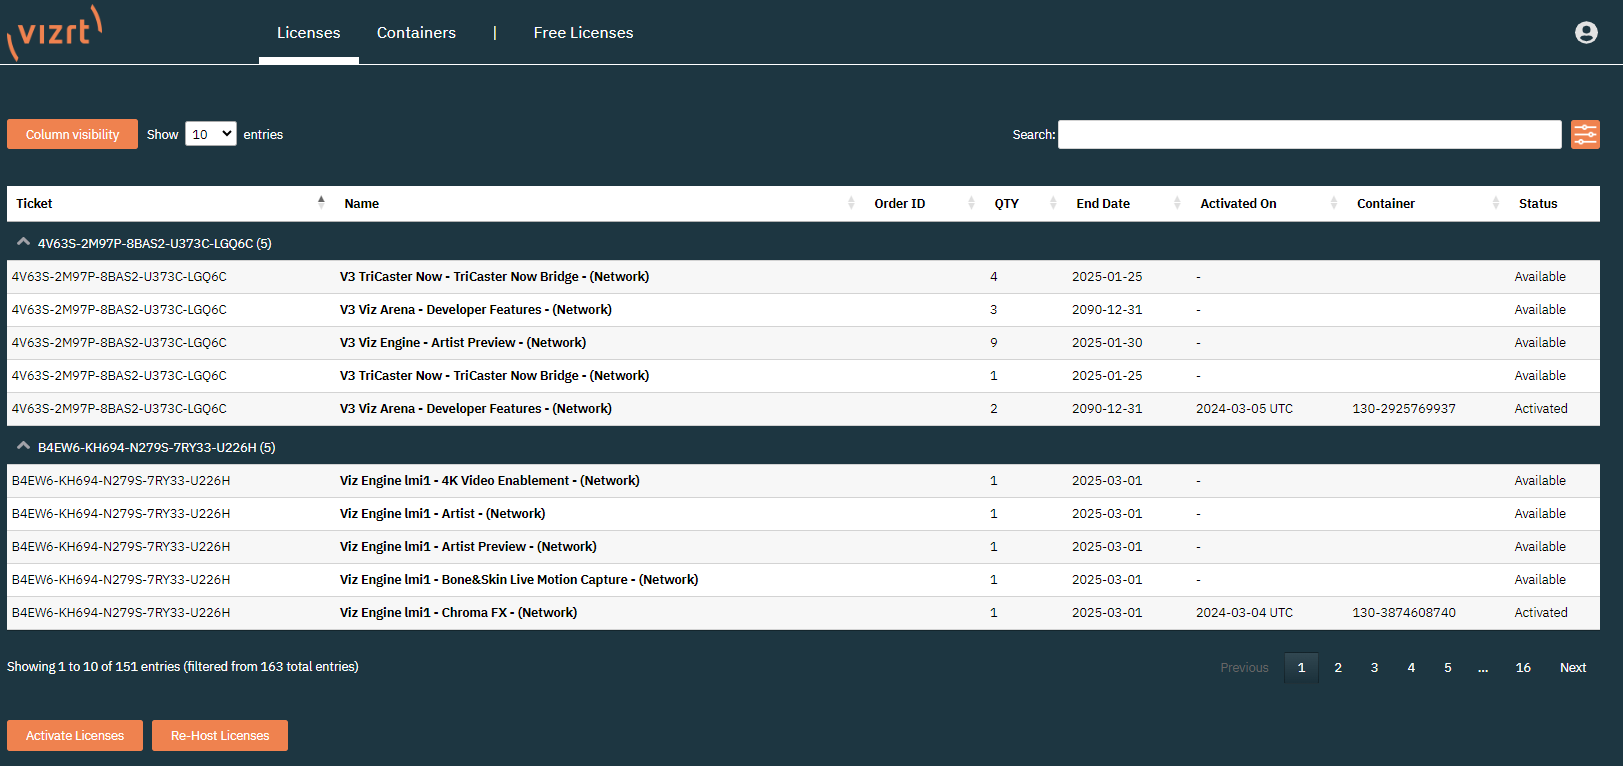
The licenses page provides an overview of licenses of the account the user is assigned to. The licenses are sorted by ticket ID showing all features each ticket has assigned.
Column Name | Description |
|---|---|
Ticket | This column displays the license Ticket ID. One Ticket can hold multiple license features. |
Name | This column describes the name of different license features. The license features enable different features of Vizrt products. |
Order ID | This column shows the Order ID the license belongs to. |
QTY | The Quantity column displays how often a license feature is licensed on the ticket. |
End Date | This column displays the expiration date of the license features. |
Activated On | This column displays the activation date of a license feature. |
Container | This column displays the Software Container or Dongle the license feature is applied on. |
Status | This column displays the current state of a license feature. |
The columns can be filtered alphabetically using the arrow buttons on the column title. Columns can be hidden by clicking the Column visibility button on the top left.
It is possible to select how many entries per page should be displayed. You can use the search bar to search the individual columns.
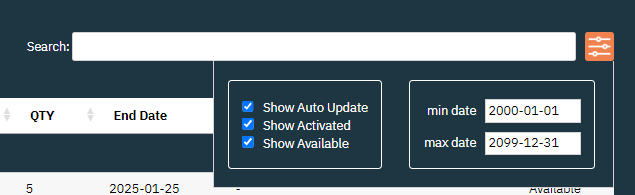
With the option field on the top right, you can filter license features according to date or specify certain states of licenses.
Maintenance Period
The maintenance period end date represents the last day of the current support agreement with Vizrt.
When a new support agreement is signed with Vizrt, the new end date is synced into the License Portal, and the new button Update Maintenance Period is shown.
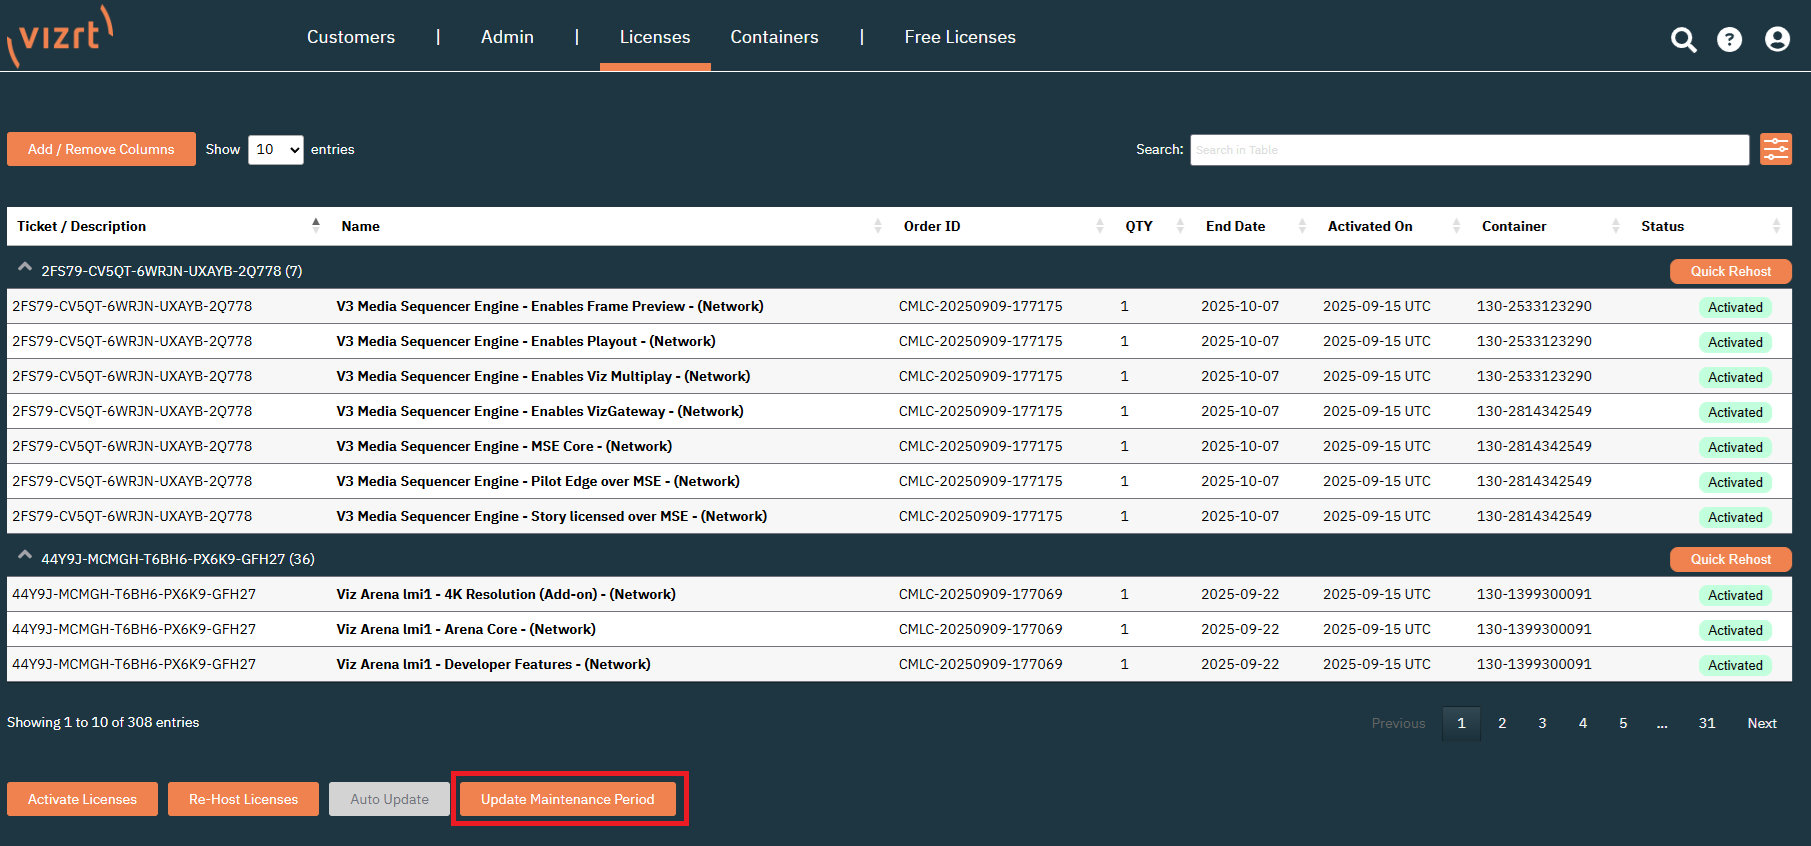
Clicking the button affects all tickets/licenses that are activated. Available tickets/licenses are not affected, since the date is updated on each activation.
Update Maintenance Period
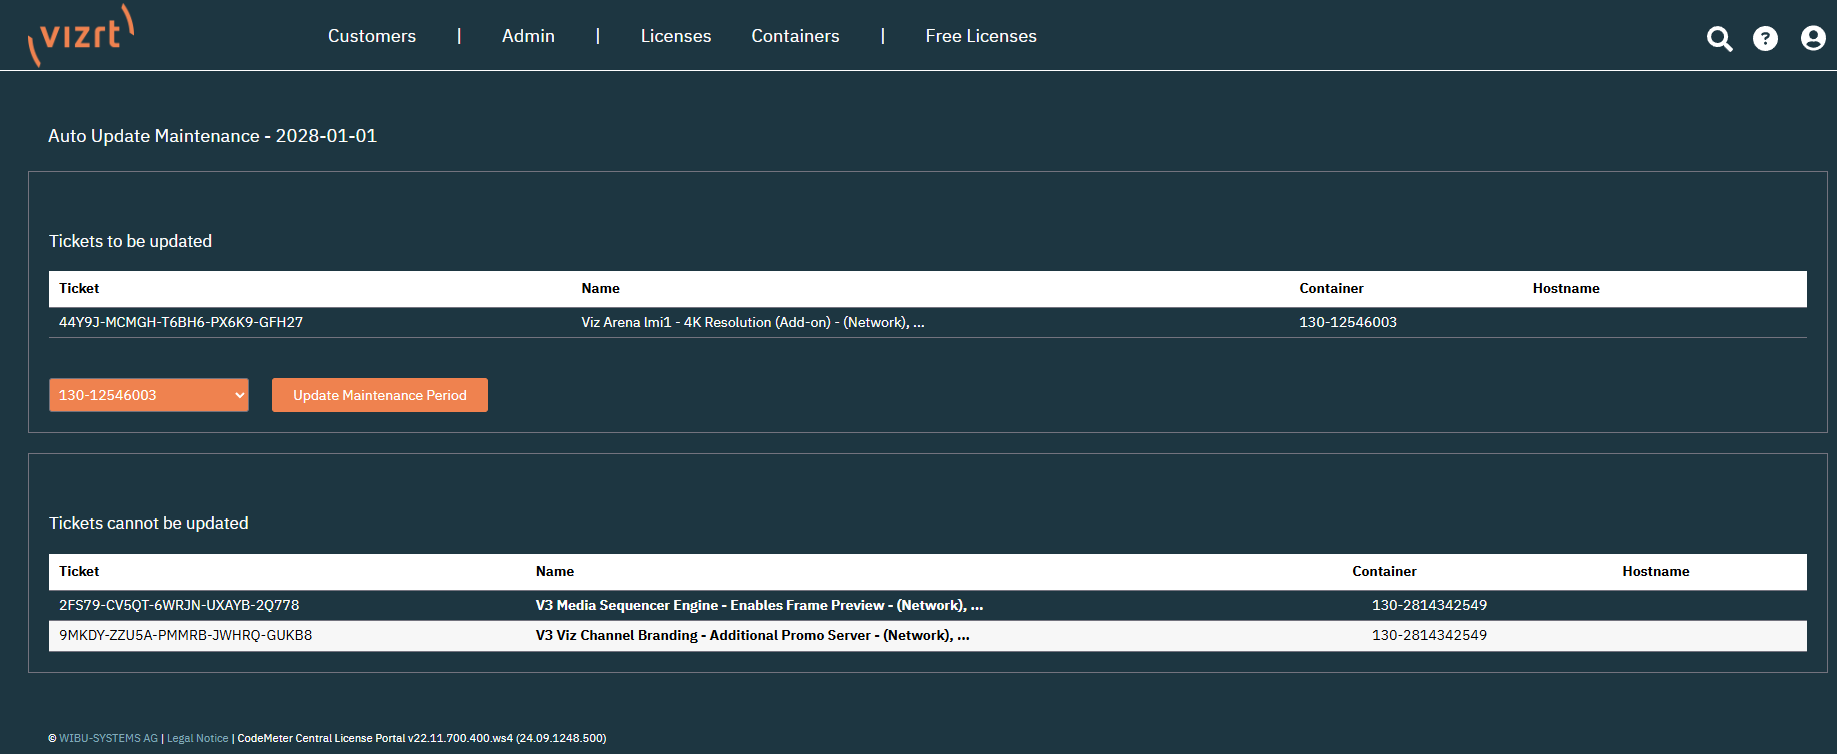
After clicking the Update Maintenance Period button, the next page shows three different sections. The date on the first section represents the new maintenance period end date, and is going to be applied to the affected tickets/licenses.
Section number two shows the tickets that can be updated, as they are activated on the machine from where this update is being done. On the bottom section (three), we can see the activated tickets that also qualify for the update, but are not activated on the current system. For these tickets the update requires to be done on the machine holding the respective ticket or license.
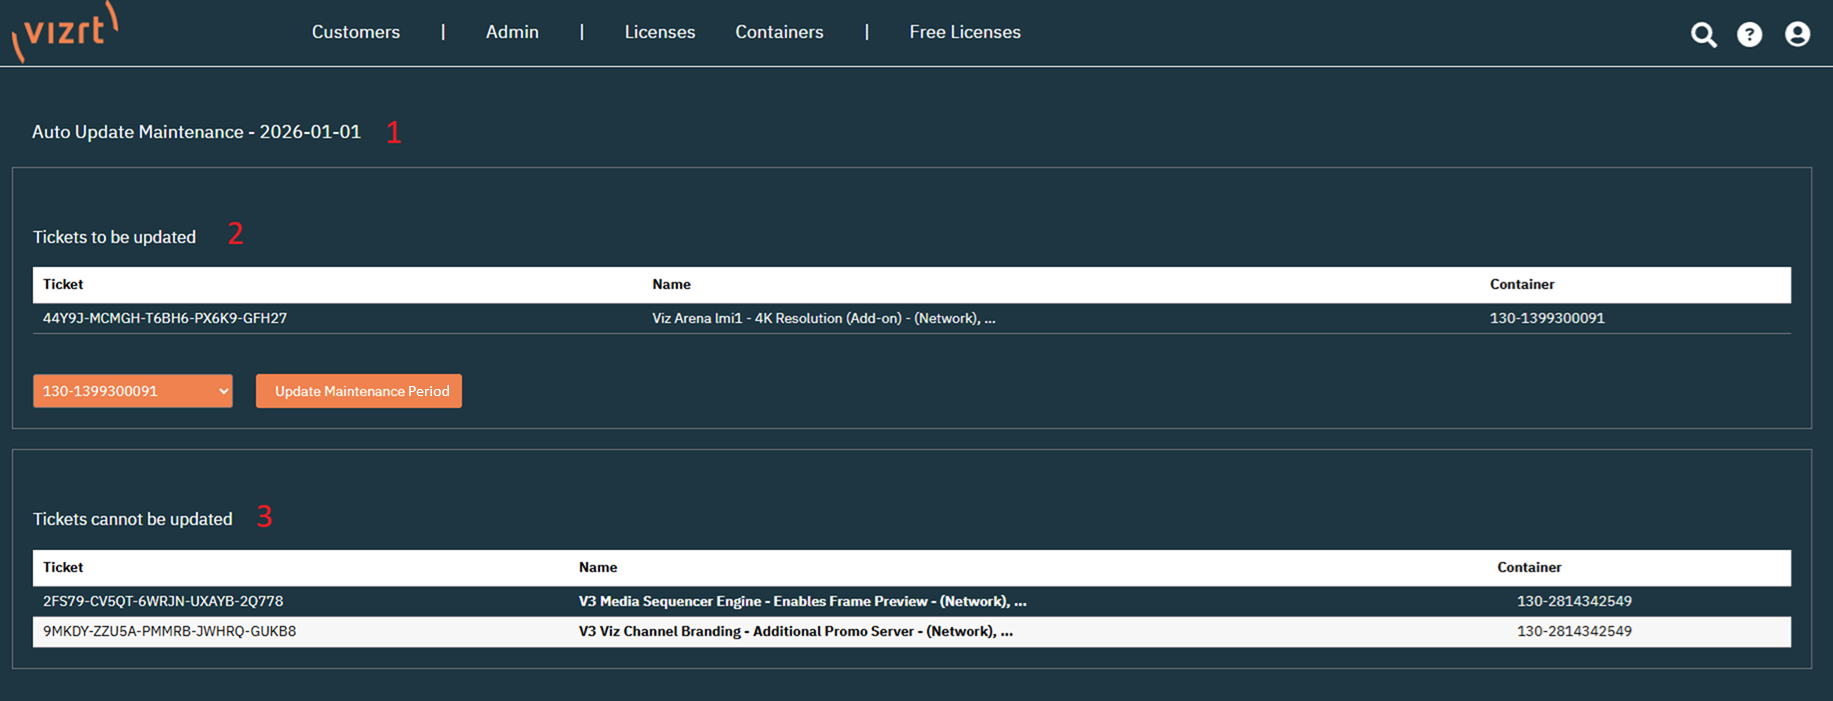
To start the update, make sure to select the relevant container from the container drop-down menu (the activated tickets are shown per selected container), then click Update Maintenance Period.
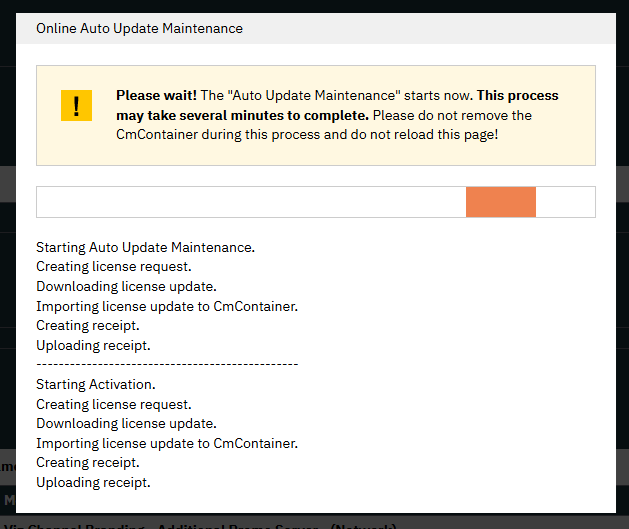
A small window appears showing the current status of the update. During this update your licenses are deactivated once and activated again to apply the update. Once the update is finished, there is a confirmation message:
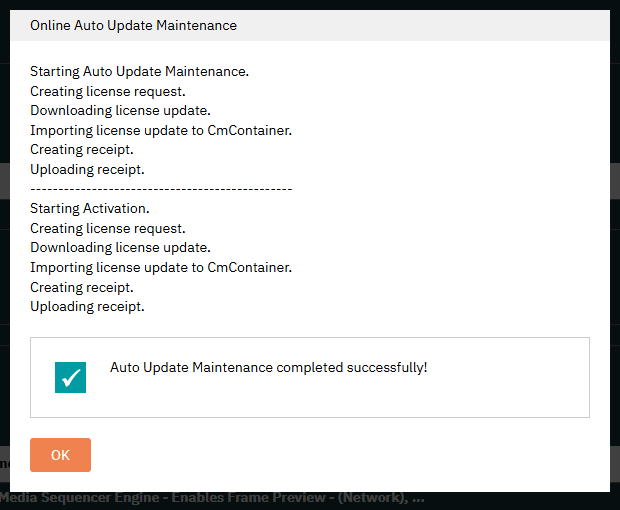
Clicking OK finishes the update and refreshes the update page.
Once the updates on your system are complete, the Tickets to be updated table is empty.
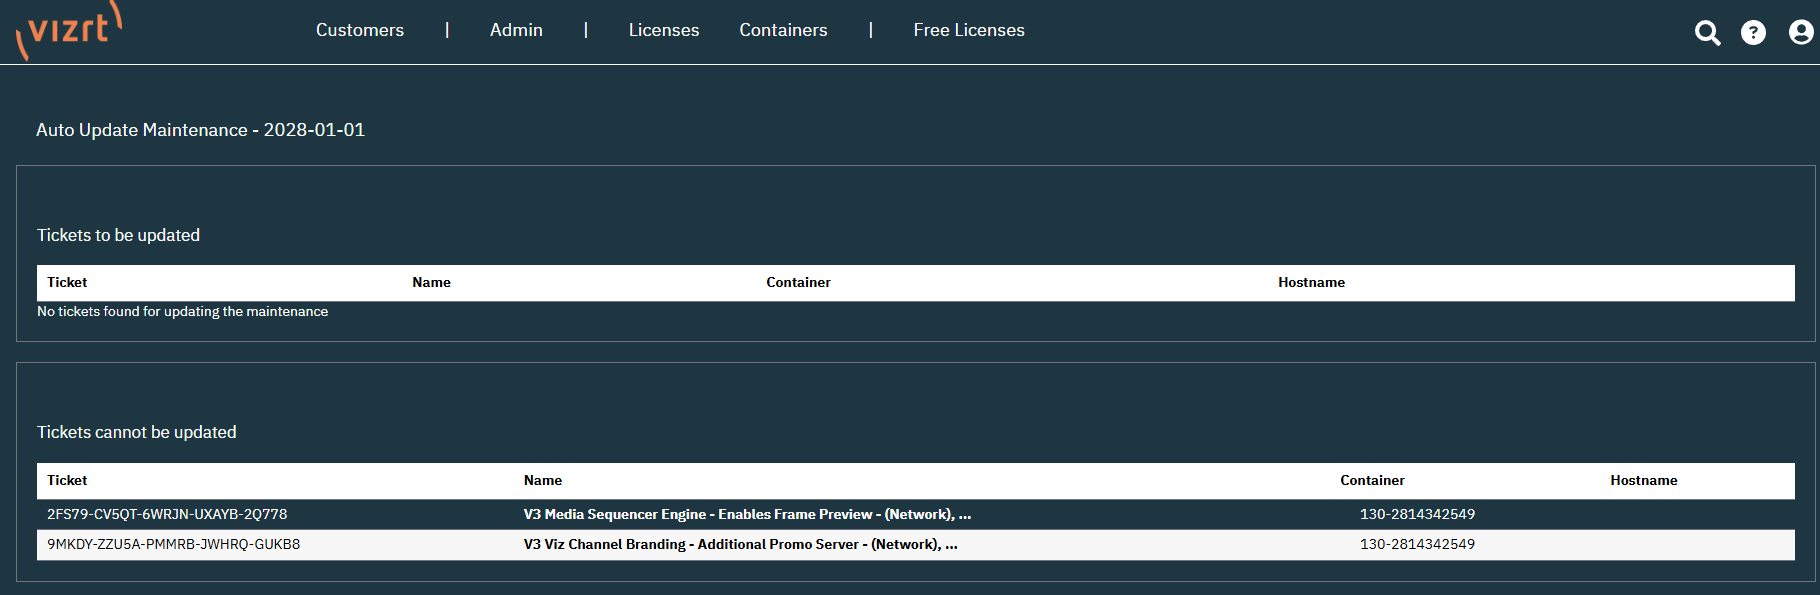
To update the remaining tickets, switch to the machine with the respective tickets.