To connect the Mosart Web Applications to a Vizrt SSO (for example, when running together with a Viz One authenticated by SSO), perform the following steps:
Download the
keycloak-mosart-sso.jsonfile from the same folder that you got the installer on Vizrt's Download server.Log in to the Viz One SSO Admin pages, and go to the Import tab in the left menu.
Click Select file and pick the
keycloak-mosart-sso.jsonfile.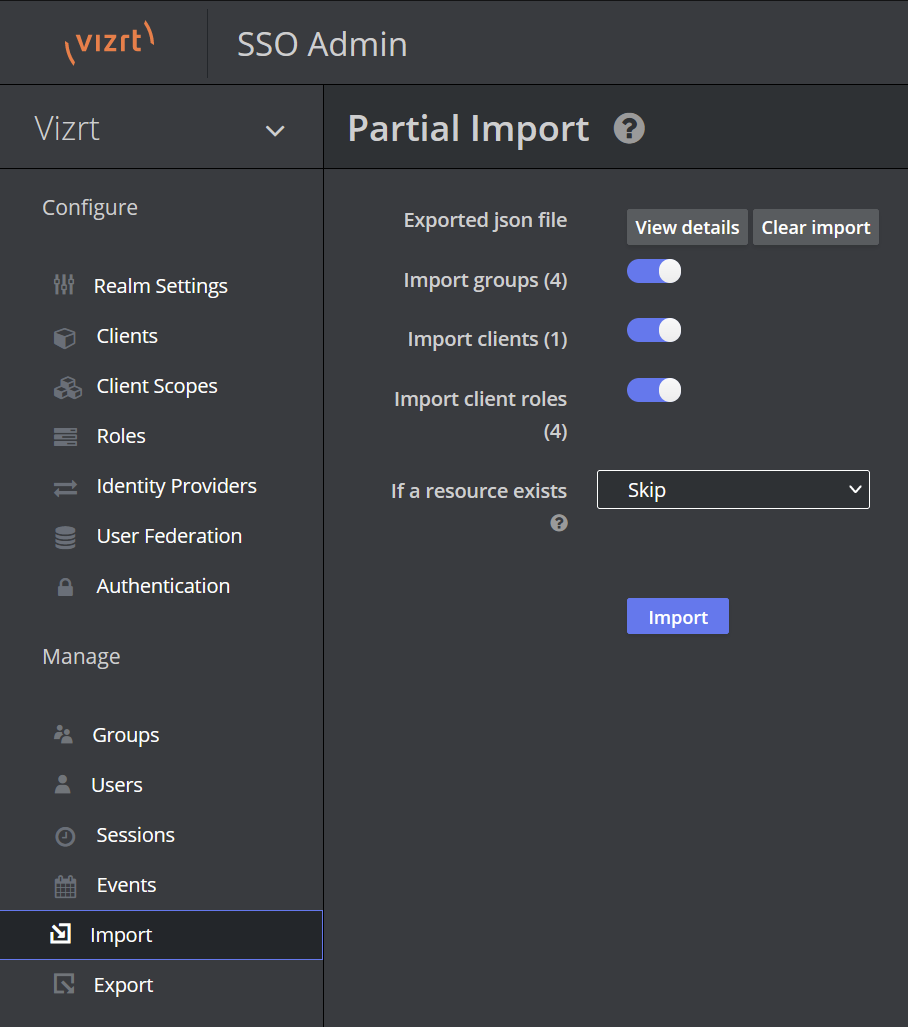
Review the options and when ready, click Import.
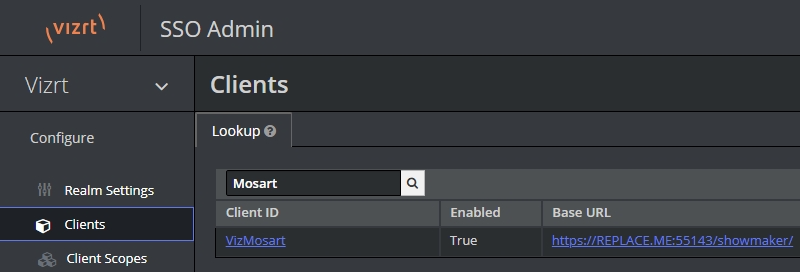
Go to the Clients tab, find and open the VizMosart client that was just imported.
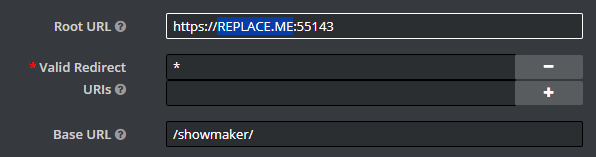
Update Root URL field with the fully-qualified domain name of the Mosart Web Applications server.
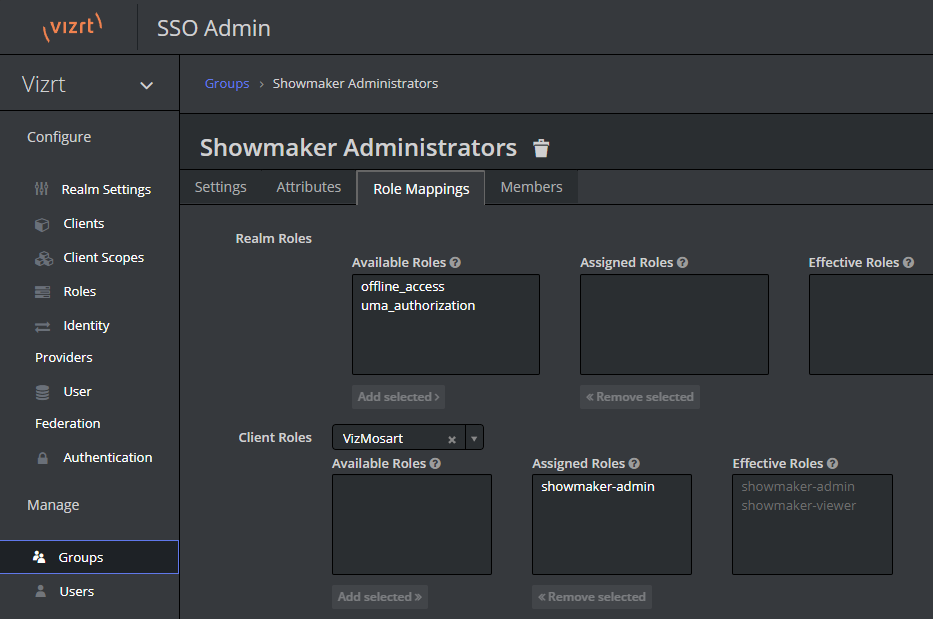
Manage users and groups to assign the two Mosart Web Application roles as desired. The roles are defined by the selected Client ID VizMosart, as shown in the screenshot. The imported configuration includes example groups which you can use as-is, customize, or replace with your own groups.
Info:
Groups do not directly grant permissions, they assign corresponding roles to all group members.
Roles grant user permissions.
The showmaker-admin role implicitly grants all other Pilot roles.
Use the Configuration Tool to configure OIDC settings for the target server.
Issuer URL is typically the Viz One server's base URL followed by
/auth/realms/Vizrt.Client ID must be VizMosart when using the imported configuration.
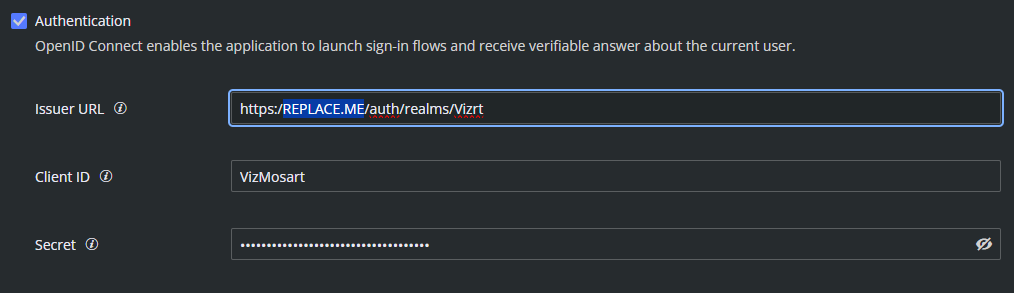
Tip: The Secret key can be obtained from the Vizrt SSO Administration console.
Select Clients > Credentials (tab).
Copy the value of Secret.