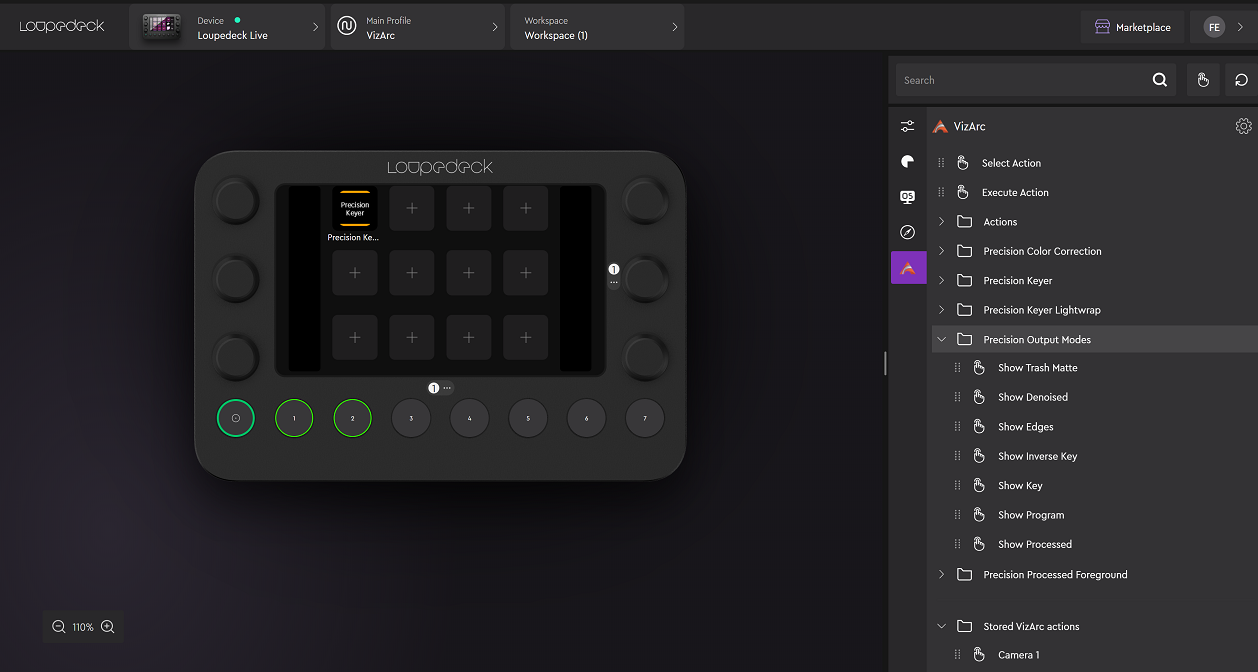
The Loupedeck device integration allows a user do adjust the Viz Engine Precision Keyer using the hardware dials and touch buttons. It also allows you to adjust the values of any transformation action allowing for quick size/position/rotation changes of scene elements in addition to the ability to interact with the Precision Keyer action.
Installation
To use the Loupedeck integration, download the Loupedeck software from here. The software does not necessarily need to be installed on the same machine as Viz Arc.
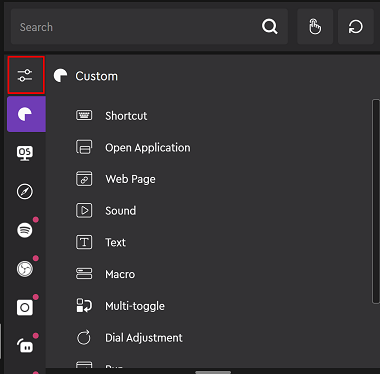
After installation, go to the Plugins Settings menu.
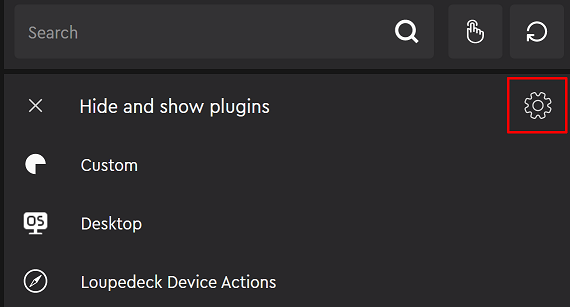
Click on the gearbox to open the Add-on Manager window.
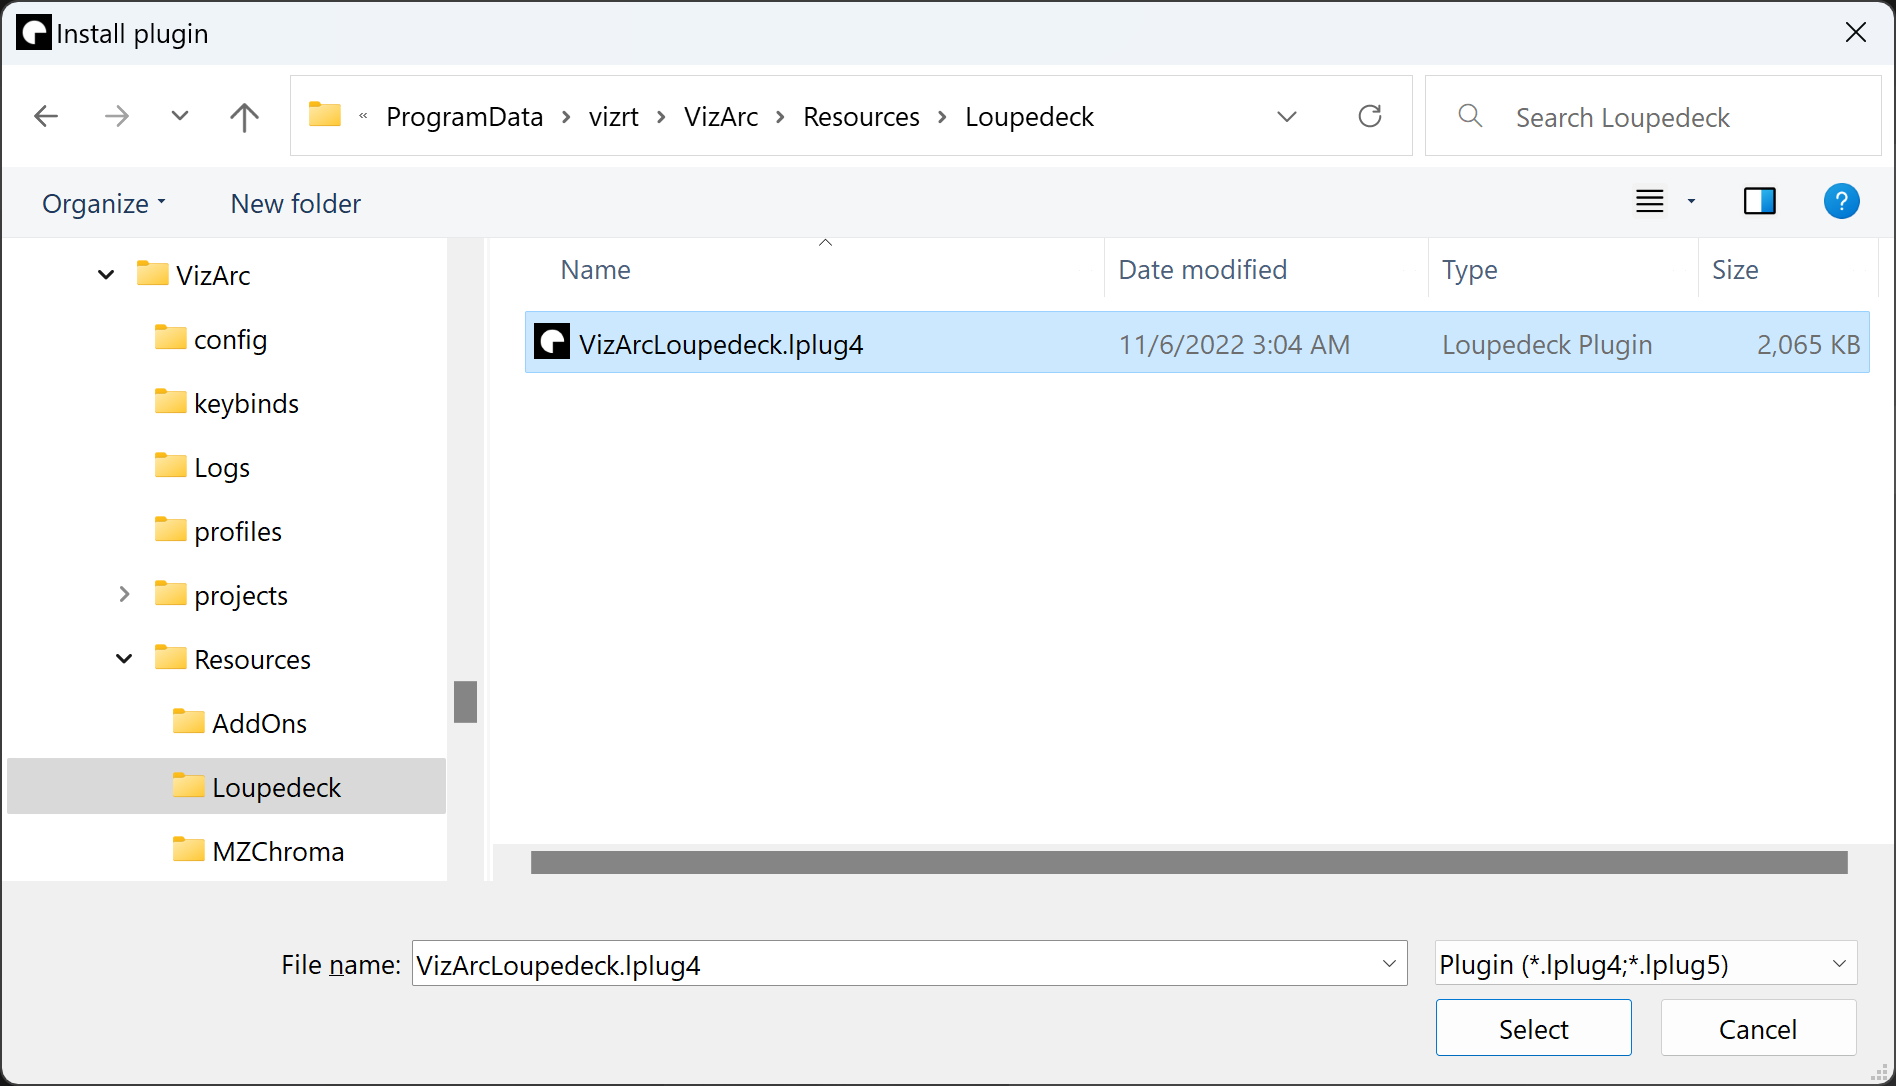
Select Install plugin from file.
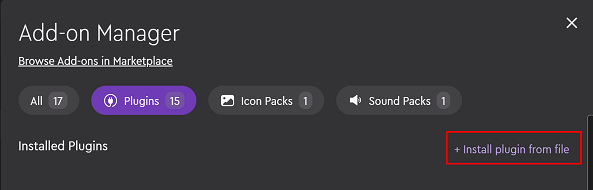
Browse for the Viz Arc plug-in contained in the file VizArcLoupedeck.lplug4, which can be found in C:\ProgramData\vizrt\VizArc\Resources\Loupedeck after Viz Arc installation.
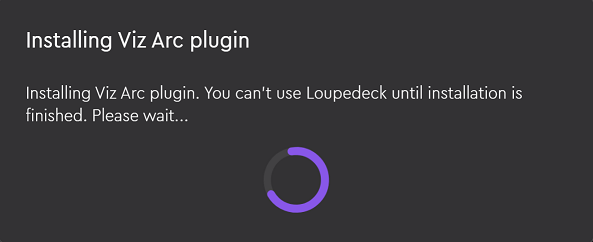
Wait for the installation to complete.
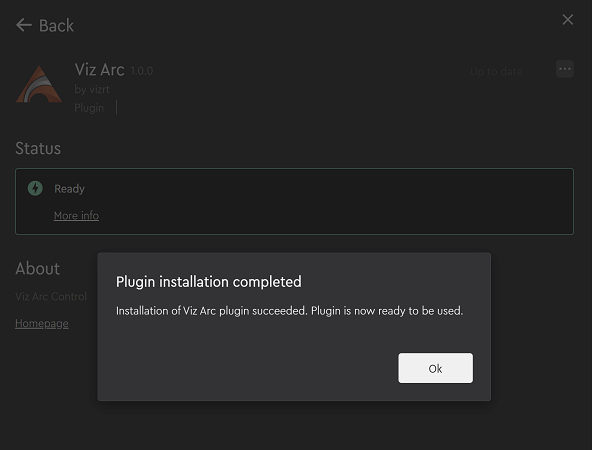
Confirm the successful installation.
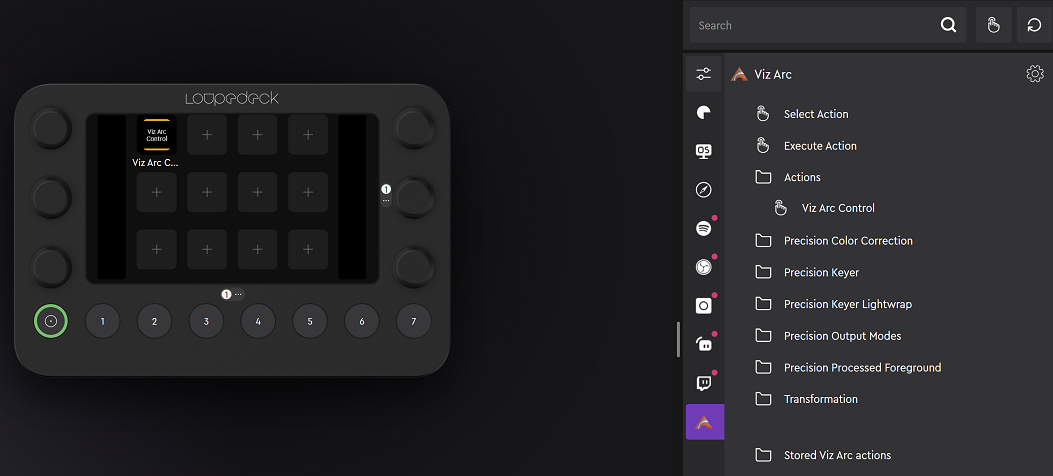
On the main page you can now find the Viz Arc plug-in. Select it and expand the Actions folder and drag the Viz Arc Control button to any of the free buttons in the Loupedeck device area.
Configuration
The configuration file ArcSettings.json can be found under %localappdata%\Logi\LogiPluginService\PluginData\VizArc.
{ "hostname": "localhost", "port" : 5004, "portREST" : 9004}The file contains the hostname and the port (for example, localhost:5004) of the running Viz Arc In-App Web API and the Viz Arc REST Server, the ports can be configured under the Communication section of the settings. Remove the port configurations or set them to 0, if the connection to either one of the services is not necessary or desired.
Note: A restart of the Loupedeck software is required after every change to the configuration.
Logging
The log file VizArc.log of the plugin can be found under %localappdata%\Logi\LogiPluginService\Logs\plugin_logs.
See Also
Using the Loupedeck