This section describes how to create a flipping carousel template scene in Viz Artist.
Tip: A copy of the flipping carousel template scene has already been created and can be imported by following the steps in To Import Viz Artist 3 Example Scenes.
When finished with the steps in this section, this template scene is used by the flipping carousel background scene. The Toggle plug-in in the background scene makes it possible to add text message templates to the carousel.
To Get Started
Create a new scene named tutorial-flipping-template.
Open the new scene.
To Add a Group
Add a new Group
 to the scene tree.
 Rename it to object.
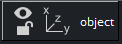
Note: All flipping carousel template scenes must have a root container named object.
To Add the ControlObject Plug-in
Drag the ControlObject plug-in to the object container (found in Plugins (/Built Ins) > Container Plugins > Control, sorted as "Object"). Placing the control plug-in on the root container optimizes the process, as the whole template scene tree is copied when a new template is added, and the root container is the first one to be scanned.

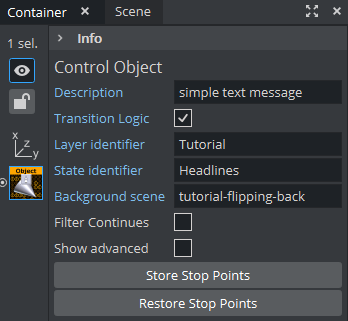
In the ControlObject Editor:
Enable Transition Logic.
Set the Layer identifier to
Tutorial. The layer identifier refers to the layer director in the flipping carousel background scene.
Tip: The layer identifier should consist of alphanumeric characters only. For more details, see Global Conventions.
Set the State identifier to
Headlines. The state identifier refers to the in state stop point.
Tip: The state identifier should consist of alphanumeric characters only. For more details, see Global Conventions.
Set the Background scene to tutorial-flipping-back.
Set the Description to simple text message. The description is used when selecting templates in Viz Ticker Wizard and Viz Ticker Client.
To Add a Font
Drag a font to the scene tree, for example Arial-Black, and place it as a subcontainer of object in the scene tree.
Rename the new container to text.
Open the text container’s Transformation Editor and set the Scaling to X,Y,Z=
0.2.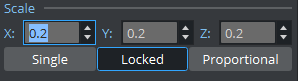
With this size, the text fits the background.
To Add a Material
Add a material, for example orange (R= 255, G= 102, B= 0), to the text container. If no color is added, the font inherits the color of the container holding the Toggle plug-in in the background scene.
To Add the ControlText Plug-in
Drag the ControlText plug-in to the text container (found in Plugins (/Built Ins) > Container Plugins > Control, sorted as "Text").
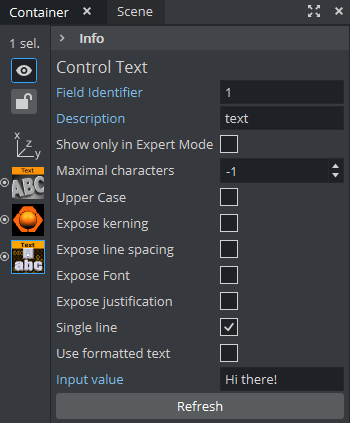
In the ControlText Editor, make sure that the Expose kerning option is disabled.
Disable Use formatted text.
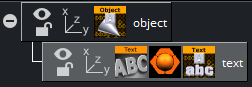
Type Hi there! in the Input value text box. The scene tree now has the following appearance:
To Fine Tune the Position of the Template
Open the object container’s Transformation Editor and set the Axis Center to Y= Center.
When changing the axis center, the position changes too.
Reset the Position to Y=
0. These changes put the center of the template scene in the center of the Toggle plug-in placeholder container.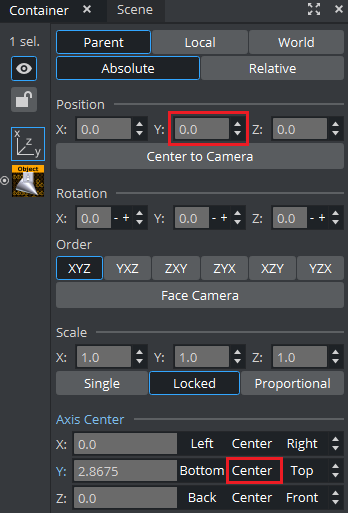
To Save the Scene
The template scene is now finished. Click the Save button.