
Viz Engine
Version 3.10 | Published April 03, 2018 ©
Matrox Driver Installation
The first time a machine is started with a Matrox board or dongle installed, the operating system will prompt the user to install the necessary Matrox drivers. Before installing a new driver, or upgrading the existing drivers, any currently installed drivers must be removed first. Please refer to the section To Remove the Matrox Driver for further information on how to remove any such drivers.
-
However, please pay attention to the following considerations:
-
A new driver should not be installed before the new hardware is installed.
-
The use of a different driver version than that which was shipped with the video board is not recommended.
-
A driver version, which is not recommended, will in most cases cause the system to be unresponsive.
-
Use the supplied driver installer application, and do not rely on drivers automatically installed by the operating system.
-
Please refer to the Drivers and Configuration History section for information on which driver version is recommended for the Matrox video card and Viz Engine version in use.
As there are many driver versions available, it is important to compare the versions reported by the Matrox X.info utility to check that the driver and firmware versions match. A warning will be displayed if the versions do not match.
This section contains information on the following topics:
To Install the Matrox Driver
-
Locate the latest Matrox driver (DSX.utils): ftp://ftp.vizrt.com/products/Vizrt%20Drivers/Matrox/Xmio/<driver>/
-
Download and save the installation file to the local hard drive.
-
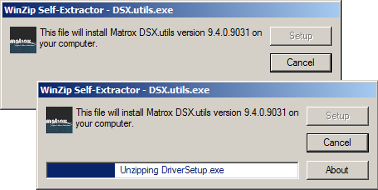
Open the downloaded DSX.utils.exe file. This file automatically extracts the installation files and launches the installation wizard.
-
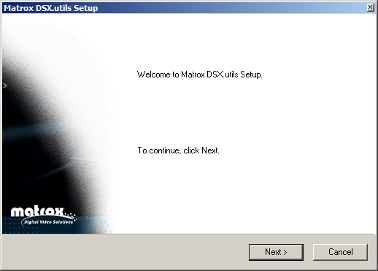
Follow the on screen instructions.
-
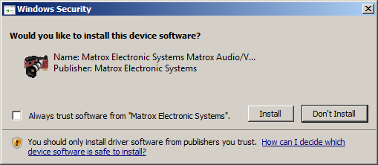
In case the Windows Security window pops up, tick the Always trust software from Matrox Electronic Systems check-box. This allows for a faster installation procedure in any subsequent driver installations. If left un-checked, each required driver will need explicit permission to be installed.
-
Click Install to start the installation. The installation can take several minutes.
-
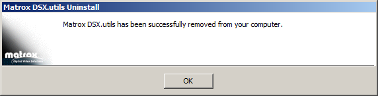
When completed, a pop-up window will confirm the successful installation. Click OK.

-
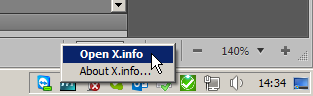
After the driver has been installed, an icon (1) will appear in the system tray.
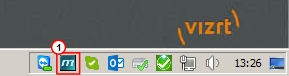
Note: The firmware upgrade now starts. This can take a few minutes to complete.
To Remove the Matrox Driver
-
Go to Start -> Control Panel -> Programs and Features.
-
Locate the Matrox DSX.utils <version>.
-
Click the Uninstall button, or right click the entry and select Uninstall from the context menu.
-
Follow the on screen instructions.
-
Reboot the system.
Tip: In some cases, the Matrox driver removal process will automatically reboot the system.
To Upgrade the Matrox Driver
-
Remove old DSX.utils (see To Remove the Matrox Driver)
-
Reboot system.
-
Install new DSX.utils (see To Install the Matrox Driver).
To Check the Installation
-
Click the Matrox system tray icon.
-
Select Open X.info.
-
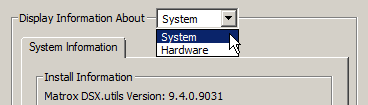
In the Display Information About drop-down, select System.
-
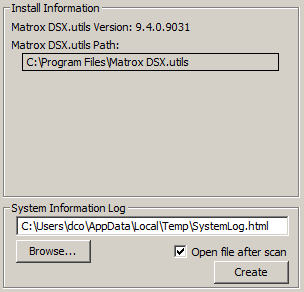
Check that the correct driver version was installed.
-
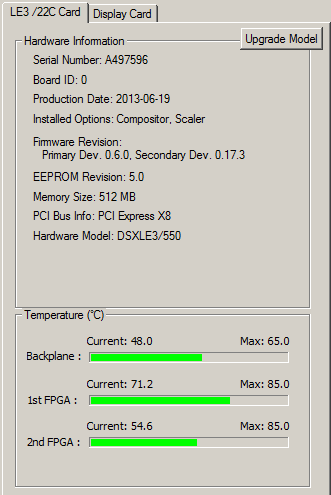
In the Display Information About drop-down, select Hardware and click on the installed card tab, for example LE3/22C.
Note: The information shown in the panel can look different depending on the installed Matrox card.
-
Check the these details:
-
Under Hardware Information, check the Installed Options for Compositor, to confirm that the board is taking advantage of the on-board compositor. Some boards do not have an on-board compositor. The Matrox X.mio2 Plus does have an on-board compositor, even though this is not listed.
-
See PCI Bus Info and check that the board was put into a PCIe slot operating at the right frequency.
-
See Hardware Model, for example, X.mio2 Plus 8500, to check for Mixed Mode Video Support.
-
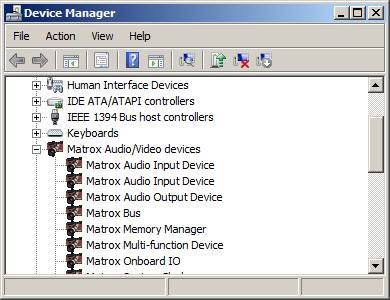
To Check the Installation with Windows Device Manager
-
Start the Device Manager, by either:
-
Click Start, then Run, and type devmgmt.msc, or
-
Right-click My Computer, select Manage and then Device Manager, or
-
Right-click My Computer, select Properties and click the Hardware tab, then click Device Manager, or
-
Run the command start devmgmt.msc from the Command Prompt
-
-
Expand the Matrox Audio/Video devices node to see the devices that are installed.