
Template Builder User Guide
Version 1.2 | Published April 26, 2019 ©
The HTML Panel
As part of the template customization workflow, the user can add an HTML panel to the template, which is a functionality that gives the user full control over the template by using custom scripting and logic to build the template. The template can host a webpage by entering a web address in the Template Builder. Normally the aim is not to host a single webpage, but rather make a data integration HTML template.
Some examples on how to use HTML templates are shown in the Creating HTML templates page.
Add an HTML panel
The option of adding an HTML panel is available by right-clicking in the field ID list in the field tree and select Add HTML panel before/after.
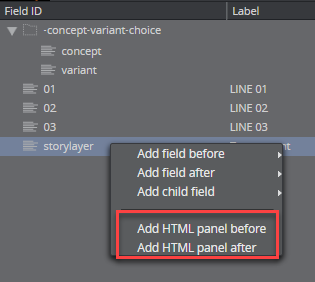
Enter the ID of the of the new panel in the dialog that appears.
Selecting the new HTML panel field ID in the field tree, its properties become available in the Field Properties window.
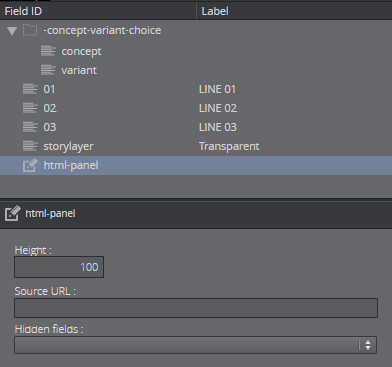
Adjust the size of the HTML panel shown in the Fill In Form using the Height field.
In the Source URL type in the web address.
The Hidden fields drop-down list allows the user to hide available fields in the Fill In Form.
Browser Caching
The user might experience browser caching behavior when trying to update and display changes in the custom HTML template in Template Builder. This is standard browser behavior and Template Builder does not have control over caching resources that the HTML file itself includes.
To prevent this browser behavior, following actions can be made:
-
Make sure the URL's to the resources are unique upon reload.
-
The web server serving the resources could be configured to send Expiry headers set to 0. More detailed information on how caching works and how to modify these is out of scope for this documentation
-
Disable caching on the browser side. This is done differently per browser.