
Template Builder User Guide
Version 1.2 | Published April 26, 2019 ©
Creating HTML templates
A few examples on how to create HTML templates will be shown below:
-
Connect the custom HTML template to a Viz Pilot template - the simple way
-
Connect the custom HTML template to a Viz Pilot template - the advanced way
To fully understand the workflow in these examples some basic knowledge about web technology (javascript, HTML, CSS) is required. A detailed description of the content in the files used will not be given. However, in addition to this documentation, there is also an API documentation bundled with the product describing the API a web developer creating custom HTML templates has access to. This can be found at http://<pilotdataserverhost>:8177/app/templatebuilder/js/doc/PayloadHosting/index.html.
Keep in mind that the following examples are a proof of concept and show a limited possibility of what can be done using the customized workflow. Using it in more advanced ways opens up to full user control of the template using custom scripting and logic where the user has 100% control over what to do. In general:
-
You can use simple HTML <input> or <textarea> fields that contain an id="field_<fieldid>" which will automatically have a bi-directional connection
-
You can take control of the function mapping, and use javascript to basically do whatever you want.
Set up a simple custom HTML template
The following example will show how to set up and show a simple custom HTML template in Template Builder.
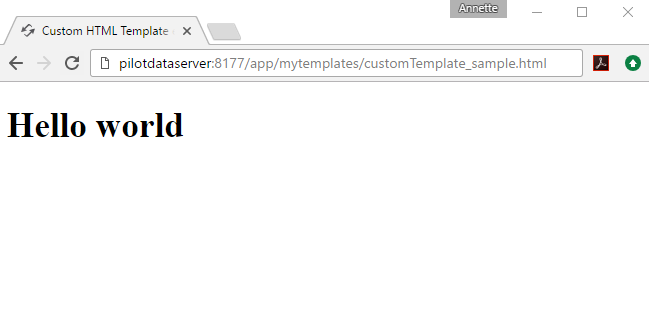
We will work with a template that will show the message Hello world when opened in a browser, see the picture below. Three necessary files, including the HTML template, must be located in the same folder (C:\Program Files\Vizrt\Pilot Data Server\app\mytemplates\).
The files are:
-
customTemplate_sample.html - The custom HTML template
-
customTemplate_sample.js - The javascript part for the template
-
payloadhosting.js - Needs to be present as it connects everything
The URL in the image below points to the location of the .html file mentioned above.
How to see the custom HTML template inside Template Builder
In the image above the template is shown in a browser, but now we want to see the template inside Template Builder.
-
Open a template and add an HTML panel as explained here.
-
In the URL field enter the URL of the custom HTML template, in this case, the URL from the picture above.
-
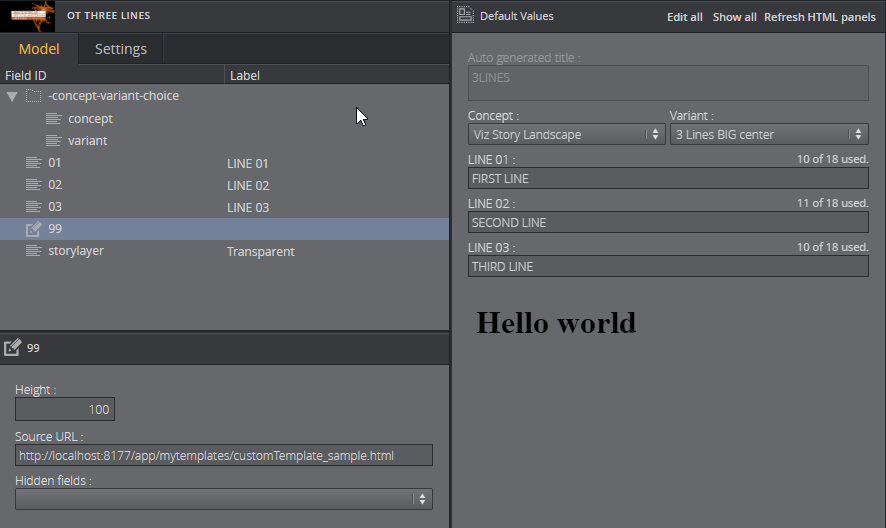
Now the message Hello world appears in the Fill In Form:
Connect the custom HTML template to a Viz Pilot template - the simple way
Following the example above, we can establish a two-way communication, or bind fields, between the HTML template and the opened pilot template. This is done by adding a new field to the template in the following way :
-
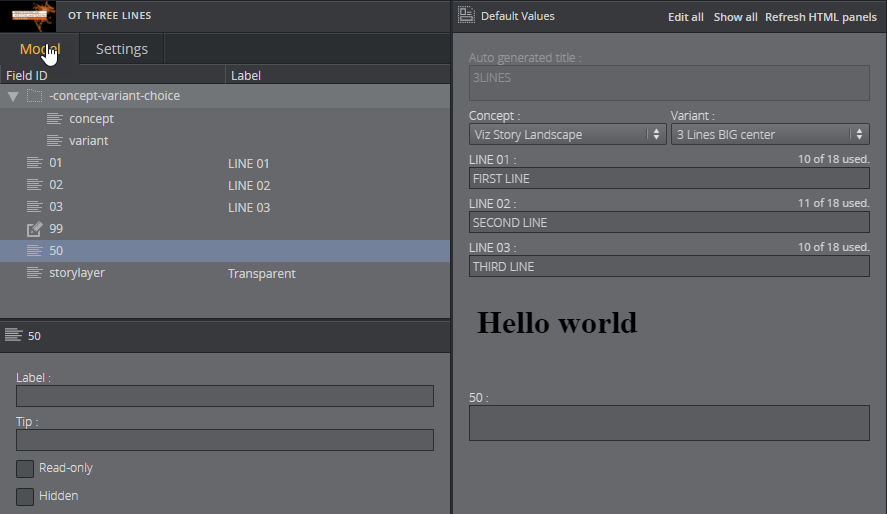
Right-click in your HTML panel field, choose Add field before/after and select Plain text
-
Give it the ID 50
-
A new field appears:
Then the <body> block in custom HTML template (Template_sample.html) that previously contained:
<body> <h1>Hello world</h1></body>
must be
replaced with:
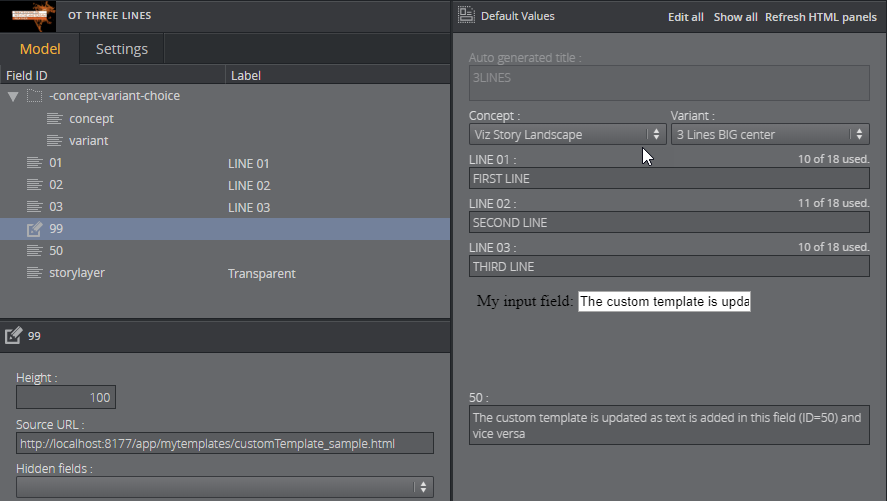
<body onload="vizrt.payloadhosting.initialize()"> <label for="field_50">My input field:</label> <input name="field_50" type="text" id="field_50"> </body>Saving the HTML file and clicking Refresh HTML panels, reloads the custom HTML template with the changes just made. Now a bi-directional connection between the custom template and pilot template have been established. When typing either inside the template or inside the field with ID 50, both fields should be updated at the same time. This way of binding fields will work for any HTML fields that have value support, which is typically <input> types and <textarea>.
The javascript file automatically tries to find input elements in the HTML that match the ID of fields inside the template. Adding the id="field_50" to the <input> element inside the HTML template is all that is needed for the two-way communication to be set up since we added a field with the ID of 50. Any amount of these binding fields can be established in the exact same way; the way they are mapped are via ID.
This gives a simple way of setting up a binding field. Note that updating the <input> elements programmatically will still send data back and forth, which is great for automated data integration such as fetching live sports data.
Note
To prevent two editors for the same field being visible at the same time, use the Hidden fields setting inside the HTML panel settings.
Connect the custom HTML template to a Viz Pilot template - the advanced way
This example will go more into detail than the simple example above, and use a bit more scripting to give 100% control over the template. The three files mentioned in the Setup a simple custom HTML template example, are also used in this example.
A list of functions will be created where we can bind fields. By adding the following above the document.ready() function in the customTemplate_sample.js file:
// Will be called when the field with id "01" changesfunction on50Changed(value) { }and the following inside the document.ready() function
var pl = vizrt.payloadhosting;pl.initialize();pl.setFieldValueCallbacks({ "50": on50Changed });we are setting up a way for a custom javascript function to be called upon detecting a change. When field_50 receives a change from the host, the function will be called with its new value as a parameter.
In the following, some changes will be made to the HTML file to demonstrate that we can use custom HTML/javascript to do something with these values.
Inside the HTML file, the entire body is replaced with:
<body> <span id="myfield" class="sample red">My custom 50 field</span></body>To accompany some CSS to style the text, add the style tag after the closing </head> tag and before the <body> tag:
<style> .sample { padding:5px; color:white; border-radius:5px; text-shadow:0 1px 0 black; background:red; } .green { background:green; }</style>This gives the following output in Template Builder:
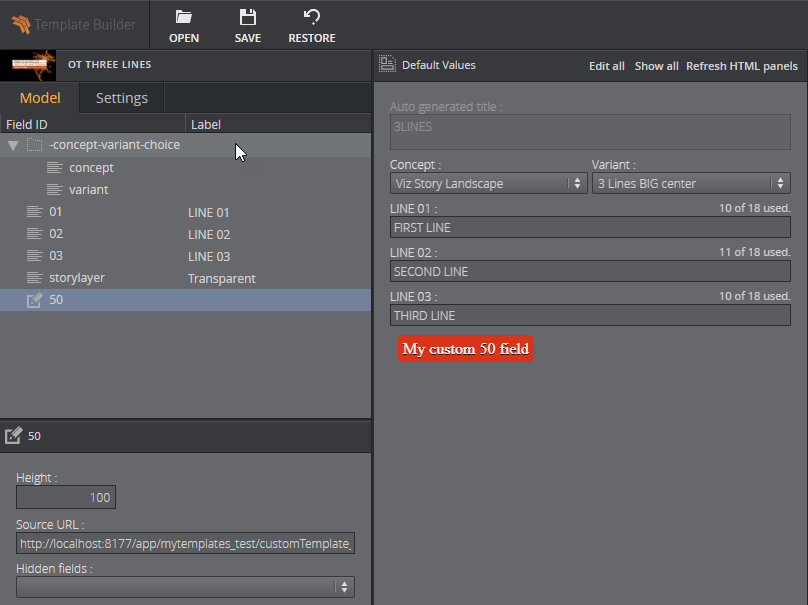
Adding a bit more custom logic, we will make the background color green when there is a text value that is longer than 5, or shorter than 20 characters. The function is expanded with the following function:
function on50Changed(value) { var myField = $("#myfield"); myField.text(value); if (value.length > 5 && value.length < 20) { myField.addClass("green"); } else { myField.removeClass("green"); }}Refreshing the HTML panel the background color should change to green dynamically when typing.

Redesign Concept/Variant fields
The next example shows how to present the concepts and variants in a template in a different way. A custom HTML template, javascript, and a bootstrap theme (for styling) are used to achieve this, but will not be shown in this example.
We have the following concepts, Viz Story Landscape, Viz Story Portrait, Viz Story Square, and variants, Grey, Orange, originally available as drop-down lists in the Fill In Form:
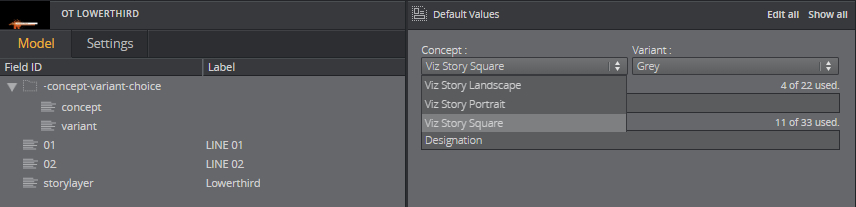
This field has more than one value since it has an ID, -concept-variant-choice, and two values beneath it, concept and variant. You can access a value using slash "/" to navigate in the list, for example accessing concept use the ID, -concept-variant-choice/concept.
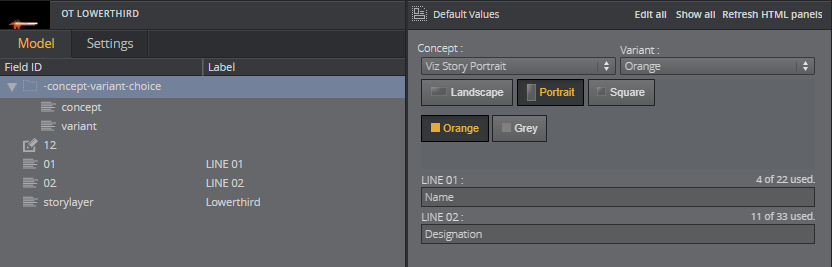
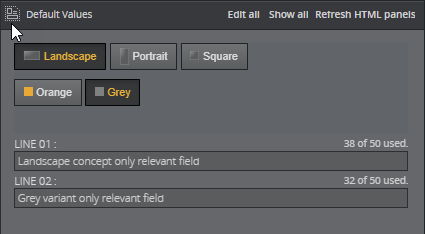
The new presentation of the concept and variant values are in form of buttons.
This example has a two-way binding support for both concept and variant which means that clicking on the new buttons will update the original drop-downs and vice versa:
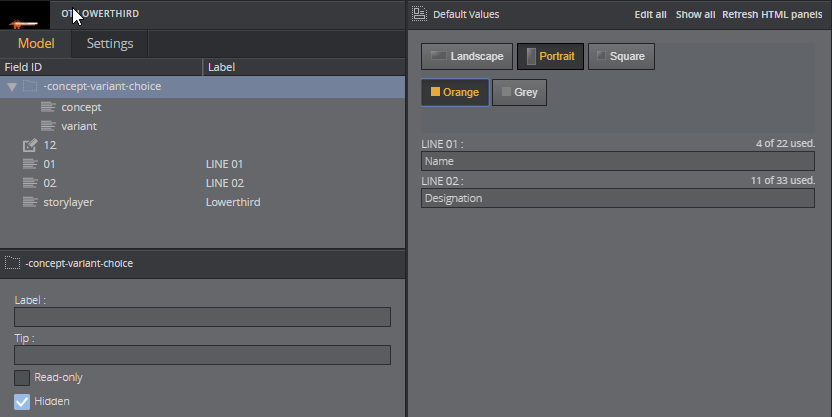
Since we have created a nicer way to select concept and variant, the drop-down lists are no longer needed and can be set as Hidden in the properties window.
Controlling the auto-generated Fill In Form from the HTML template
It is possible to dynamically set visibility and read-only attributes which opens up the possibility to filter the auto-generated form based on the choices made in the custom HTML template.
In this example, the LINE 01 text field should only be visible when the Landscape concept is active.
In the javascript used in this example, there is a function called onConceptChange(value) which is called when the concept changes from the host. Adding the following code block inside the onConceptChange method block will check if the Viz Story Landscape concept is chosen. If it is, it will display the field with ID 01 in the Fill In Form:
if (value == "Viz Story Landscape") { vizrt.payloadhosting.setFieldVisibility("01", true);} else { vizrt.payloadhosting.setFieldVisibility("01", false);}This will only work if the value has been changed by the auto-generated concept/variant drop-down lists. To make it work from using the custom buttons too, the same logic is needed there. Replace the following code block:
$("#concept .btn").on("click", function() { pl.setFieldText("-concept-variant-choice/concept", $(this).data("concept")); clearActiveConcept(); $(this).addClass("active");});with
$("#concept .btn").on("click", function() { var conceptValue = $(this).data("concept"); vizrt.payloadhosting.setFieldVisibility("01", conceptValue == "Viz Story Landscape"); pl.setFieldText("-concept-variant-choice/concept", conceptValue); clearActiveConcept(); $(this).addClass("active");});
Now, clicking on Viz Story Square or Portrait concepts the text field with ID 01 will disappear, but it will show if the Viz Story Landscape concept is selected. This is a powerful feature as you can customize available editing options based on certain conditions set in the template.